 |
 |
 |
 |
 |
 |
 |
 |
 |
 |
Once again, pics now (since his folder has 20 mb of em) comments later.
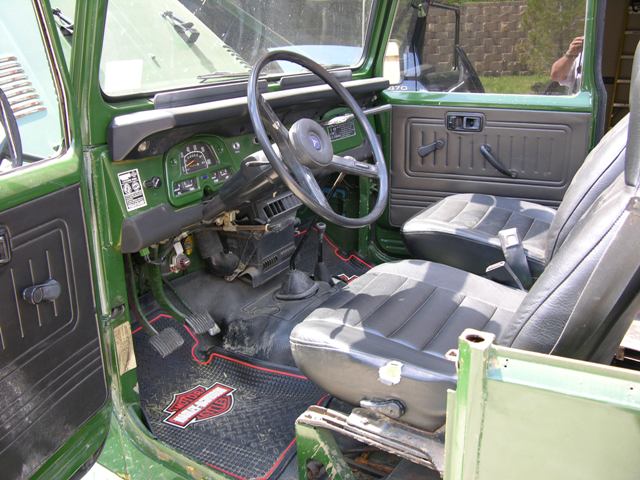
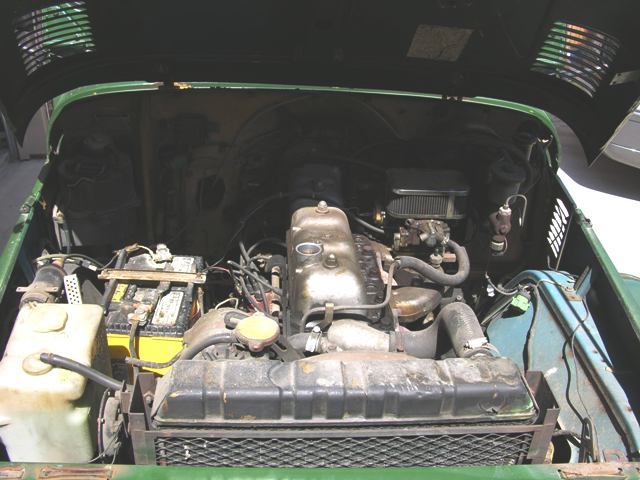
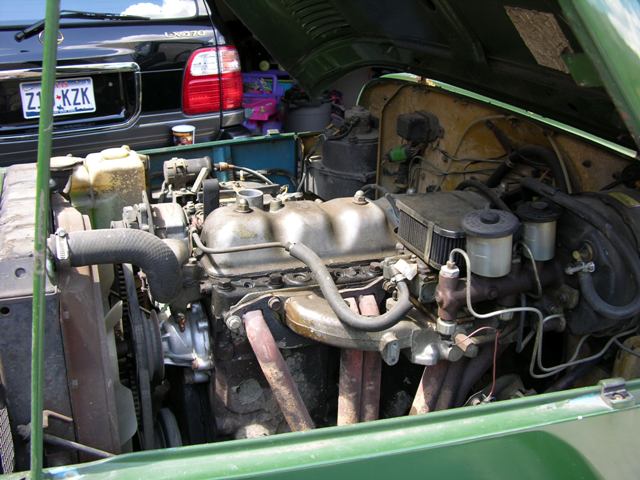
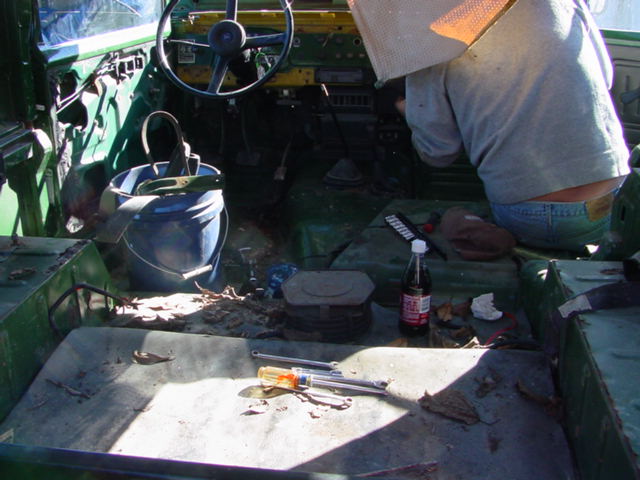
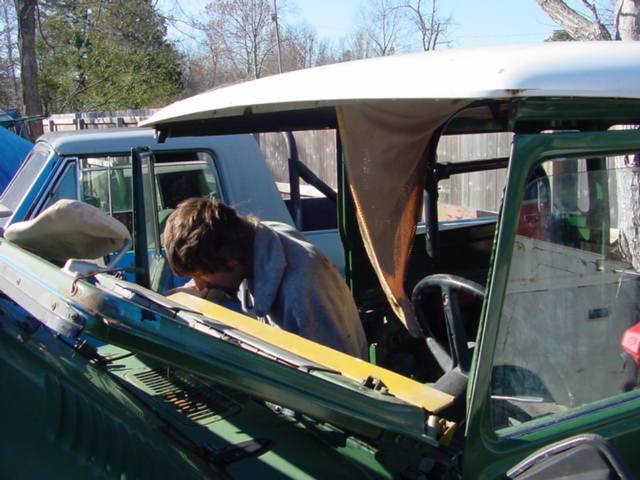
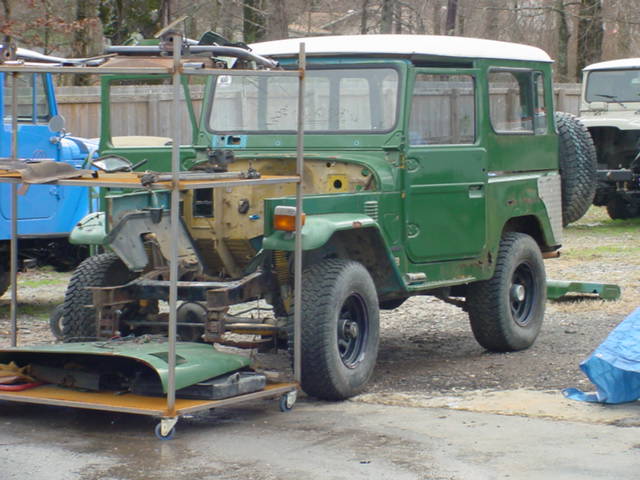
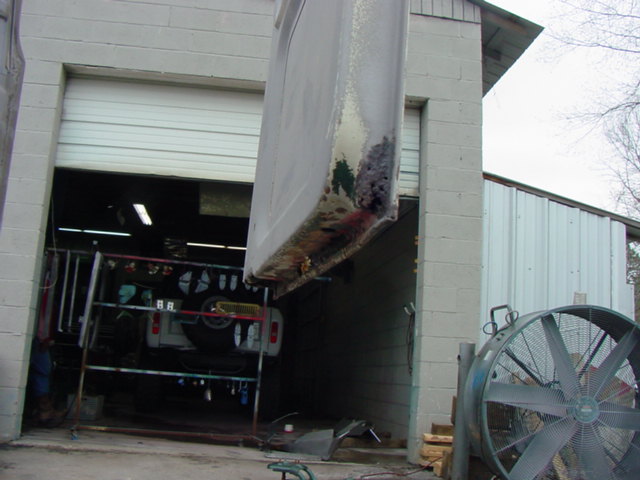
The opening pics are some Brad sent to me cuz once again I forgot to snap some... but I had some of the truck in the very first stages of the renovation so....
|
|
|
|
|
|
|
|
|
|
|
|
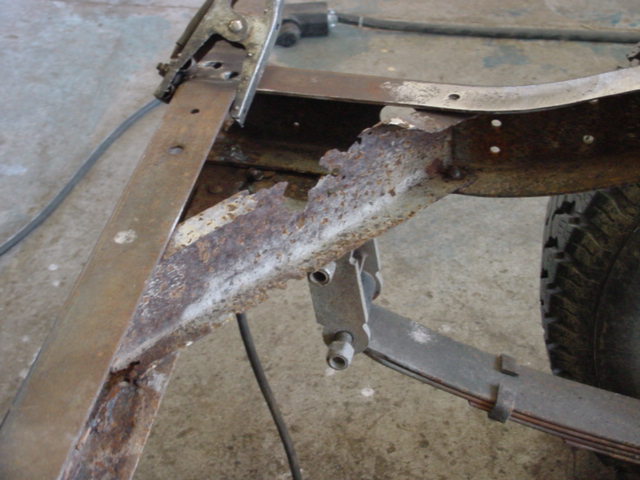
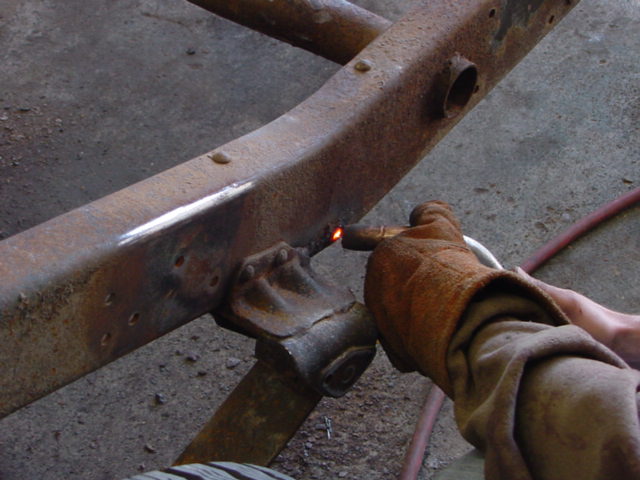
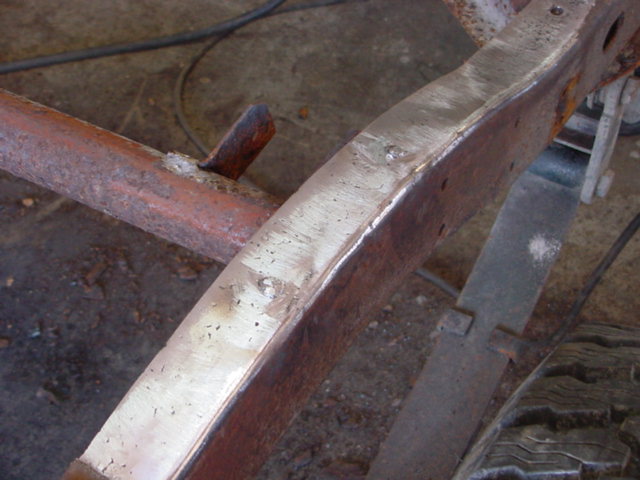
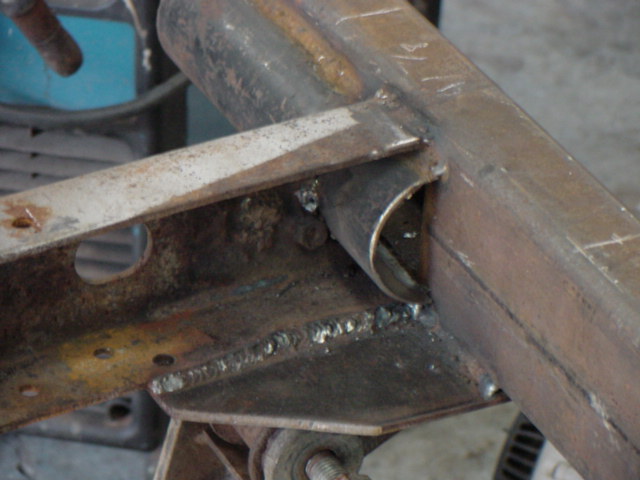
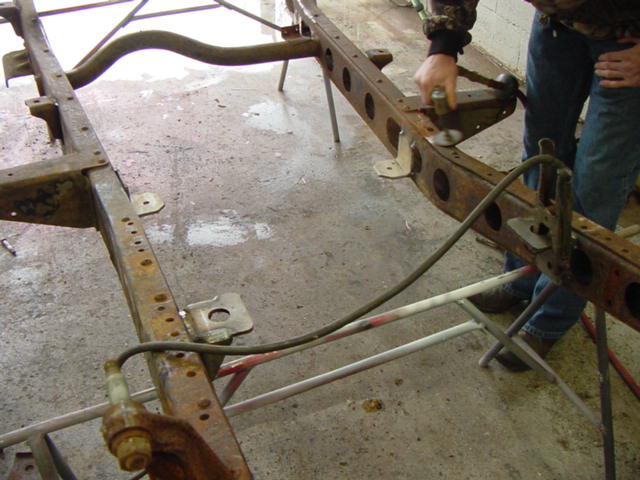
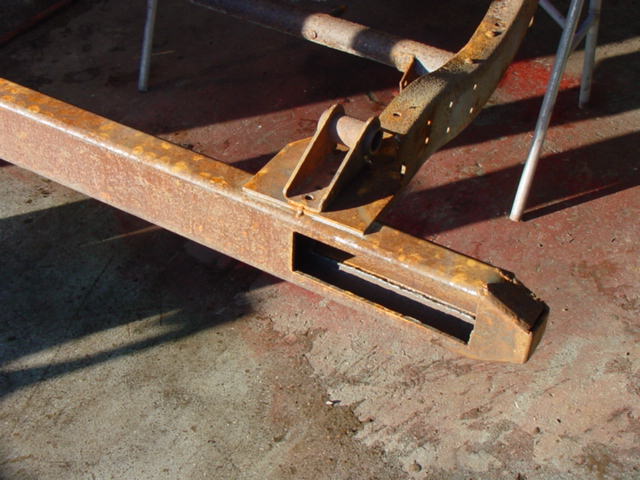
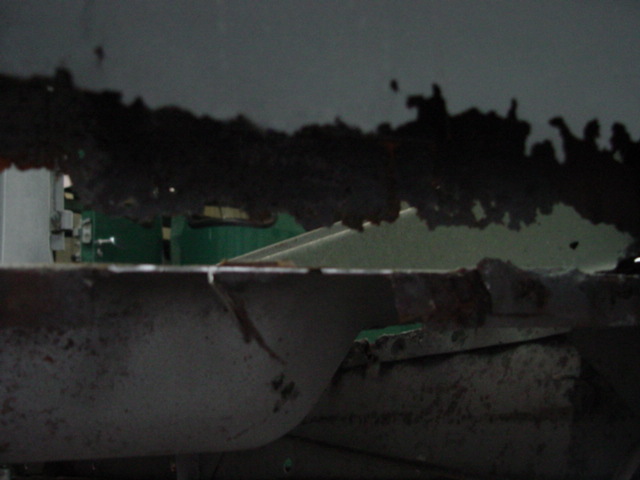
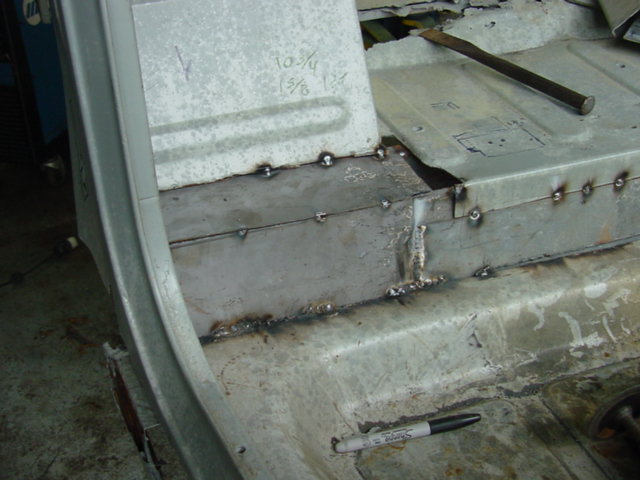
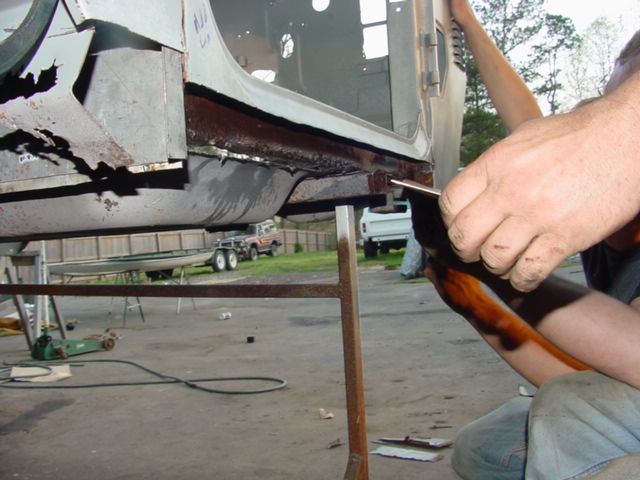
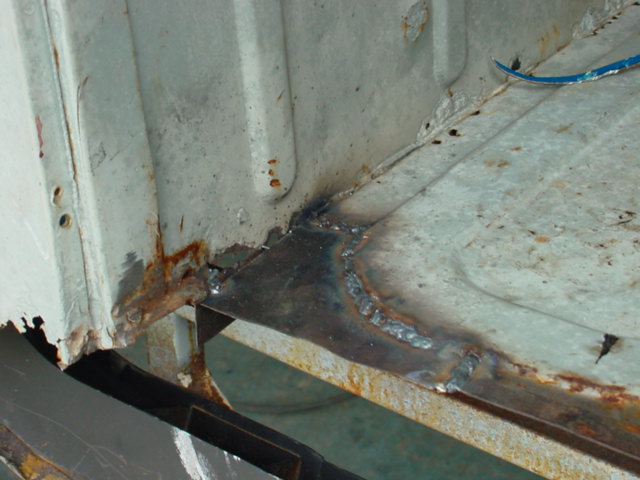
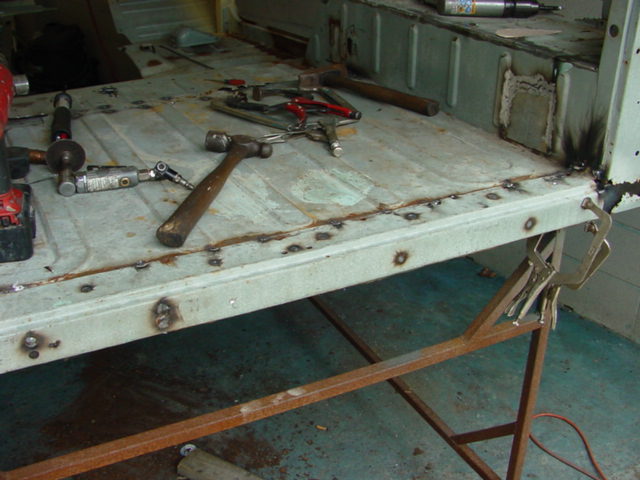
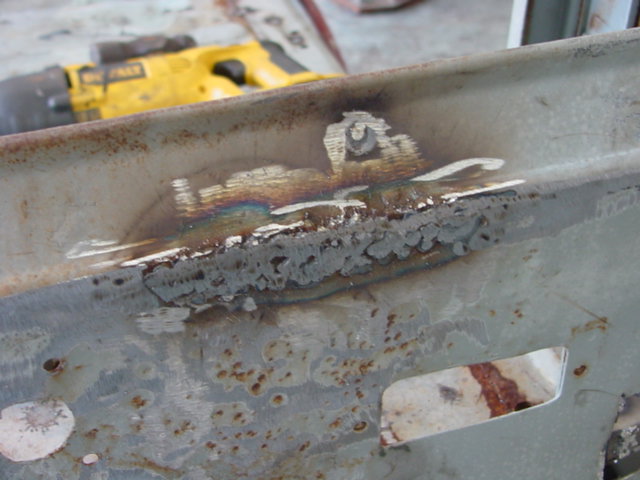
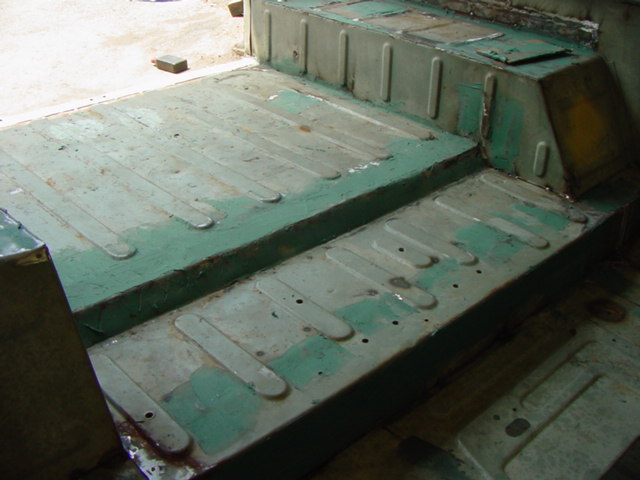
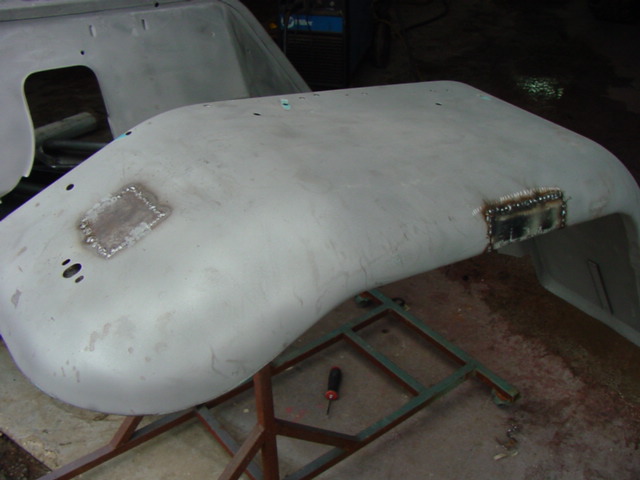
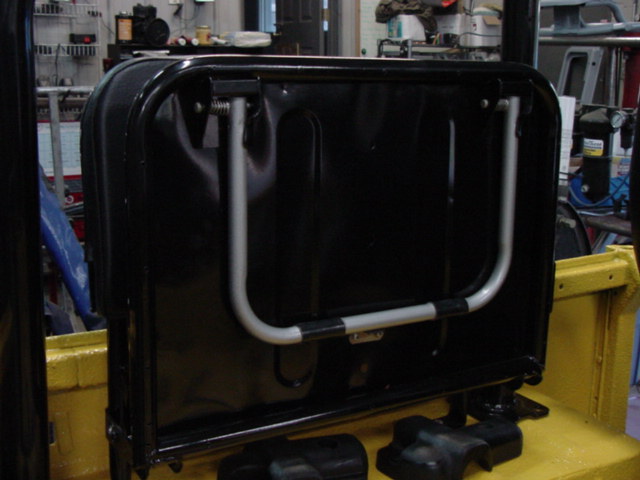
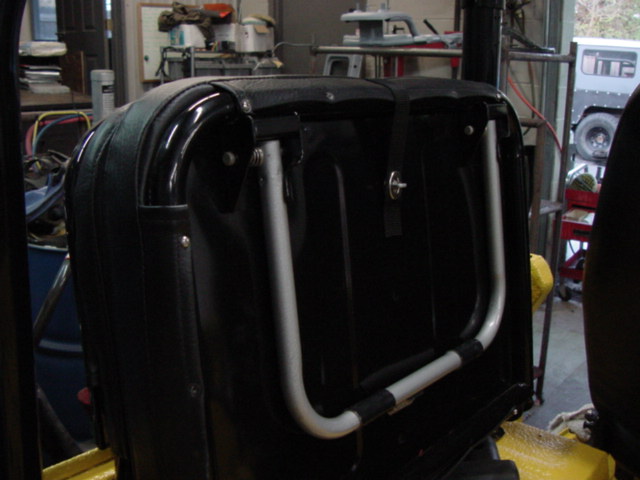
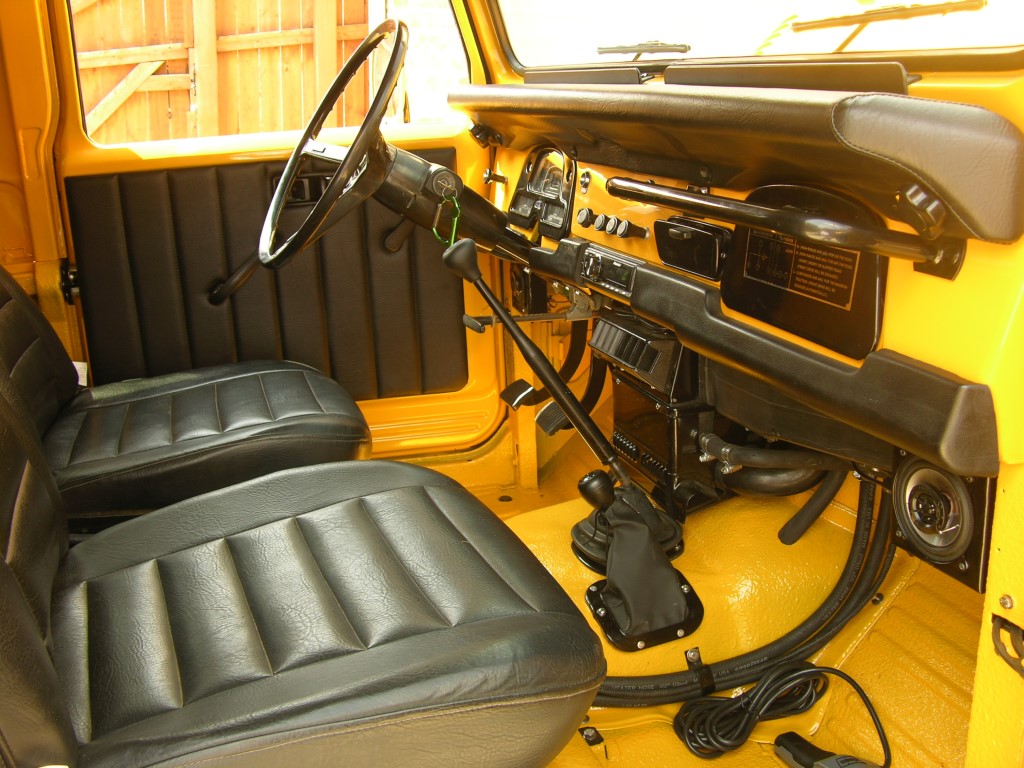
Brad wanted the truck to retain some of the factory feel so although we were doing alot to the chassis and drivetrain we kept the interior pretty much stock. Below you can see some of the rot in the rear channel being replaced with a tubular weld in that we build. We are continually refining this work and it seems to be working great.
 |
 |
 |
 |
 |
 |
 |
 |
 |
 |
 |
 |
 |
 |
 |
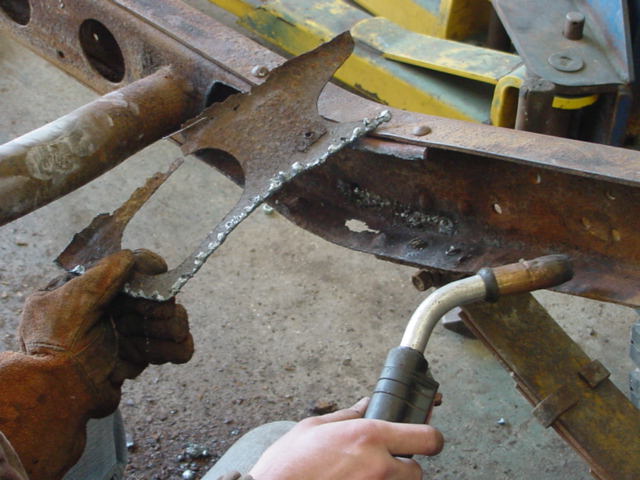
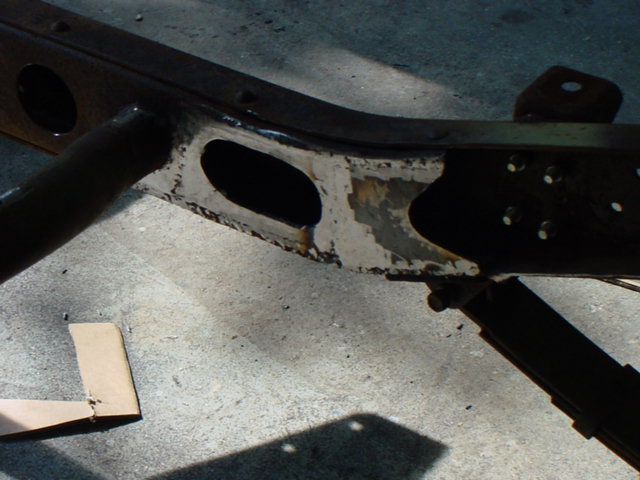
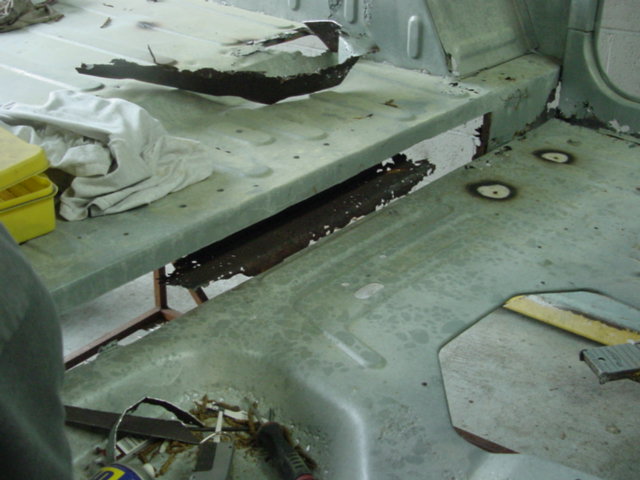
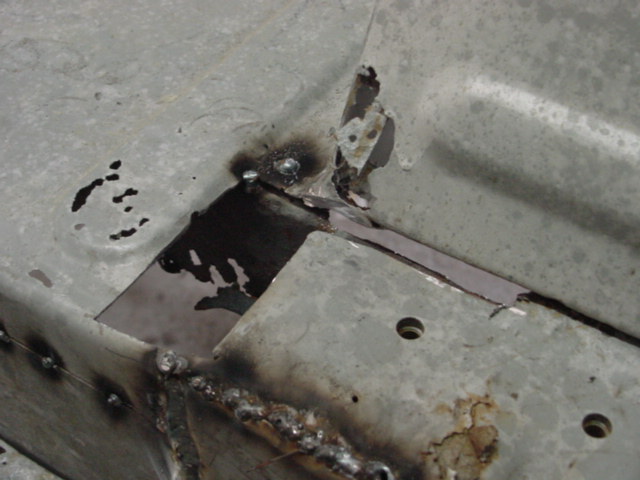
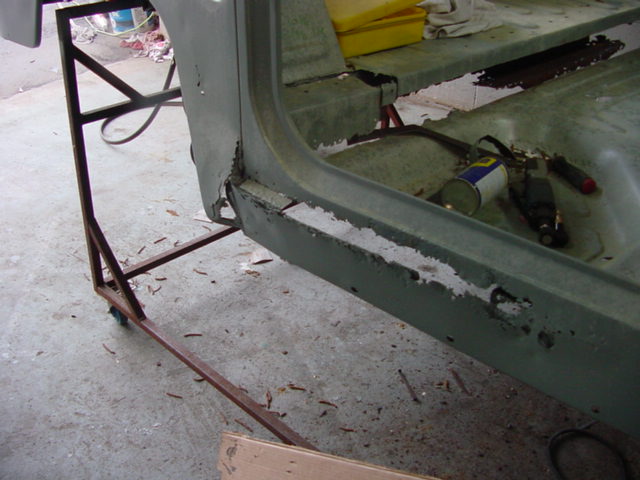
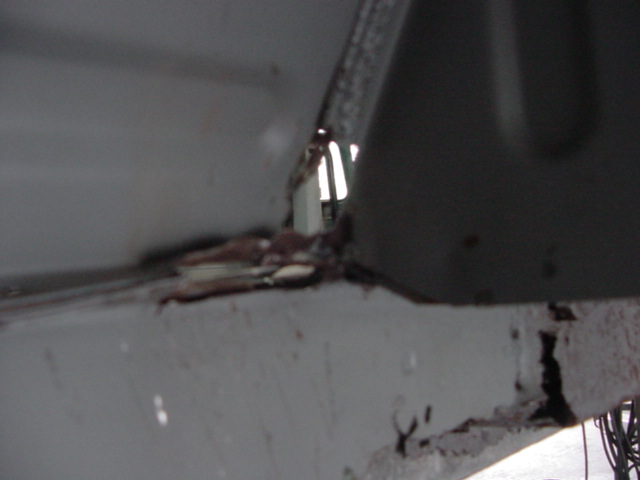
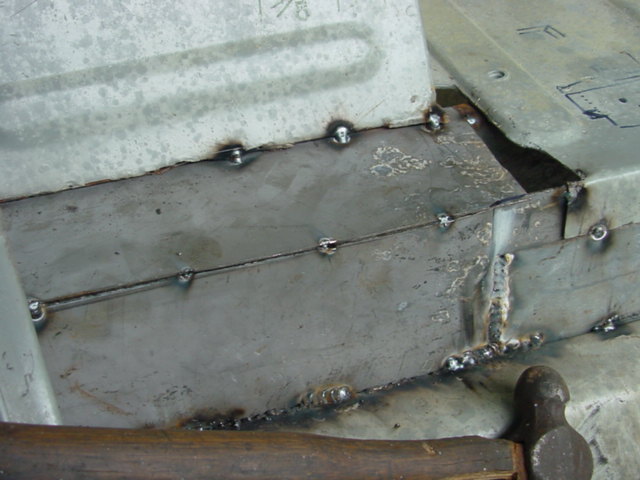
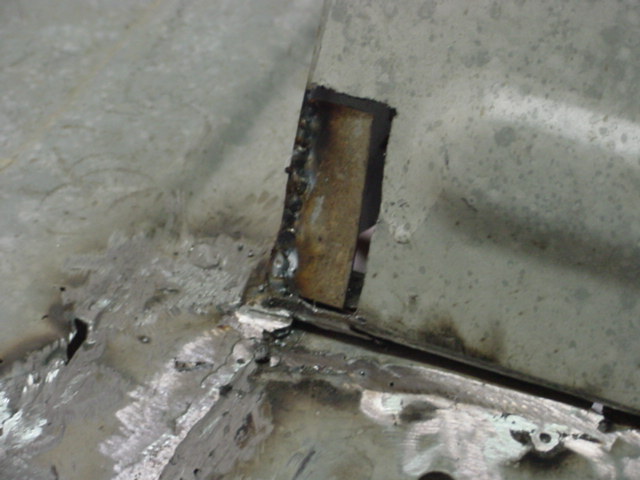
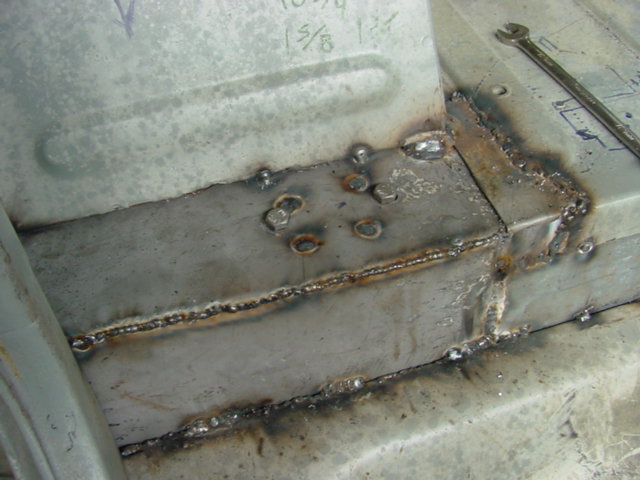
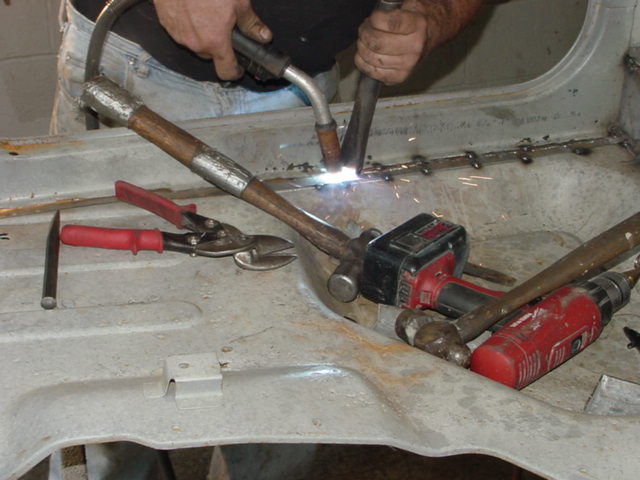
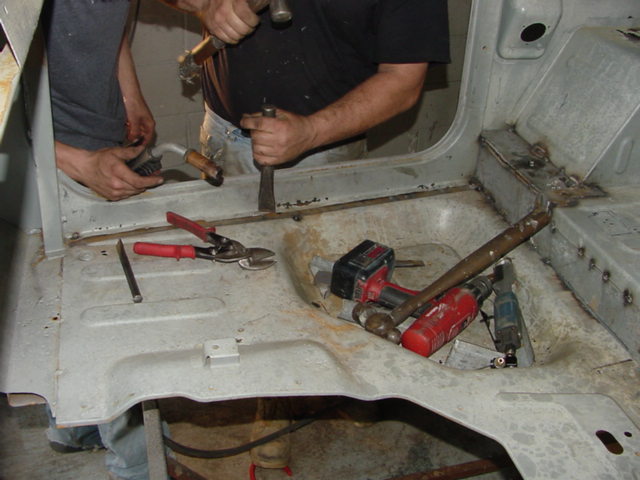
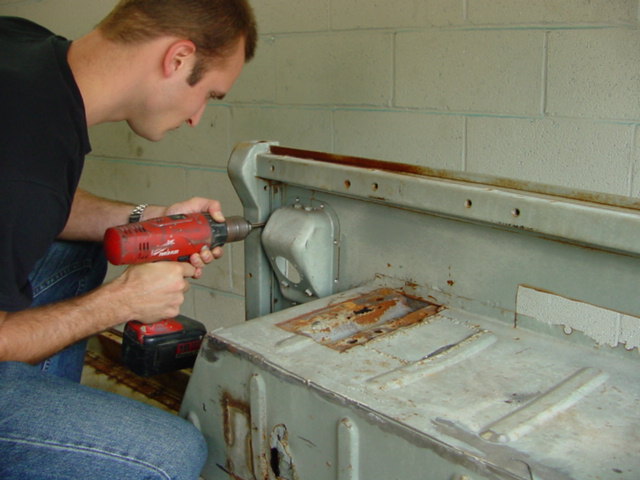
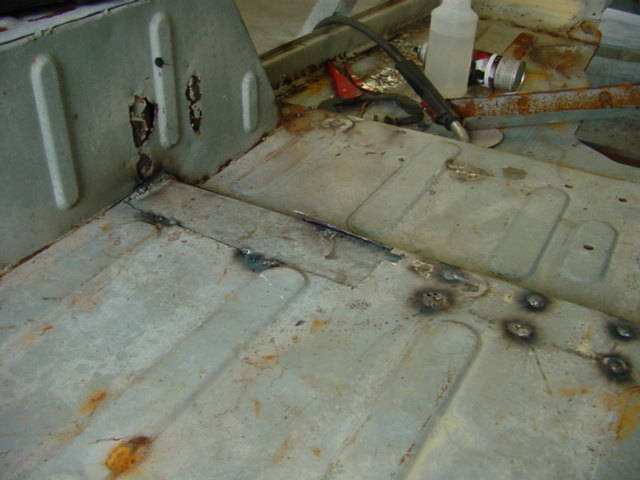
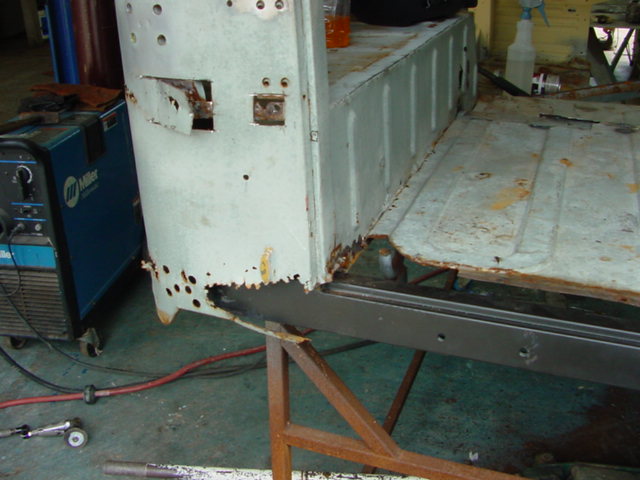
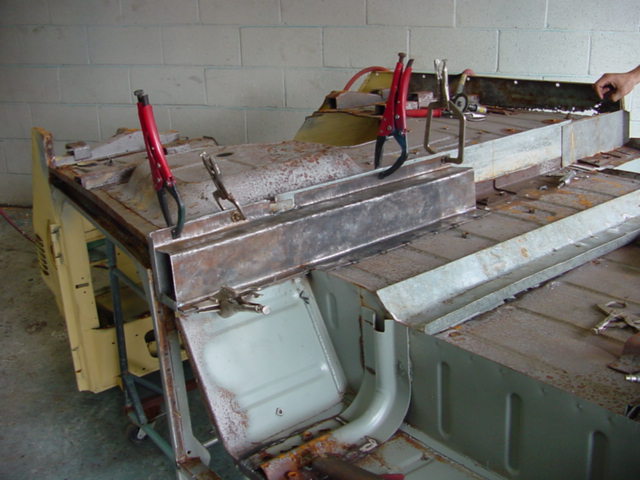
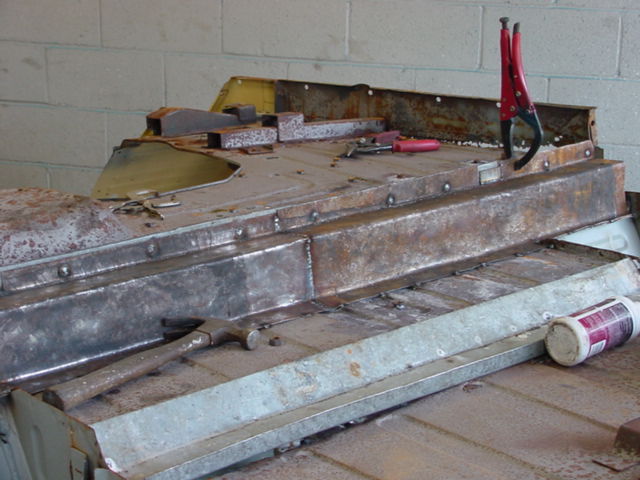
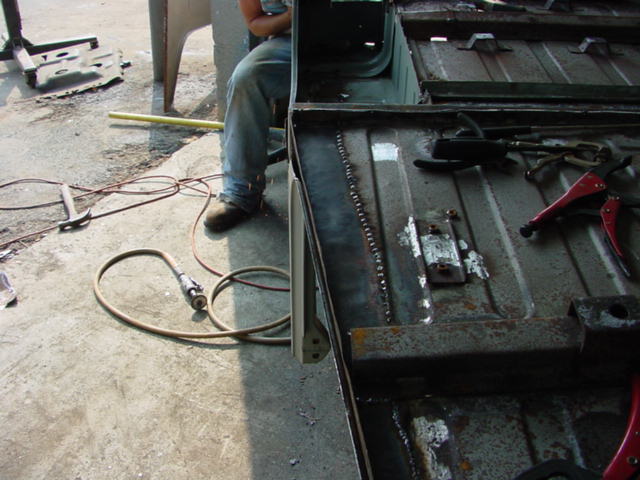
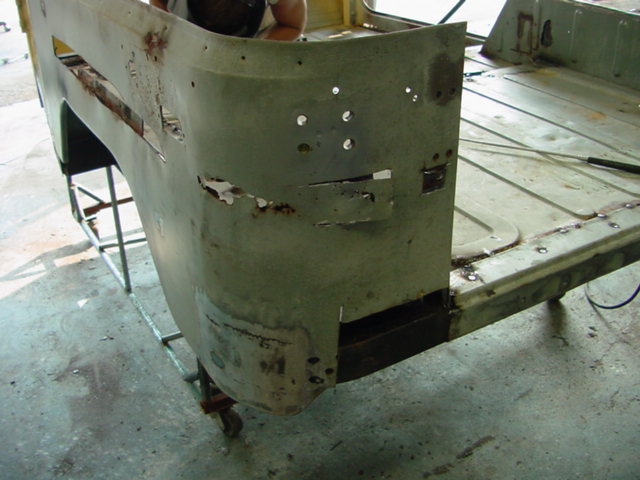
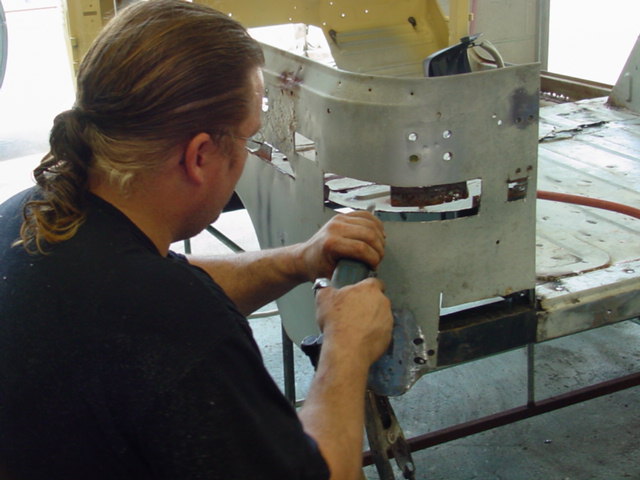
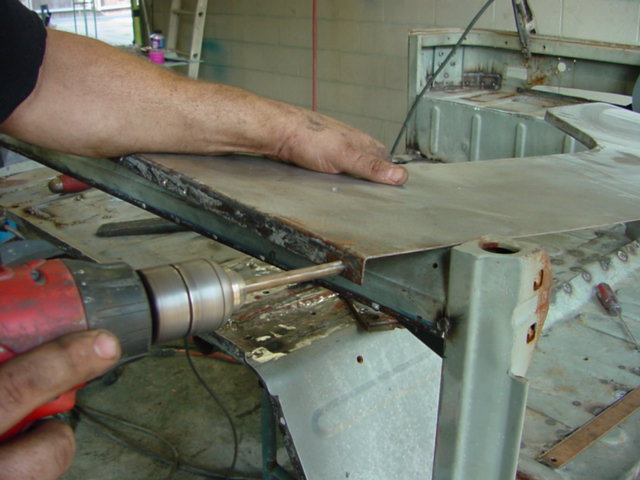
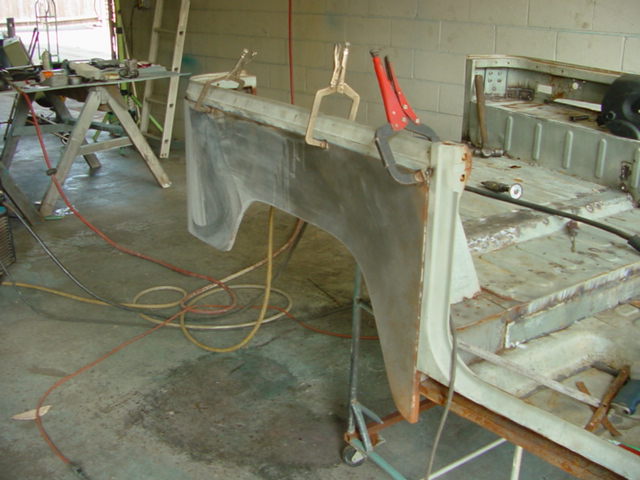
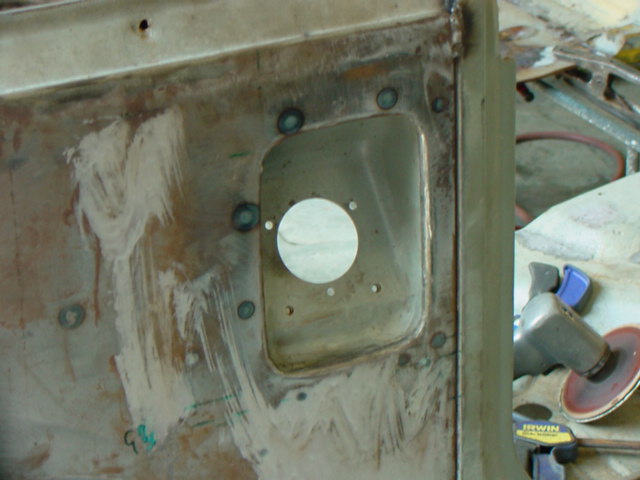
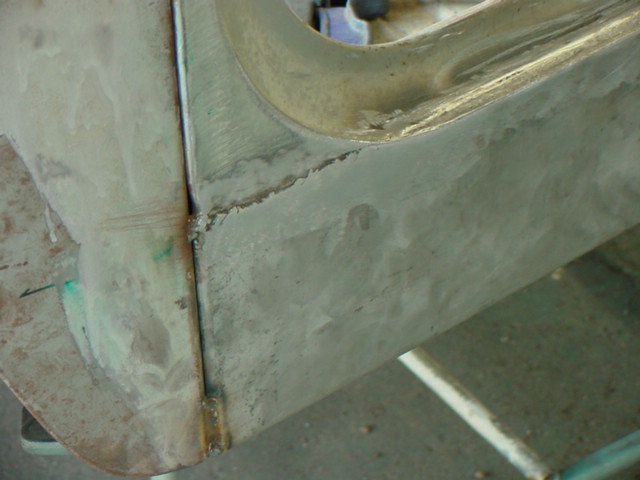
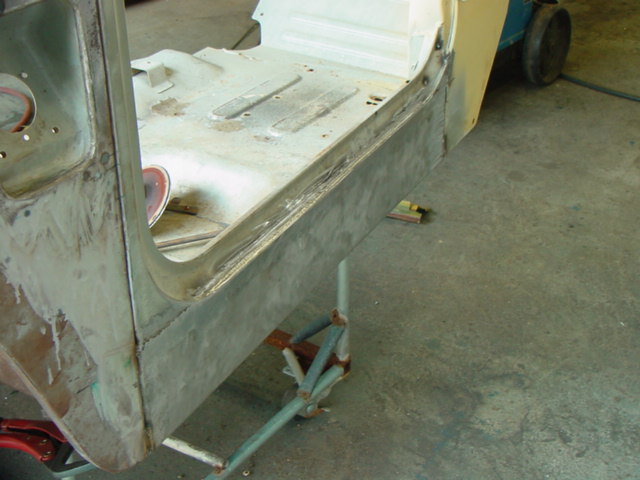
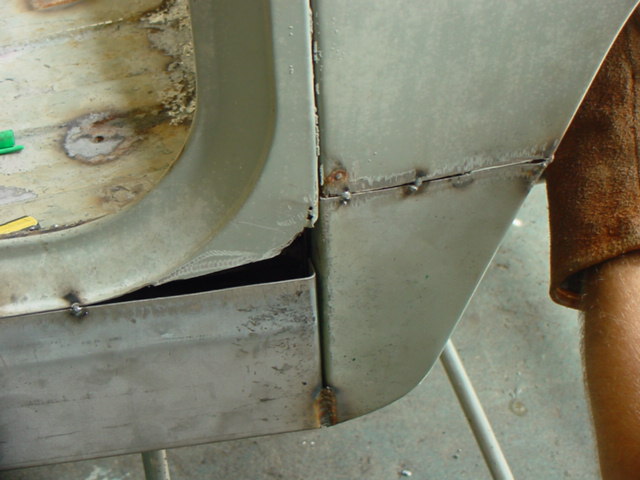
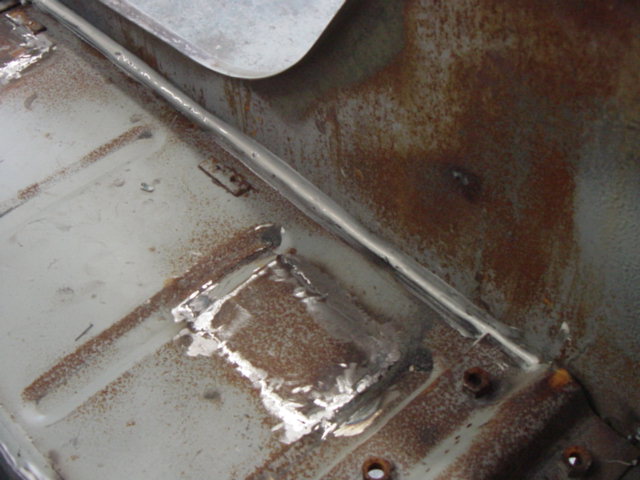
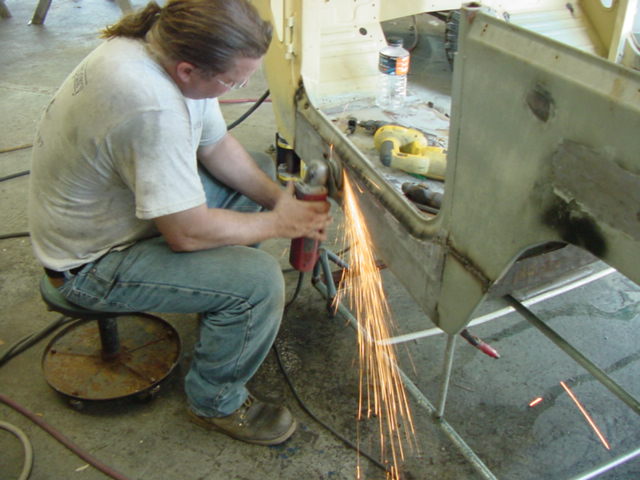
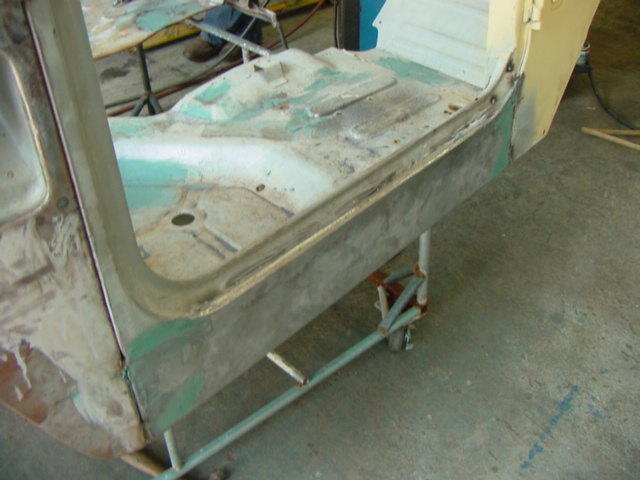
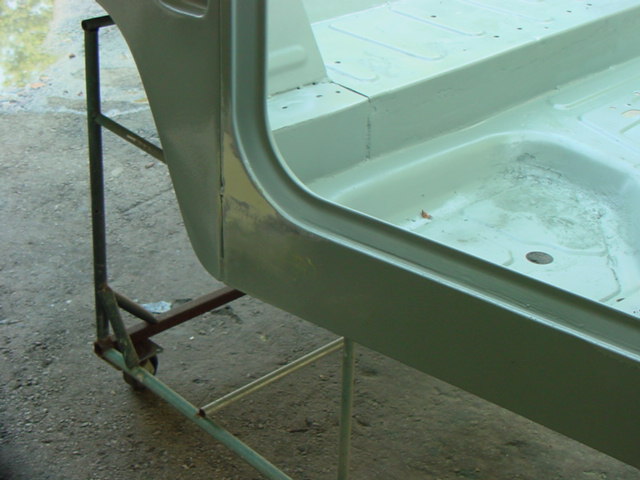
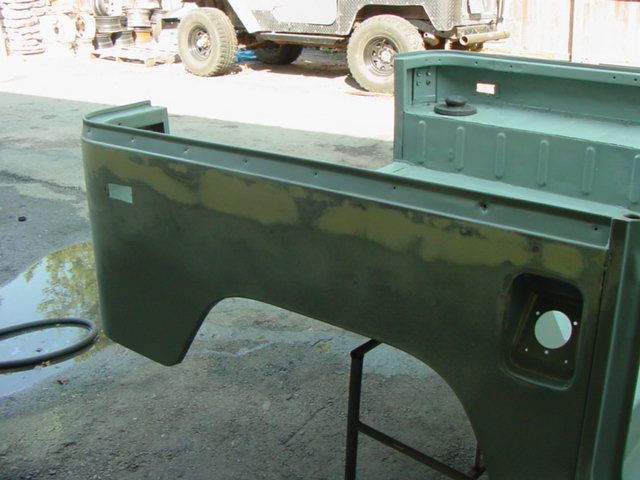
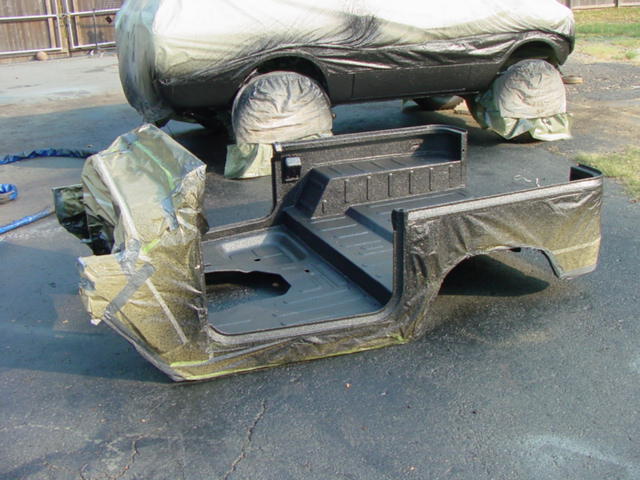
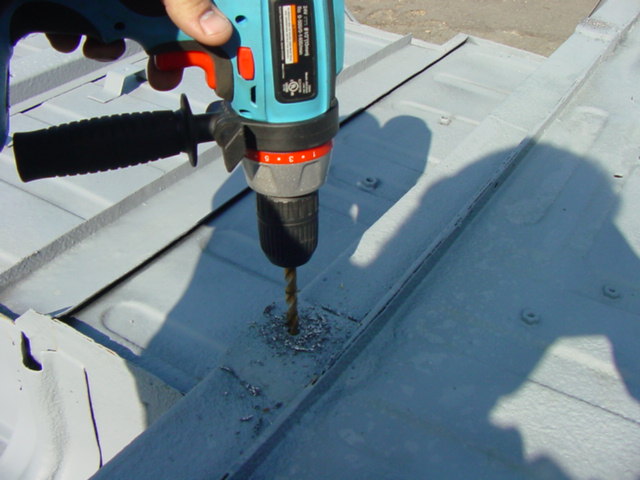
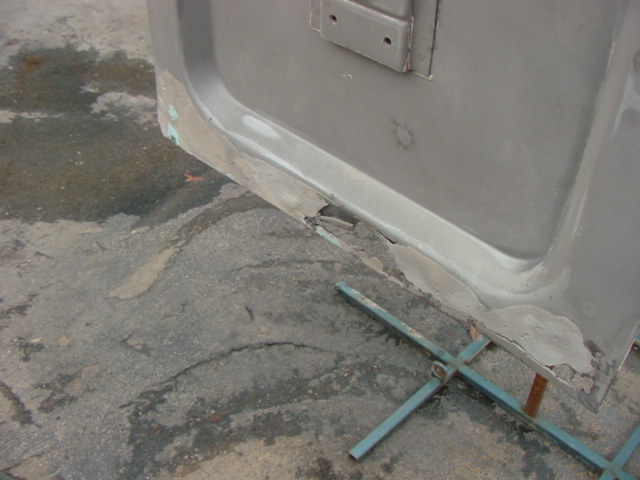
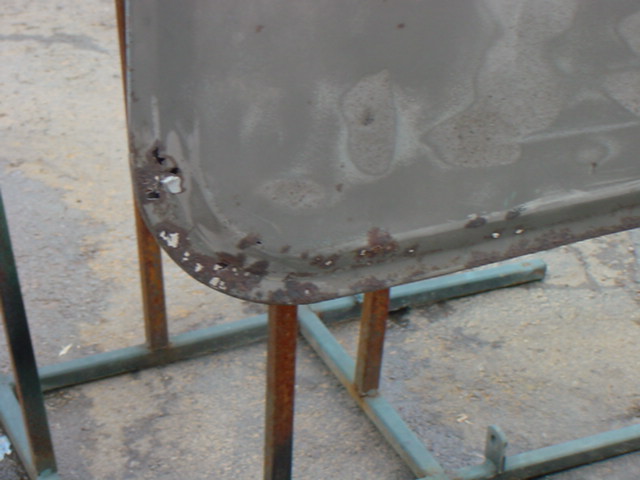
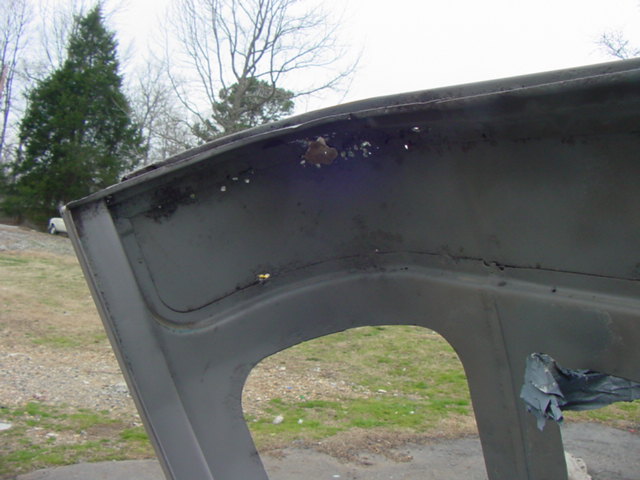
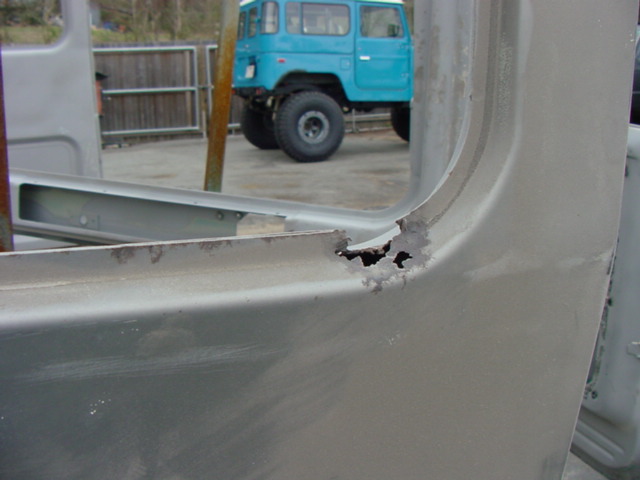
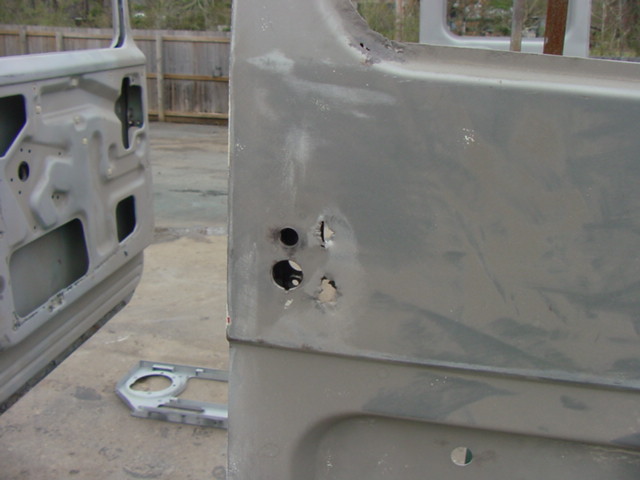
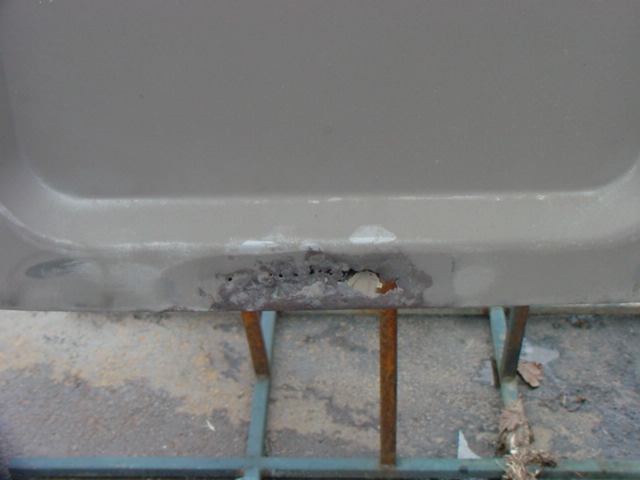
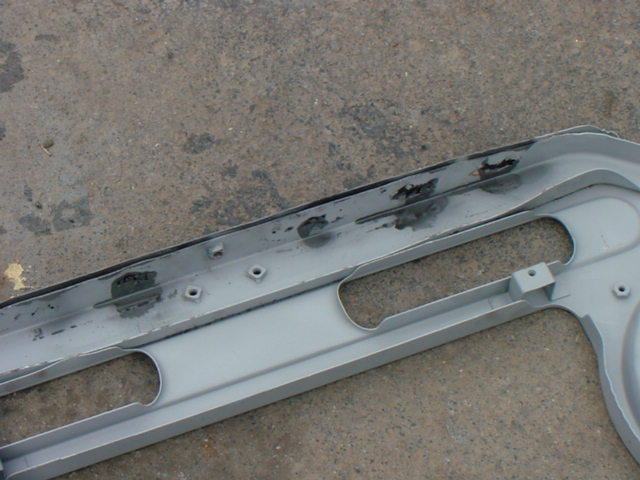
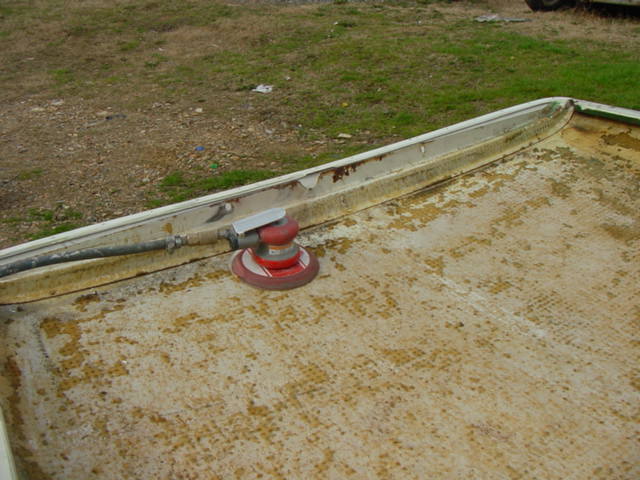
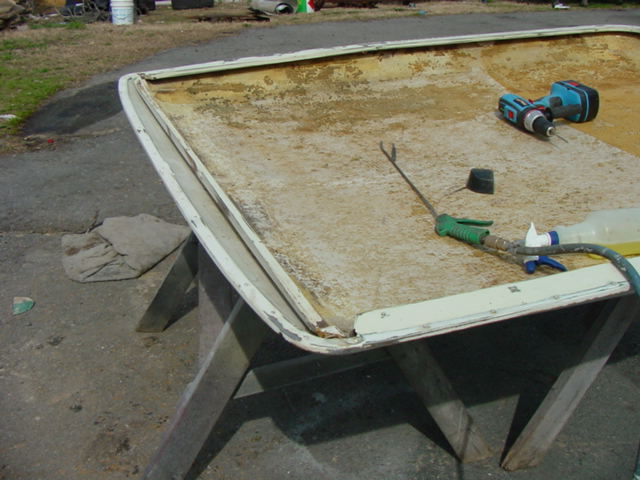
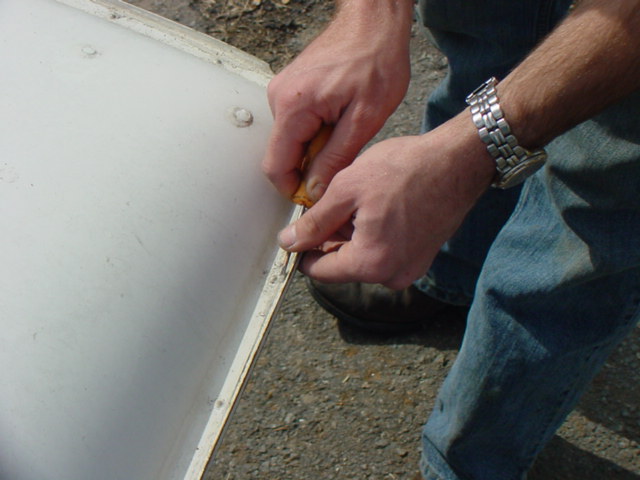
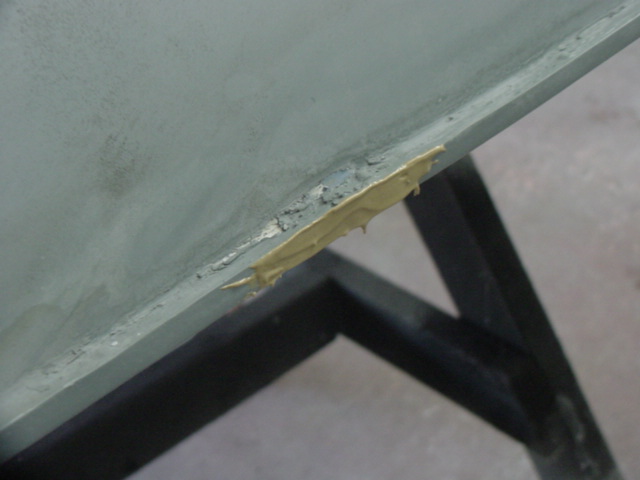
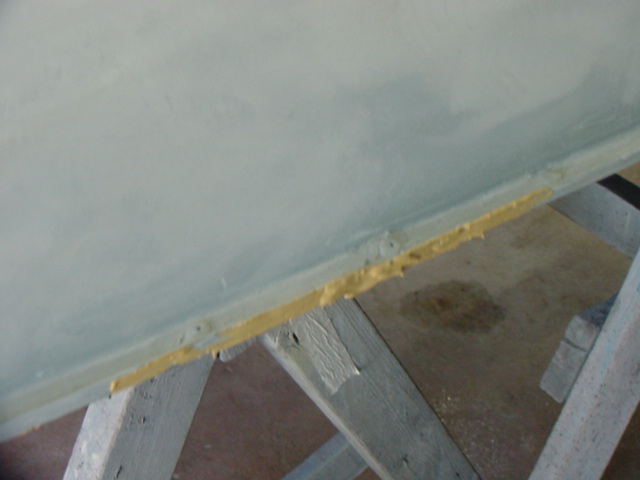
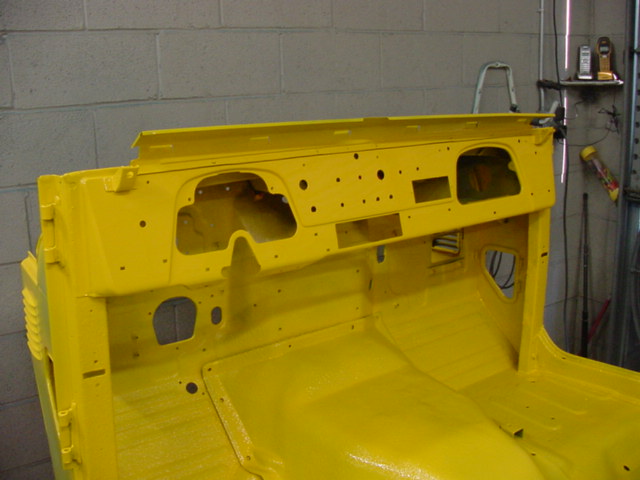
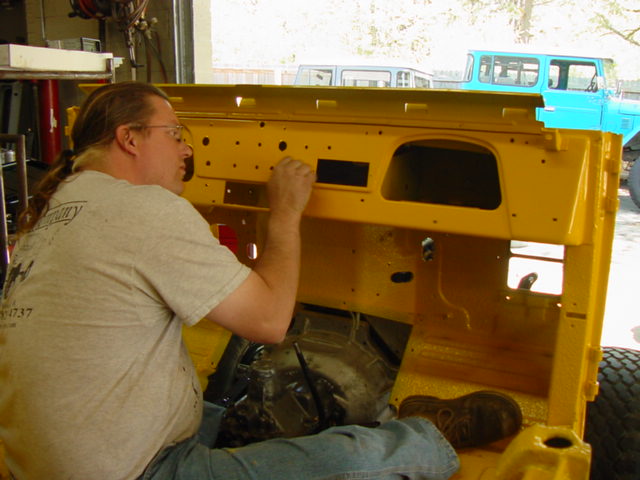
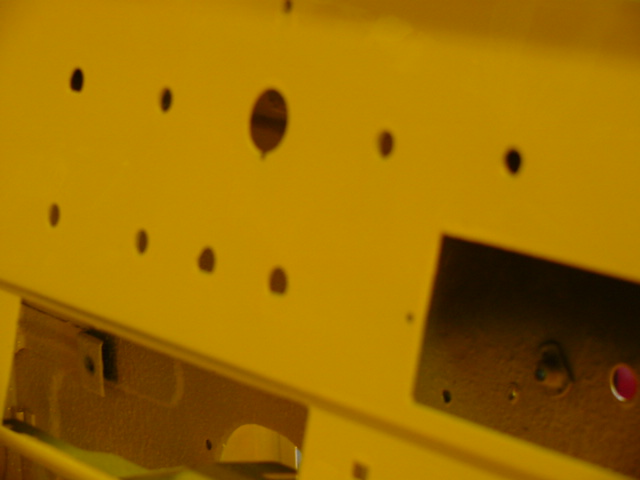
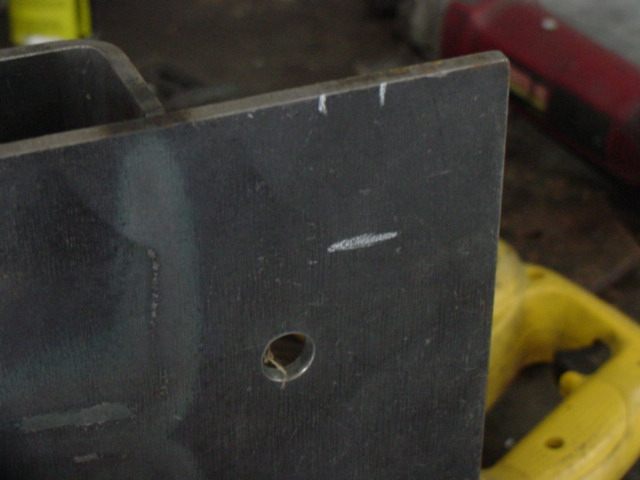
Below and for the next three panels you can see the tub repairs we did.
 |
 |
 |
 |
 |
 |
 |
 |
 |
 |
 |
 |
 |
 |
 |
 |
 |
 |
 |
 |
 |
 |
 |
 |
 |
 |
 |
 |
 |
 |
 |
 |
 |
 |
 |
 |
 |
 |
 |
 |
 |
 |
 |
 |
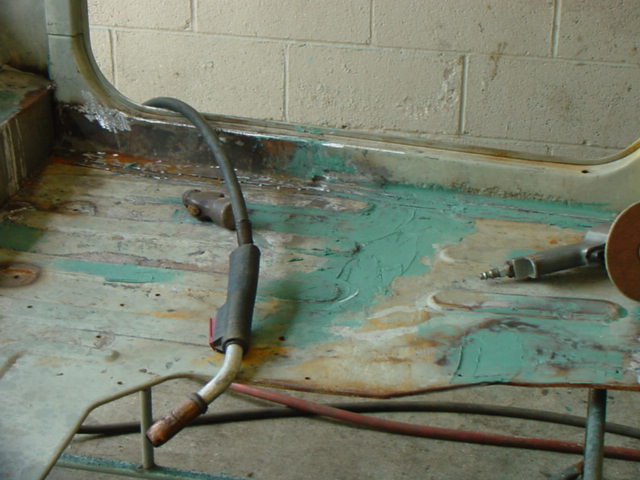 |
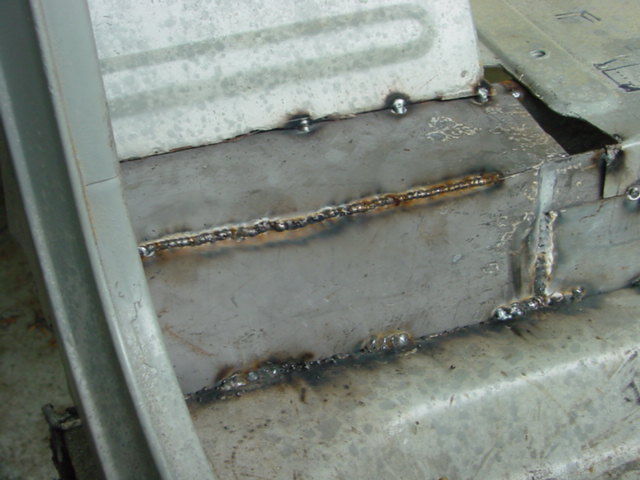
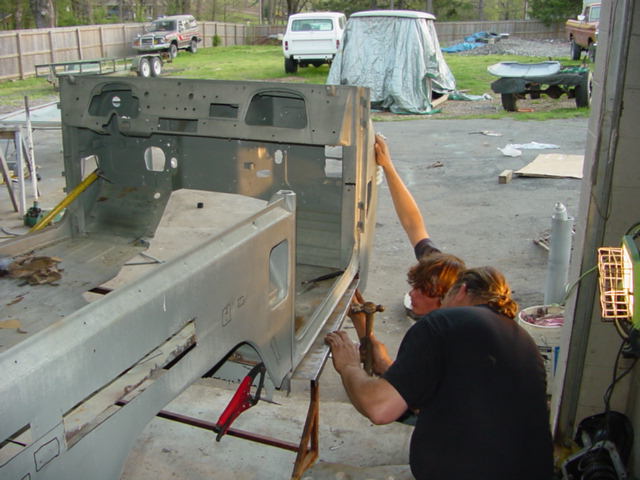
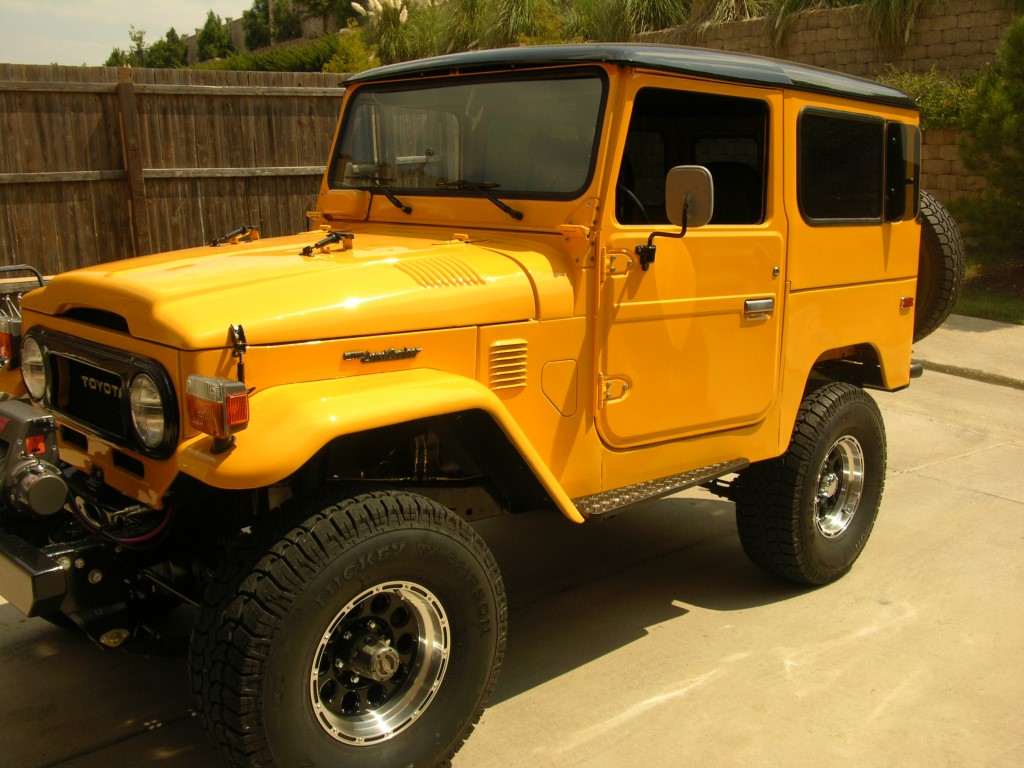
All things consider the tub worked turned out awesome. It was a little more extensively rusted than we thought but adapt and overcome.
 |
 |
 |
 |
 |
 |
 |
 |
 |
 |
 |
 |
 |
 |
 |
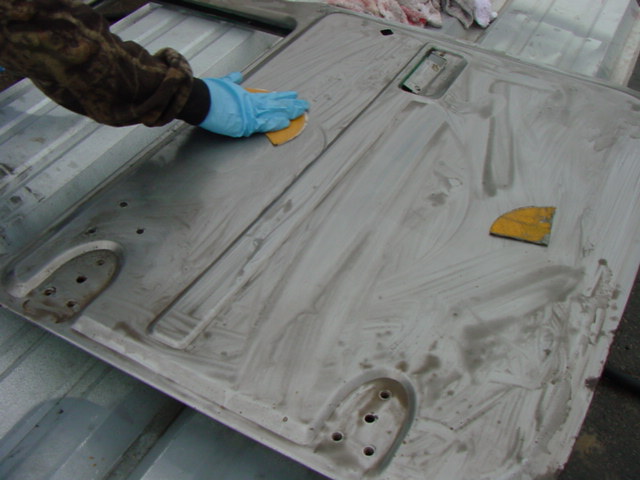
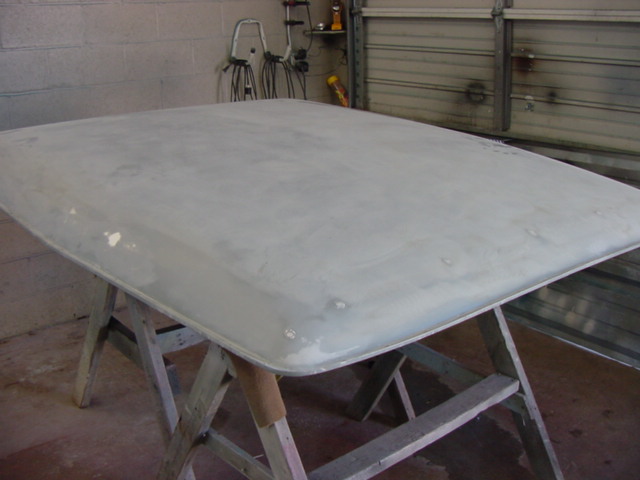
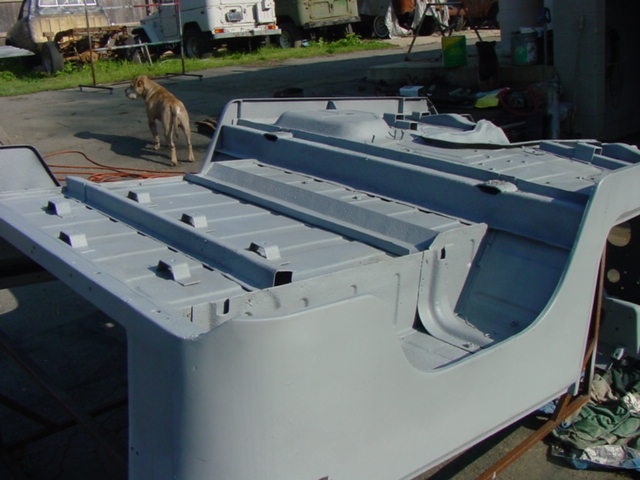
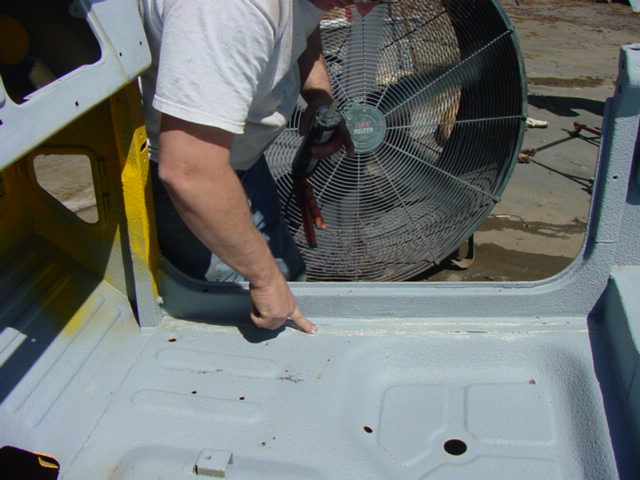
Working the body smooth and prepping it for liner application.
 |
 |
 |
 |
 |
 |
 |
 |
 |
 |
 |
 |
 |
 |
 |
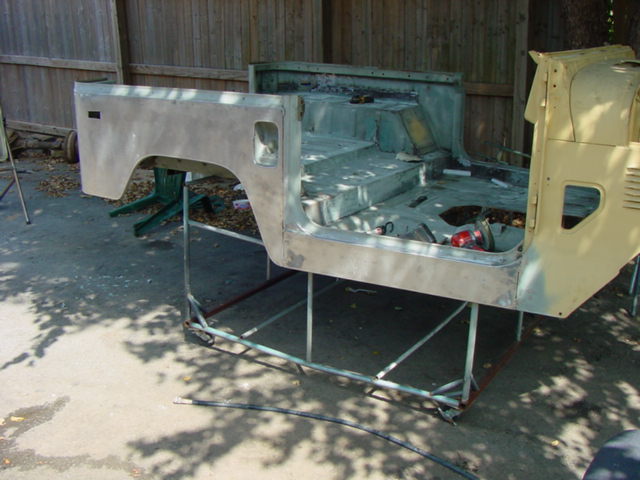
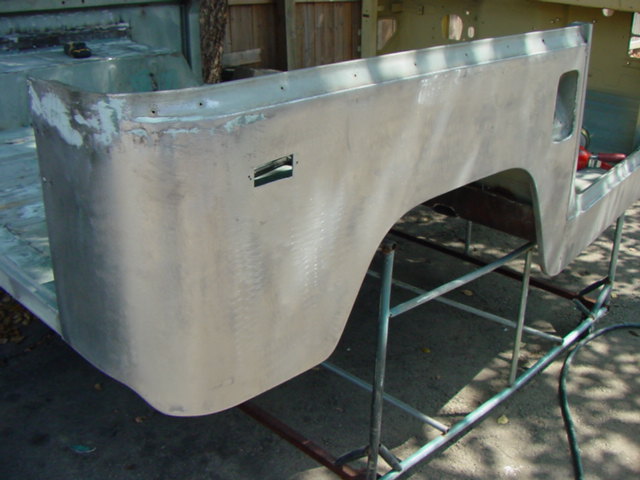
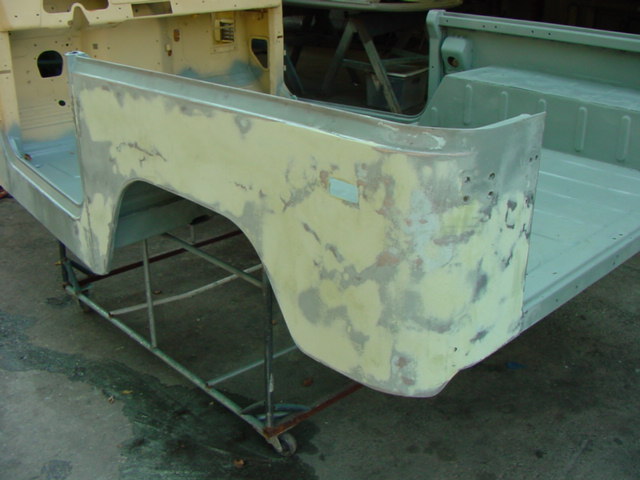
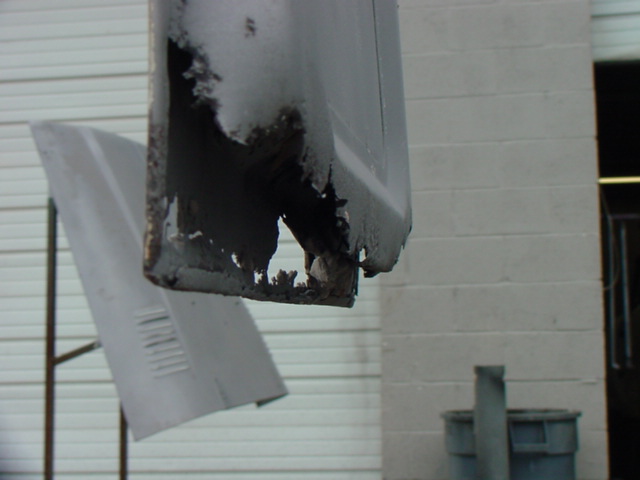
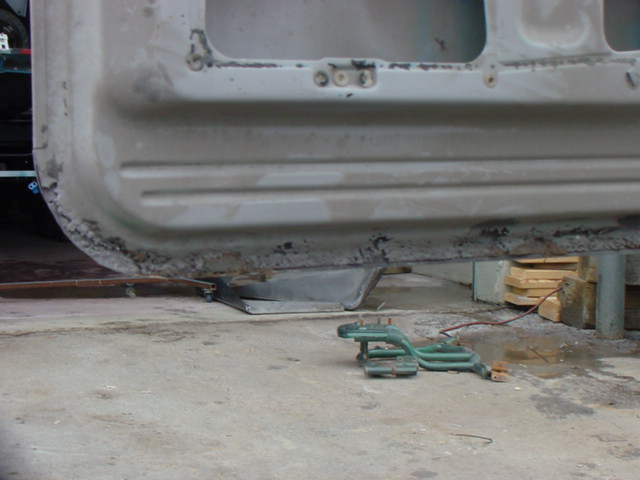
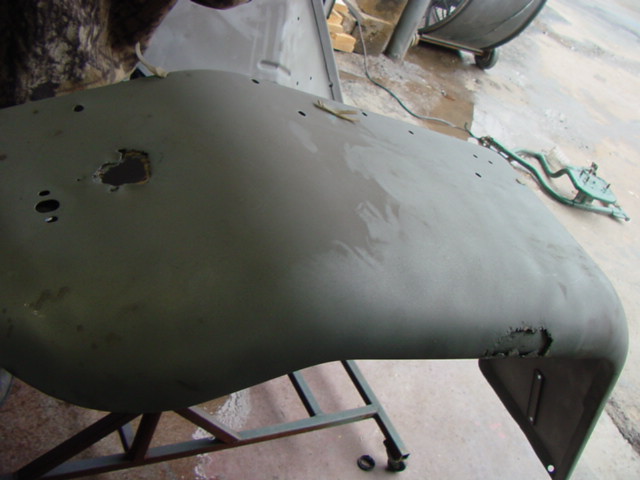
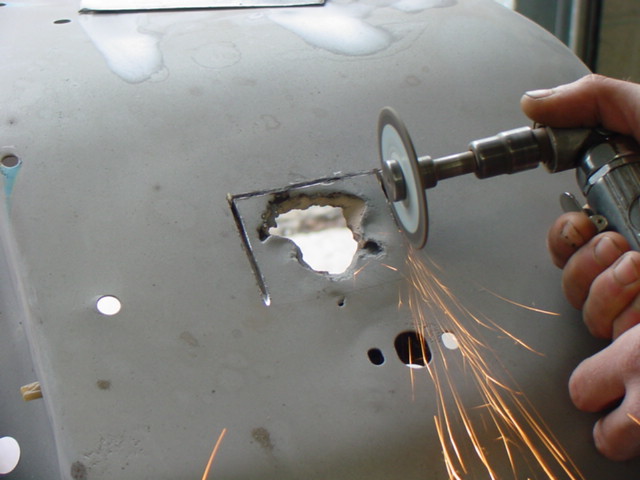
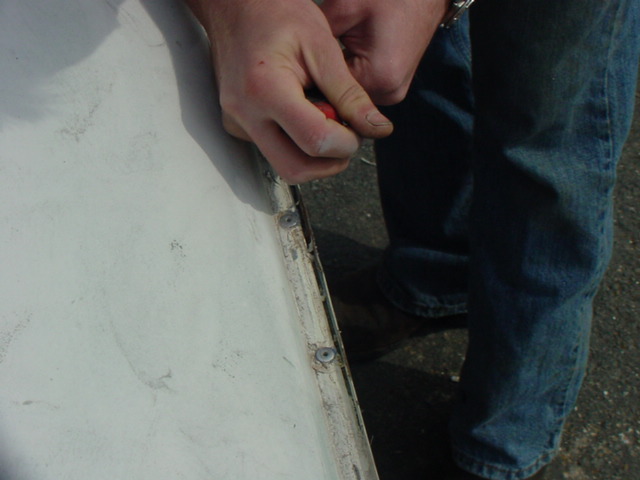
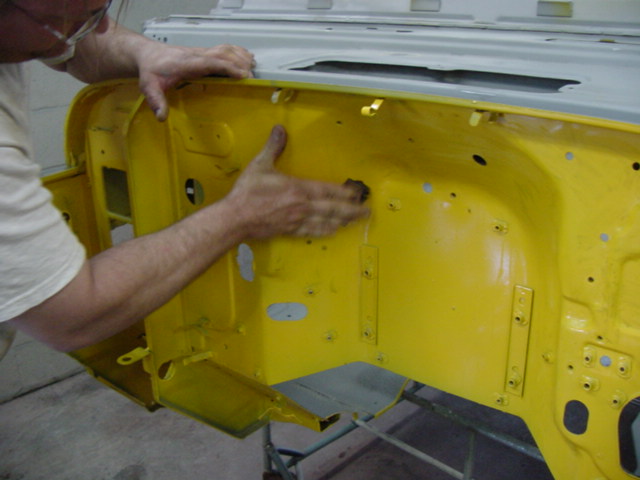
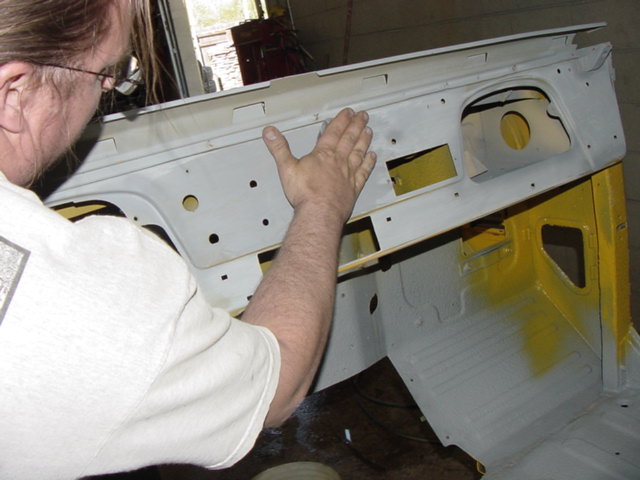
Cancerous rust throughout the door panels, fenders, front bib. We welded in new metal and smoothed everything out. His fiberglass top was actually in pretty good shape. We ripped out the old sealant, re riveted the top with larger rivets then resealed it back up. Priming and painting came next then we tucked it away for later reassembly.
 |
 |
 |
 |
 |
 |
 |
 |
 |
 |
 |
 |
 |
 |
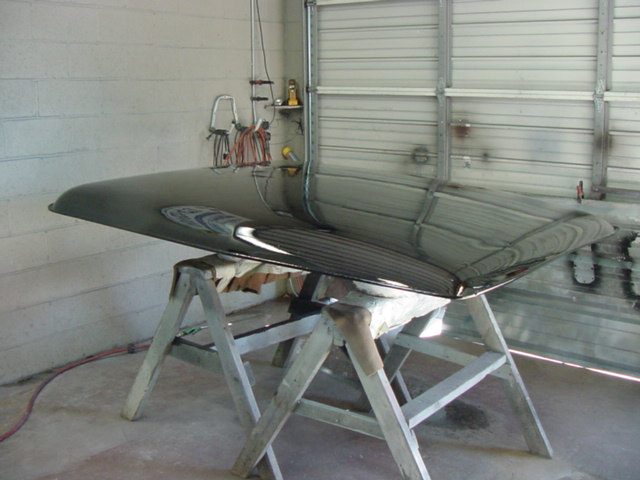 |
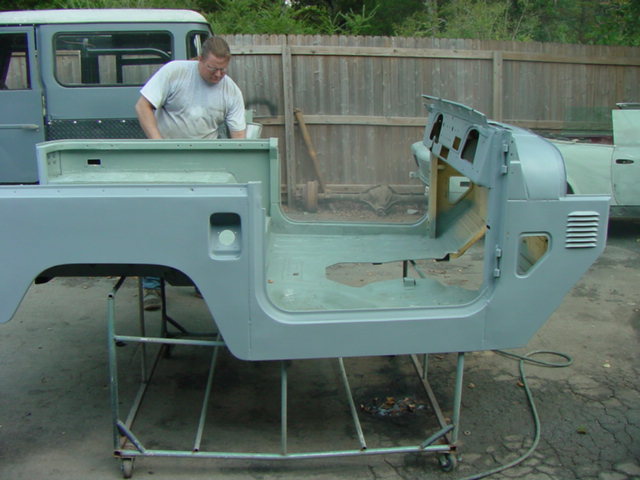
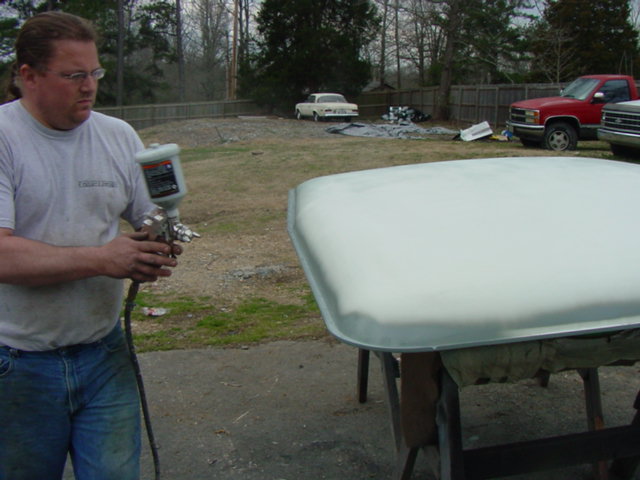
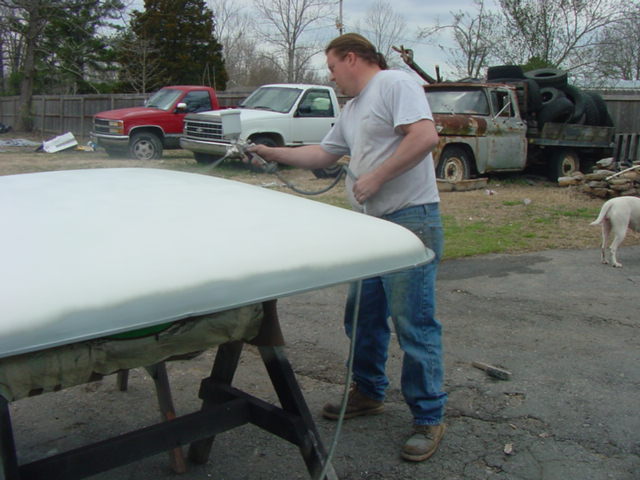
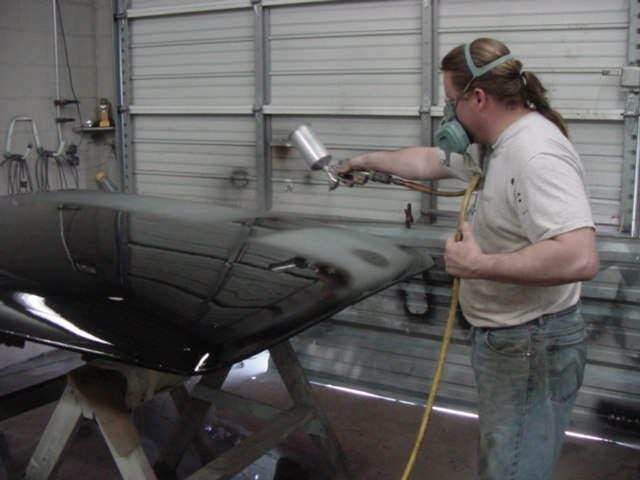
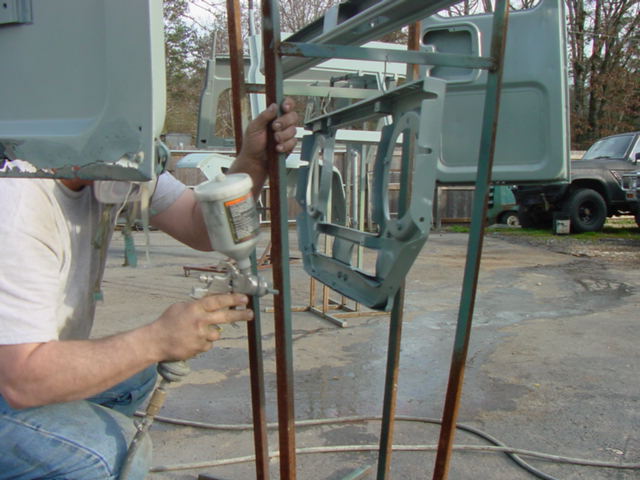
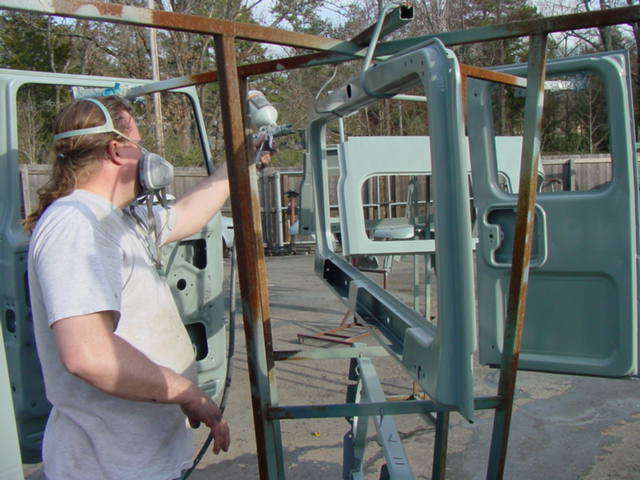
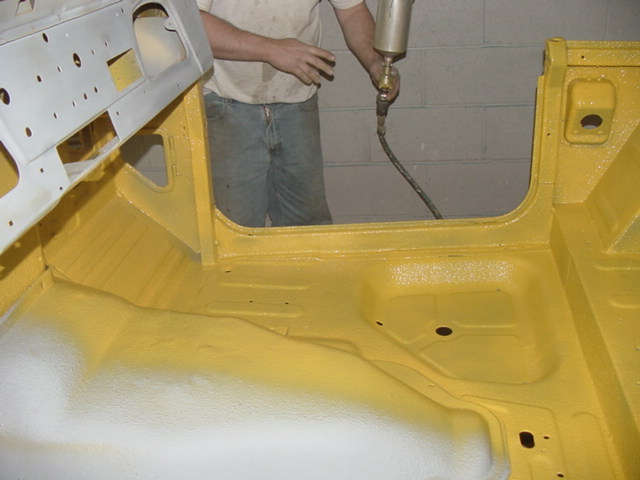
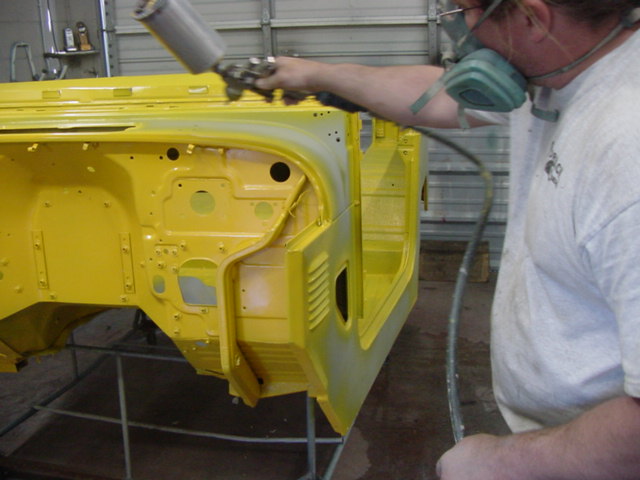
Priming and painting the body pieces. We usually sandblast, epoxy prime, grey prime and paint every panel. It just makes things last so much longer and the finish coat is so much better for it. Here you can see some of the paint going on and the reassembly of the body getting prepped with cleaning and organizing of all the reused parts.
 |
 |
 |
 |
 |
 |
 |
 |
 |
 |
 |
 |
 |
 |
 |
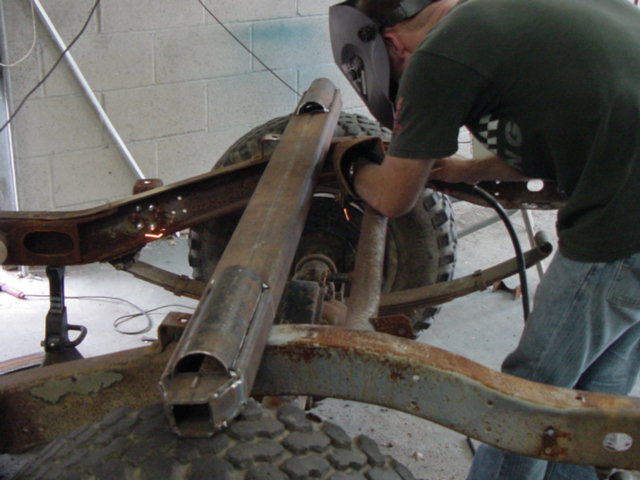
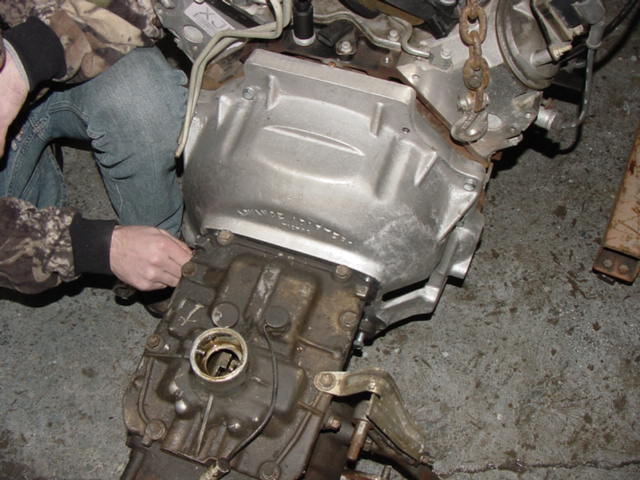
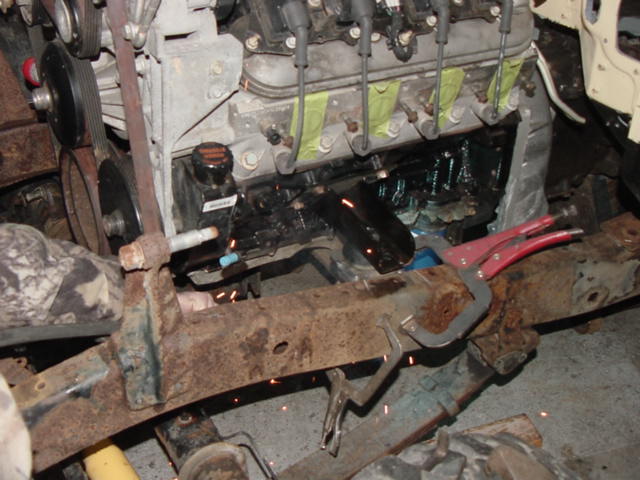
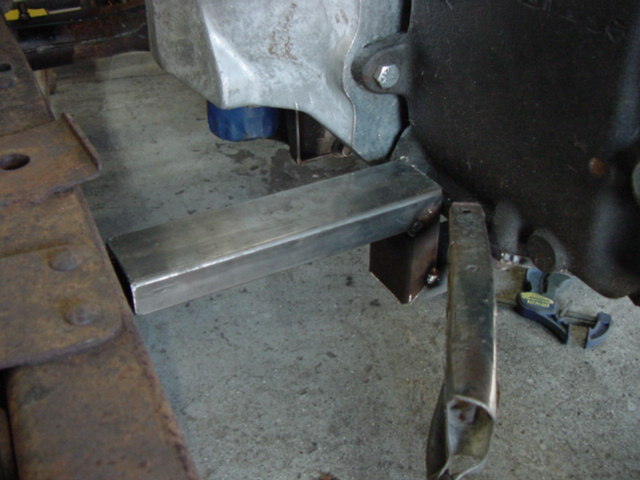
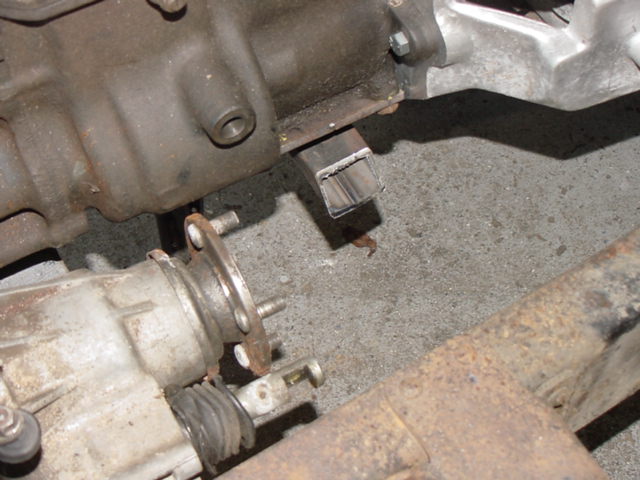
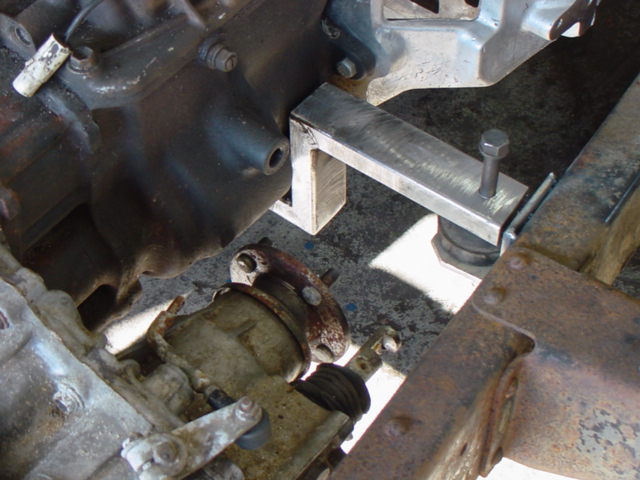
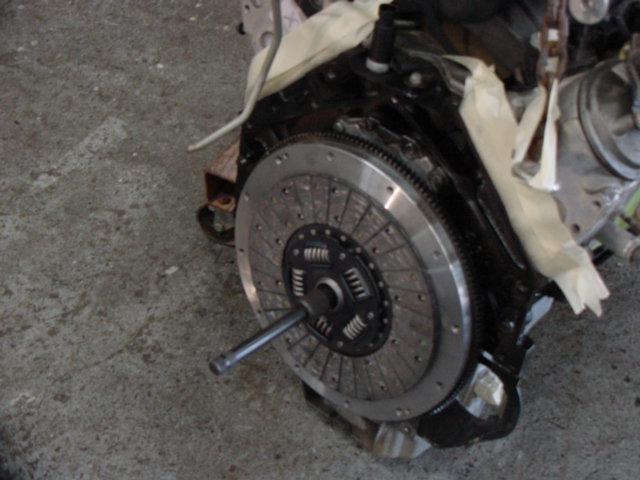
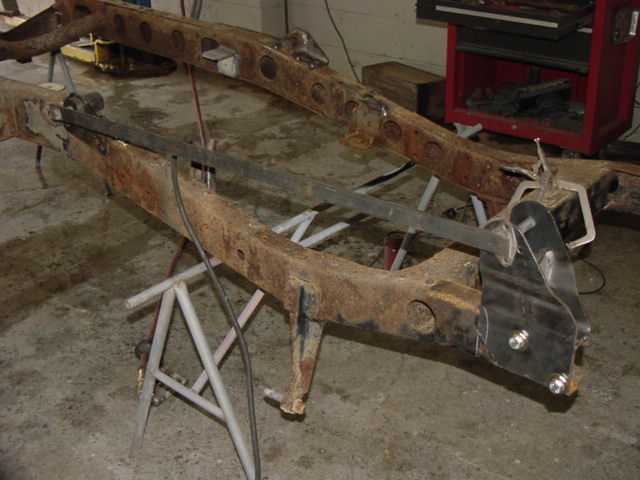
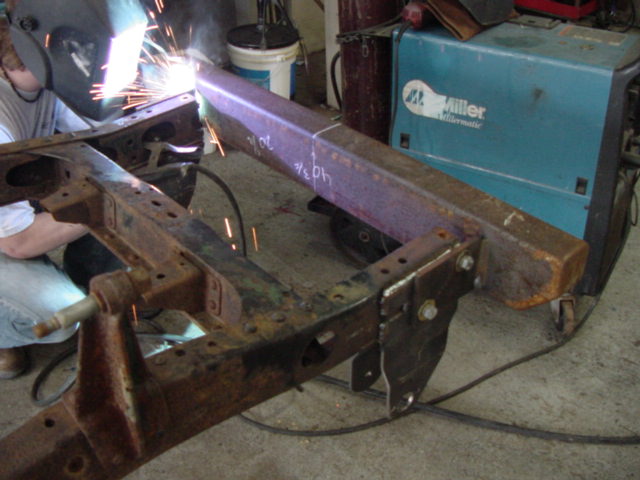
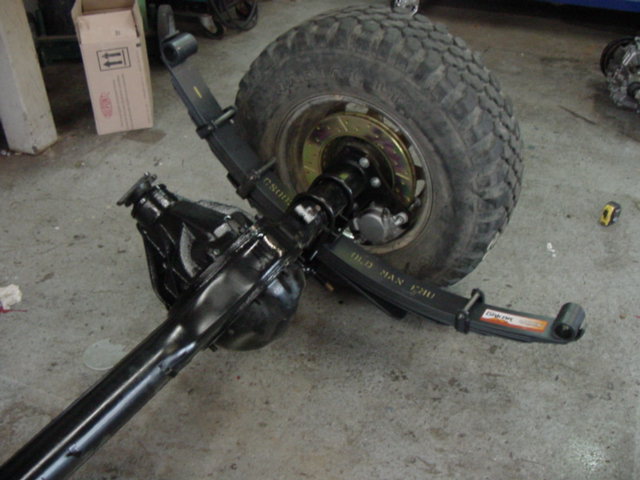
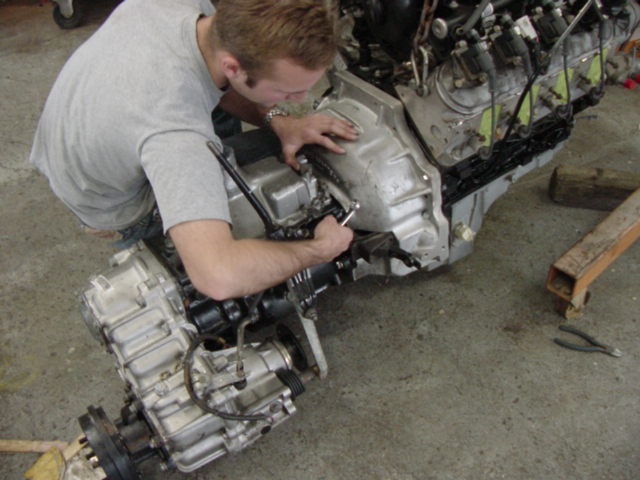
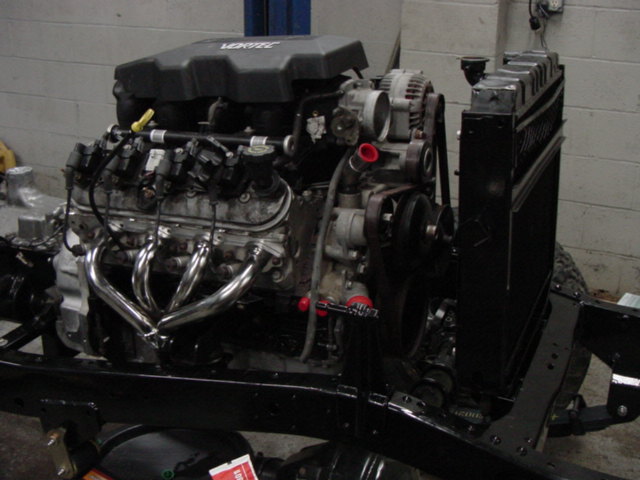
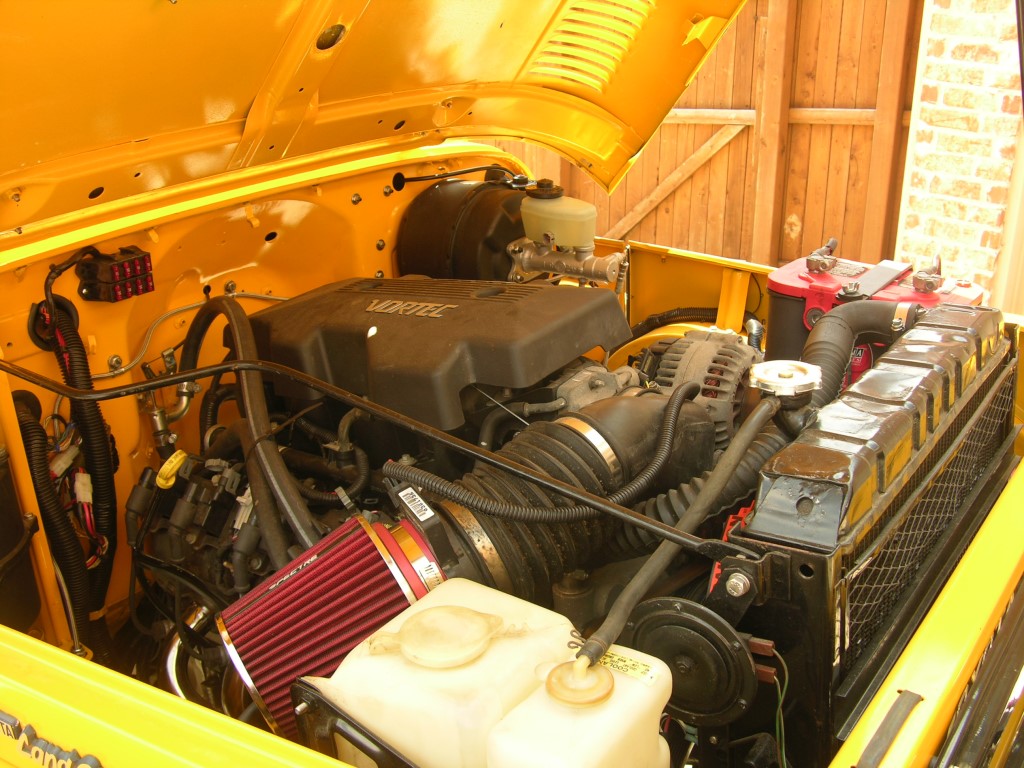
The next few panels show the mock up of the engine config in the frame along with the custom mounts we do for each set up. I try to make it look stock when its all said and done so I fit all the pieces together before any final welding is done. We set the tub on it just to make sure tolerances in all spots are cool and then break out the final welds.
 |
 |
 |
 |
 |
 |
 |
 |
 |
 |
 |
 |
 |
 |
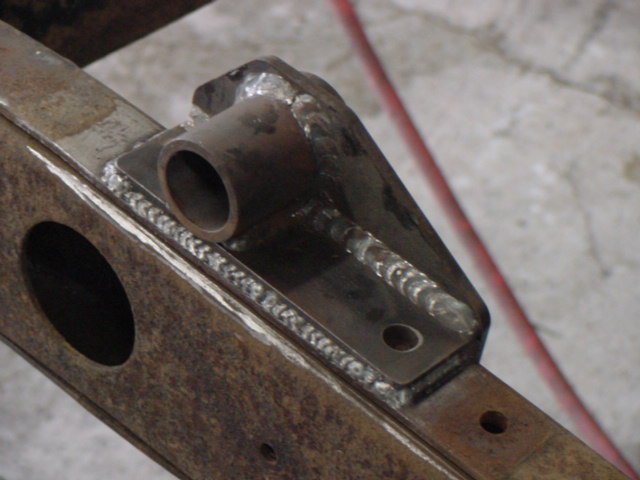 |
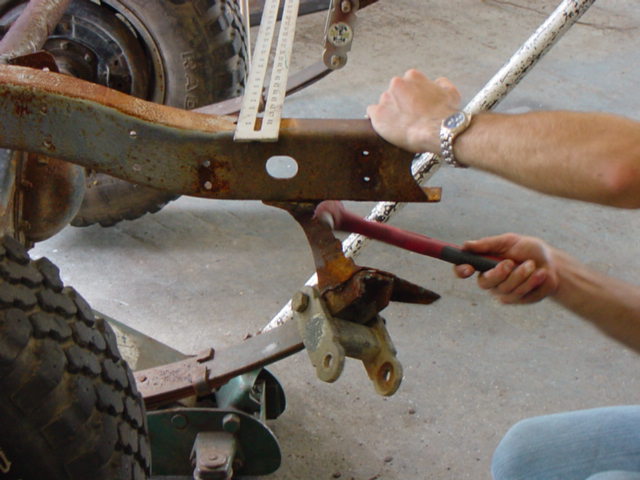
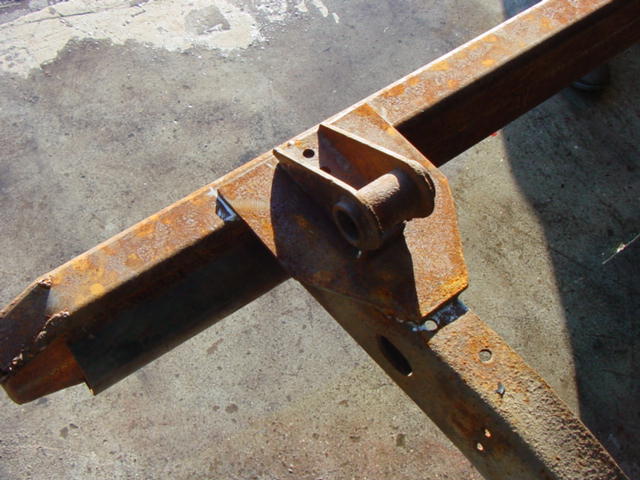
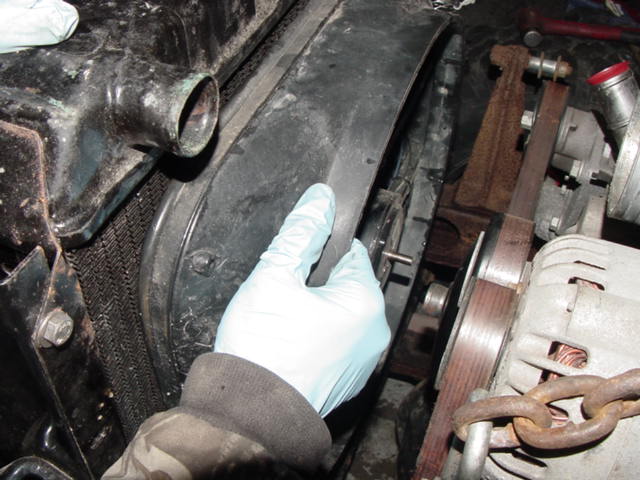
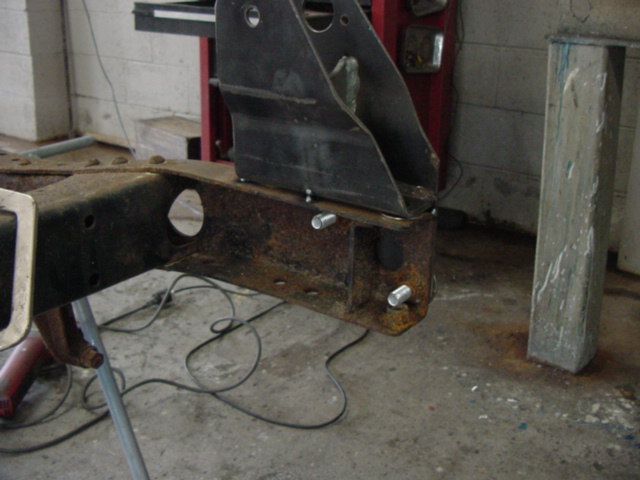
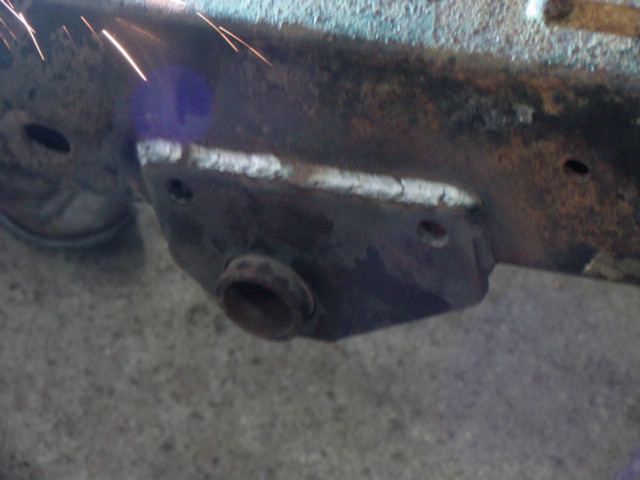
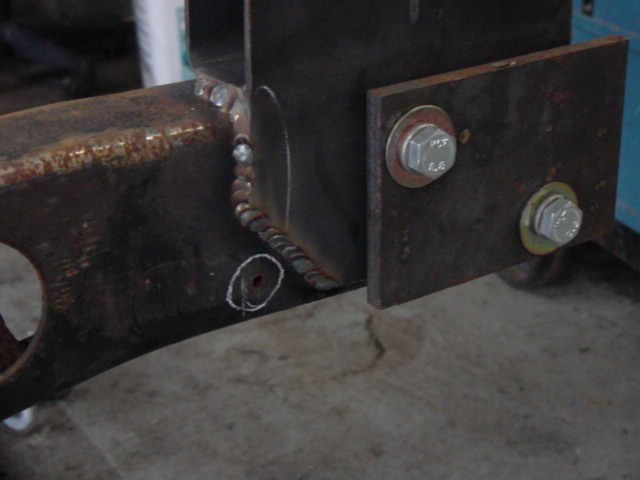
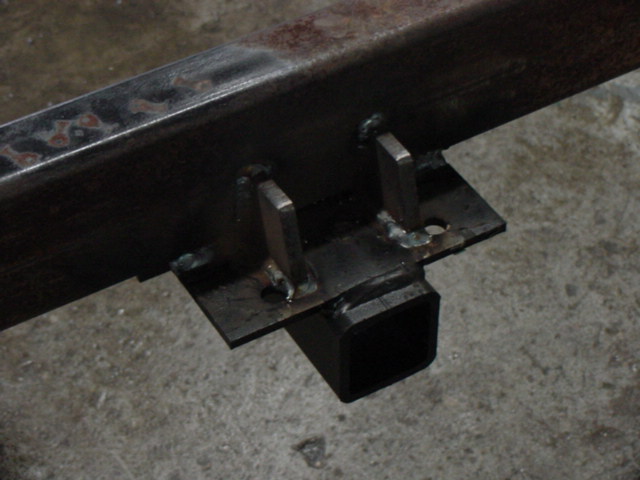
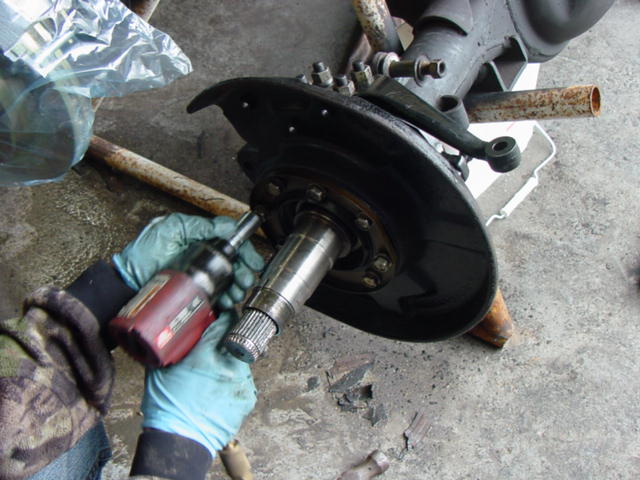
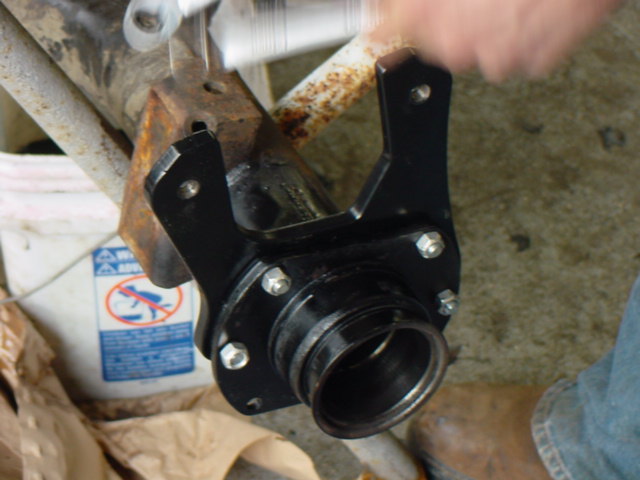
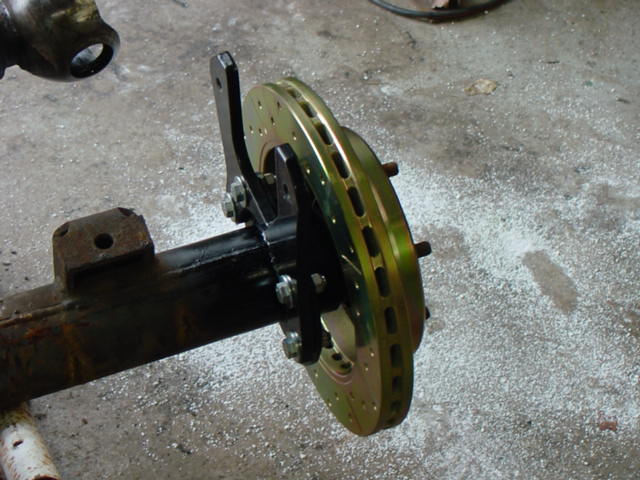
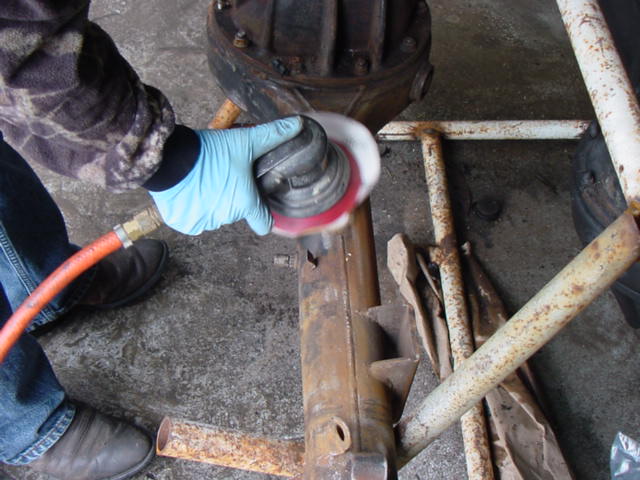
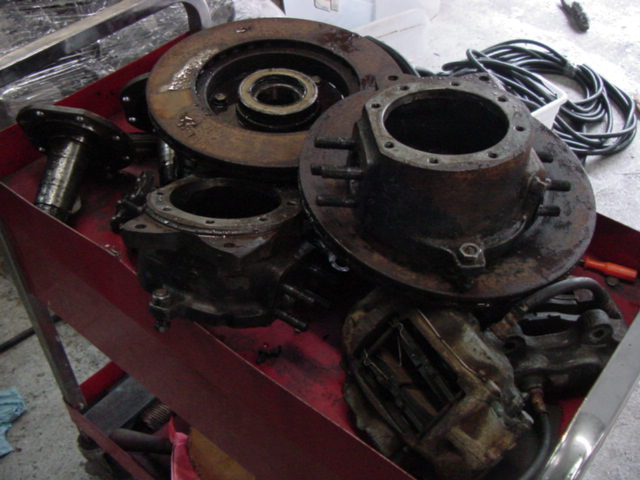
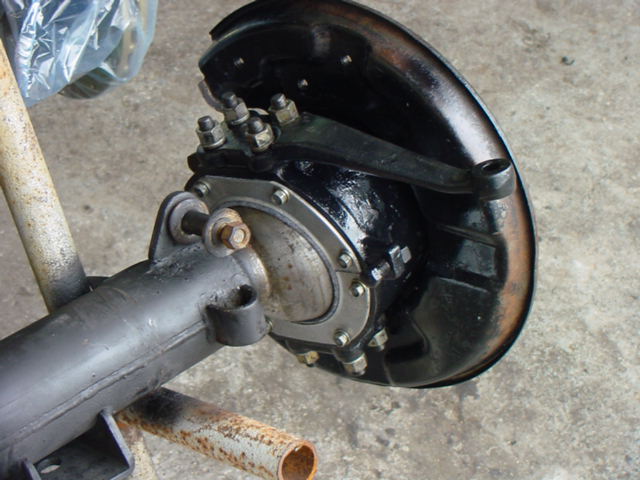
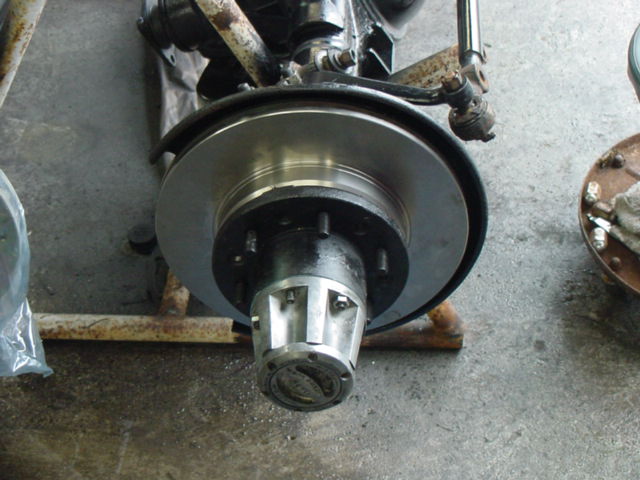
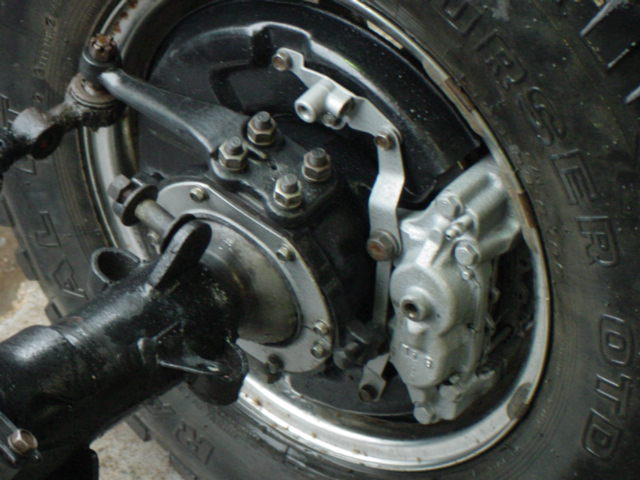
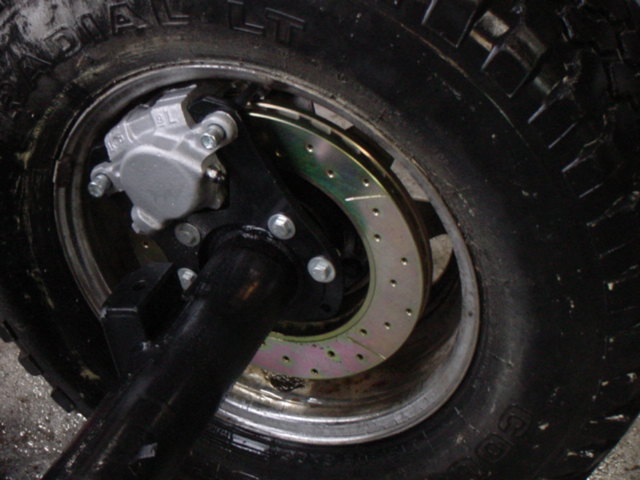
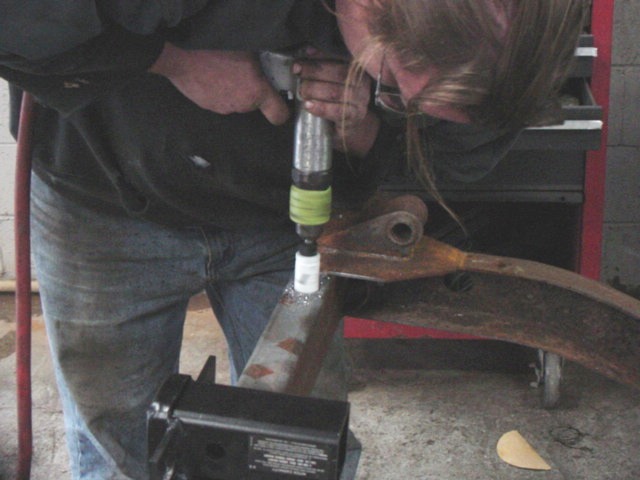
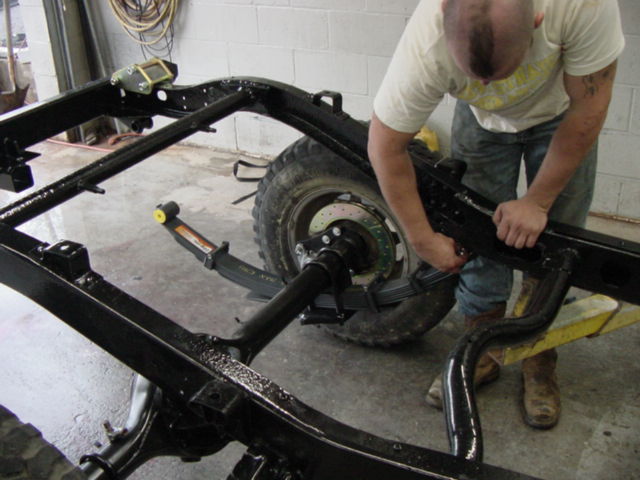
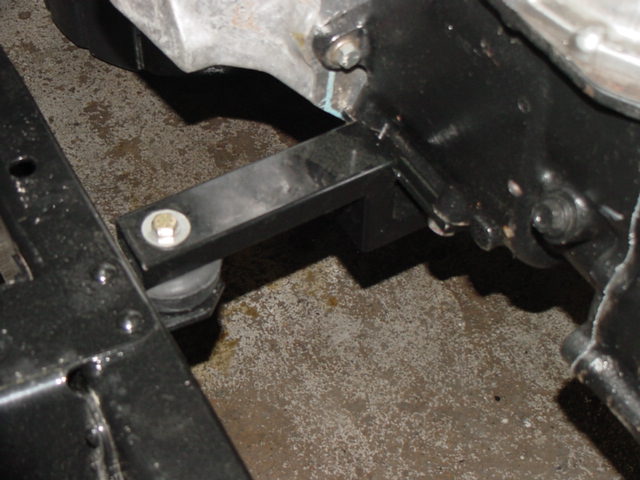
Once the mock up for the driveline was done, we flipped the frame over and did the power steering and correction kit install. We also welded up the bumper mounts and refreshed the axle tubes.
 |
 |
 |
 |
 |
 |
 |
 |
 |
 |
 |
 |
 |
 |
 |
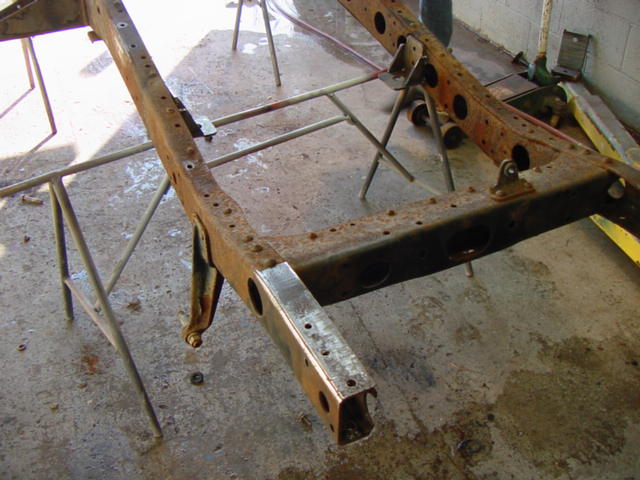
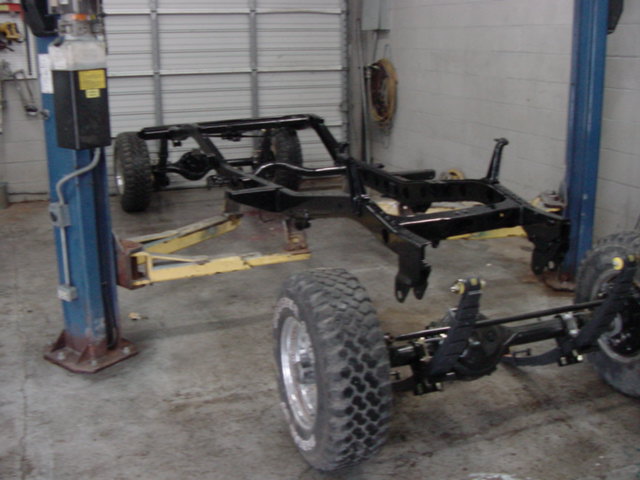
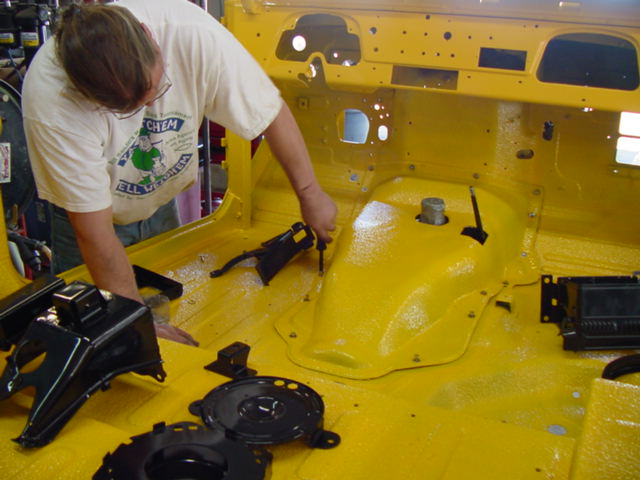
The chassis is back from the coater so we started putting things in their final resting places and my parts rack starts to thin out....heh... I love that part, progress is tangible then...plus its just cool to see come together like you thought.
 |
 |
 |
 |
 |
 |
 |
 |
 |
|
 |
 |
 |
 |
 |
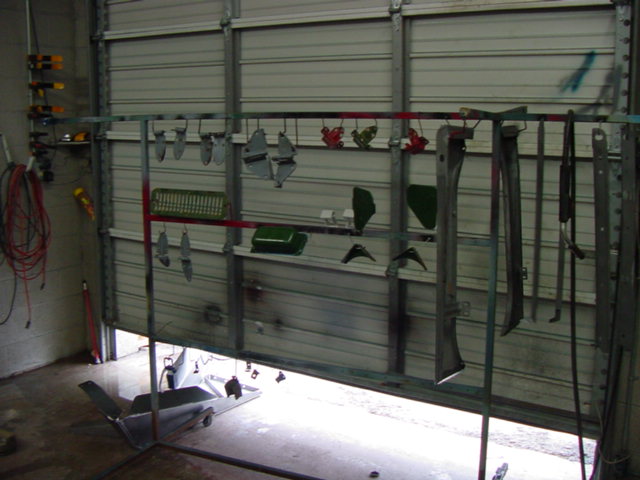
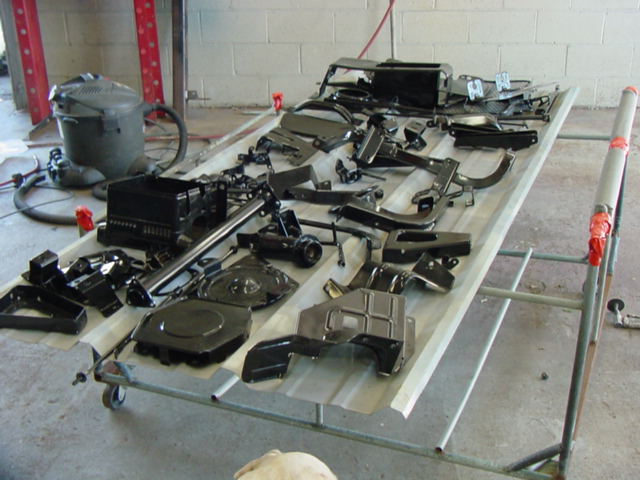
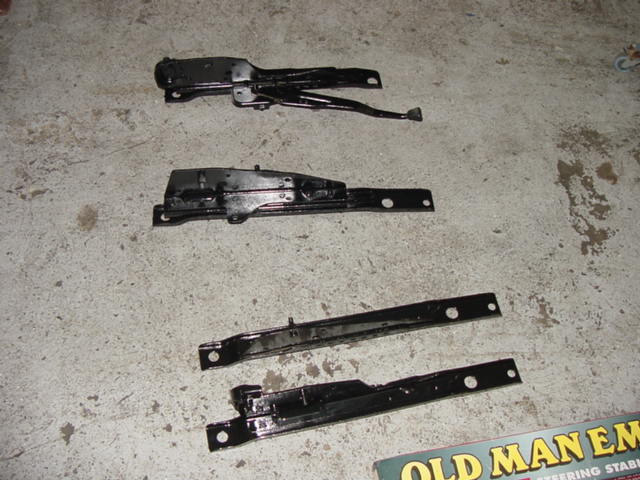
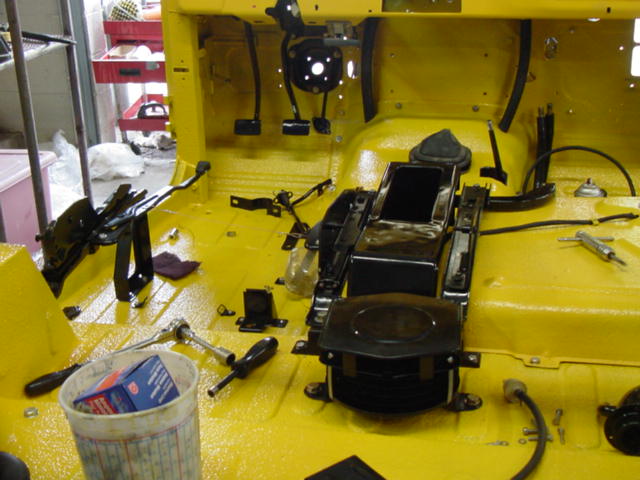
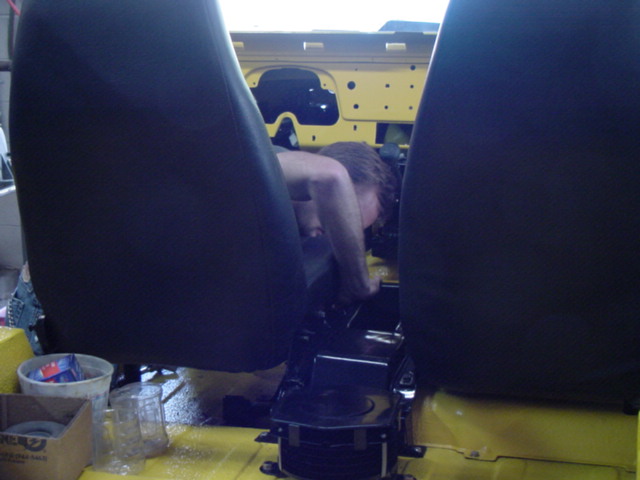
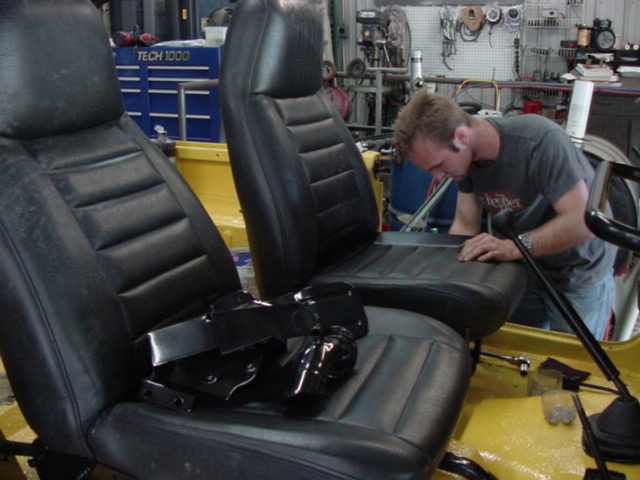
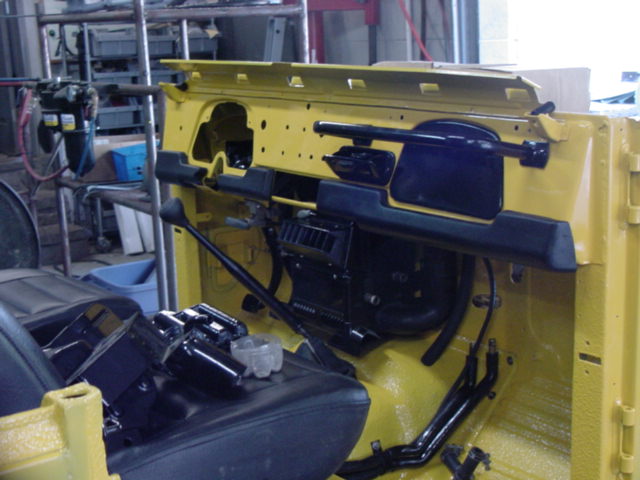
Some of the little stuff being done. Notice the seat brackets, we powdercoated a set once....and it got stuck together...now we paint the sliders. Note the tunnel...pre liner we weld up the holes so that when it goes back with the new driveline there arent huge gaping holes where the previous holes used to be. All the metal is powdercoated and we clean everything before it goes back together
 |
 |
 |
 |
 |
 |
 |
 |
 |
 |
 |
 |
 |
 |
 |
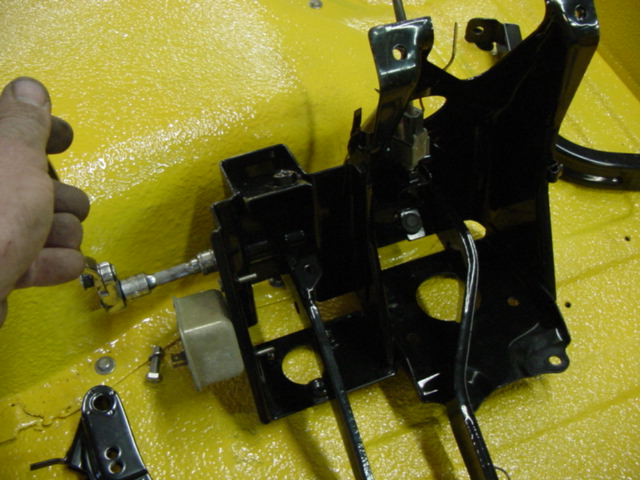
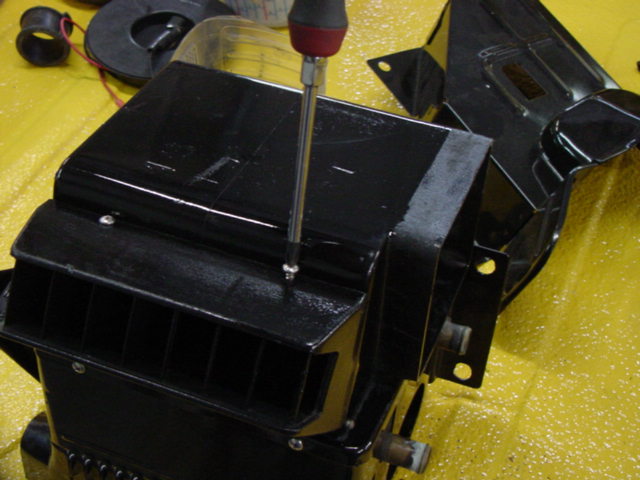
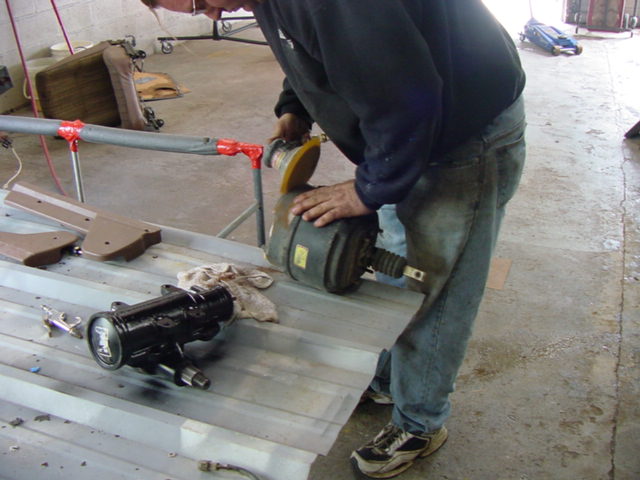
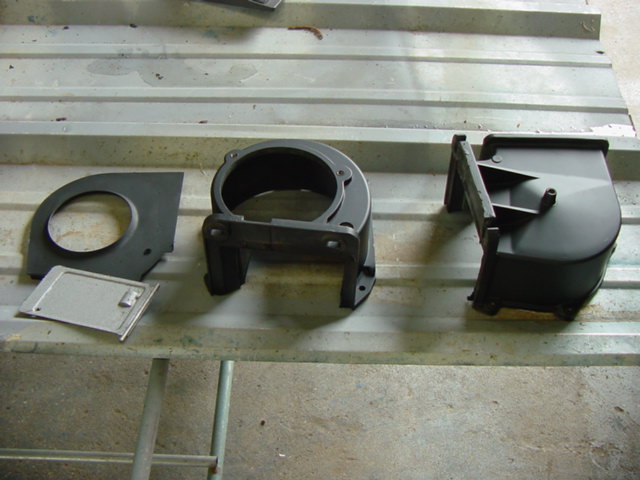
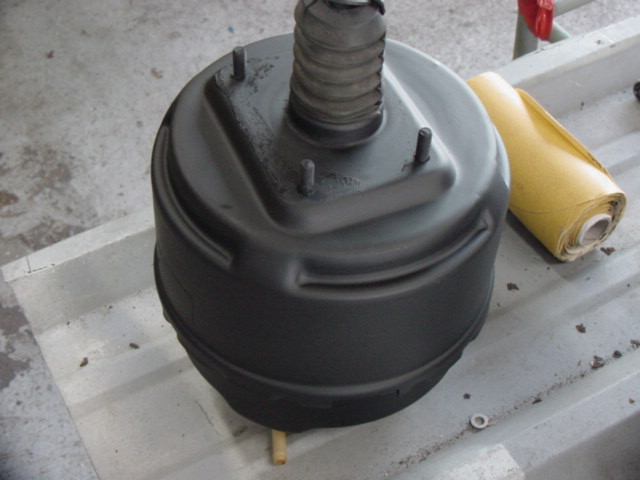
Some more cool little things we do. Refreshing the booster and the blower motor to look like new again
 |
 |
 |
 |
 |
 |
 |
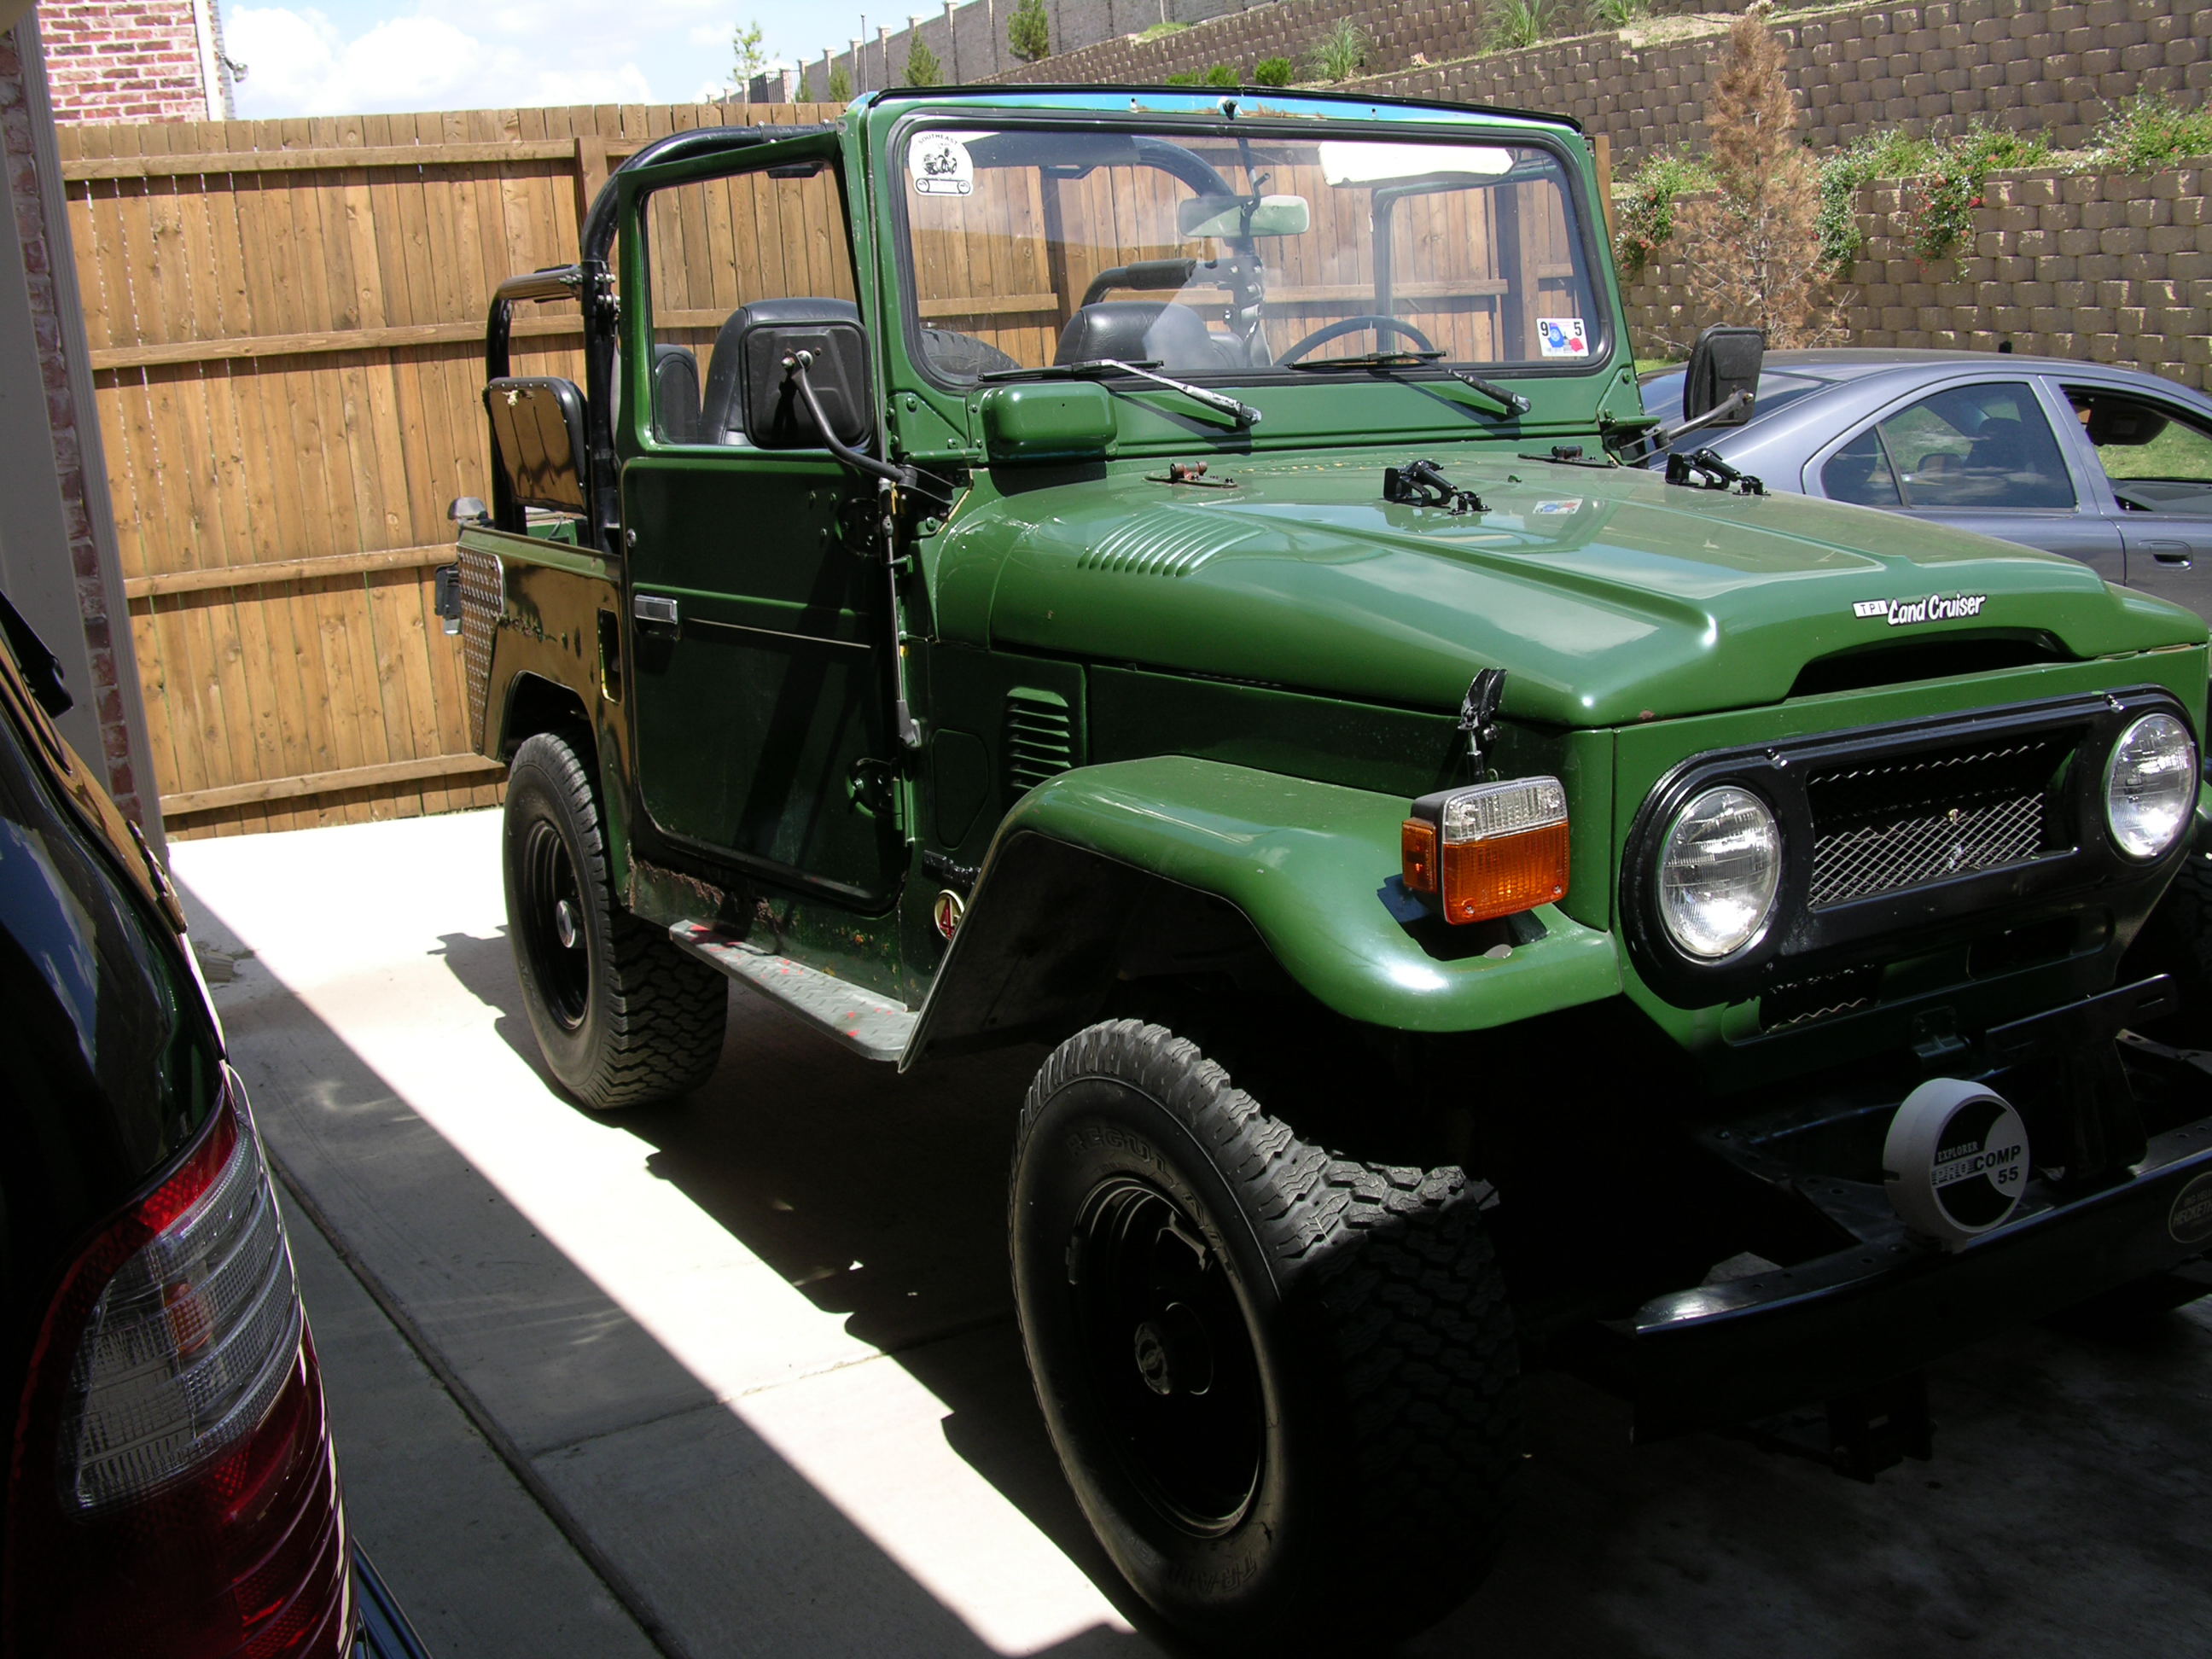
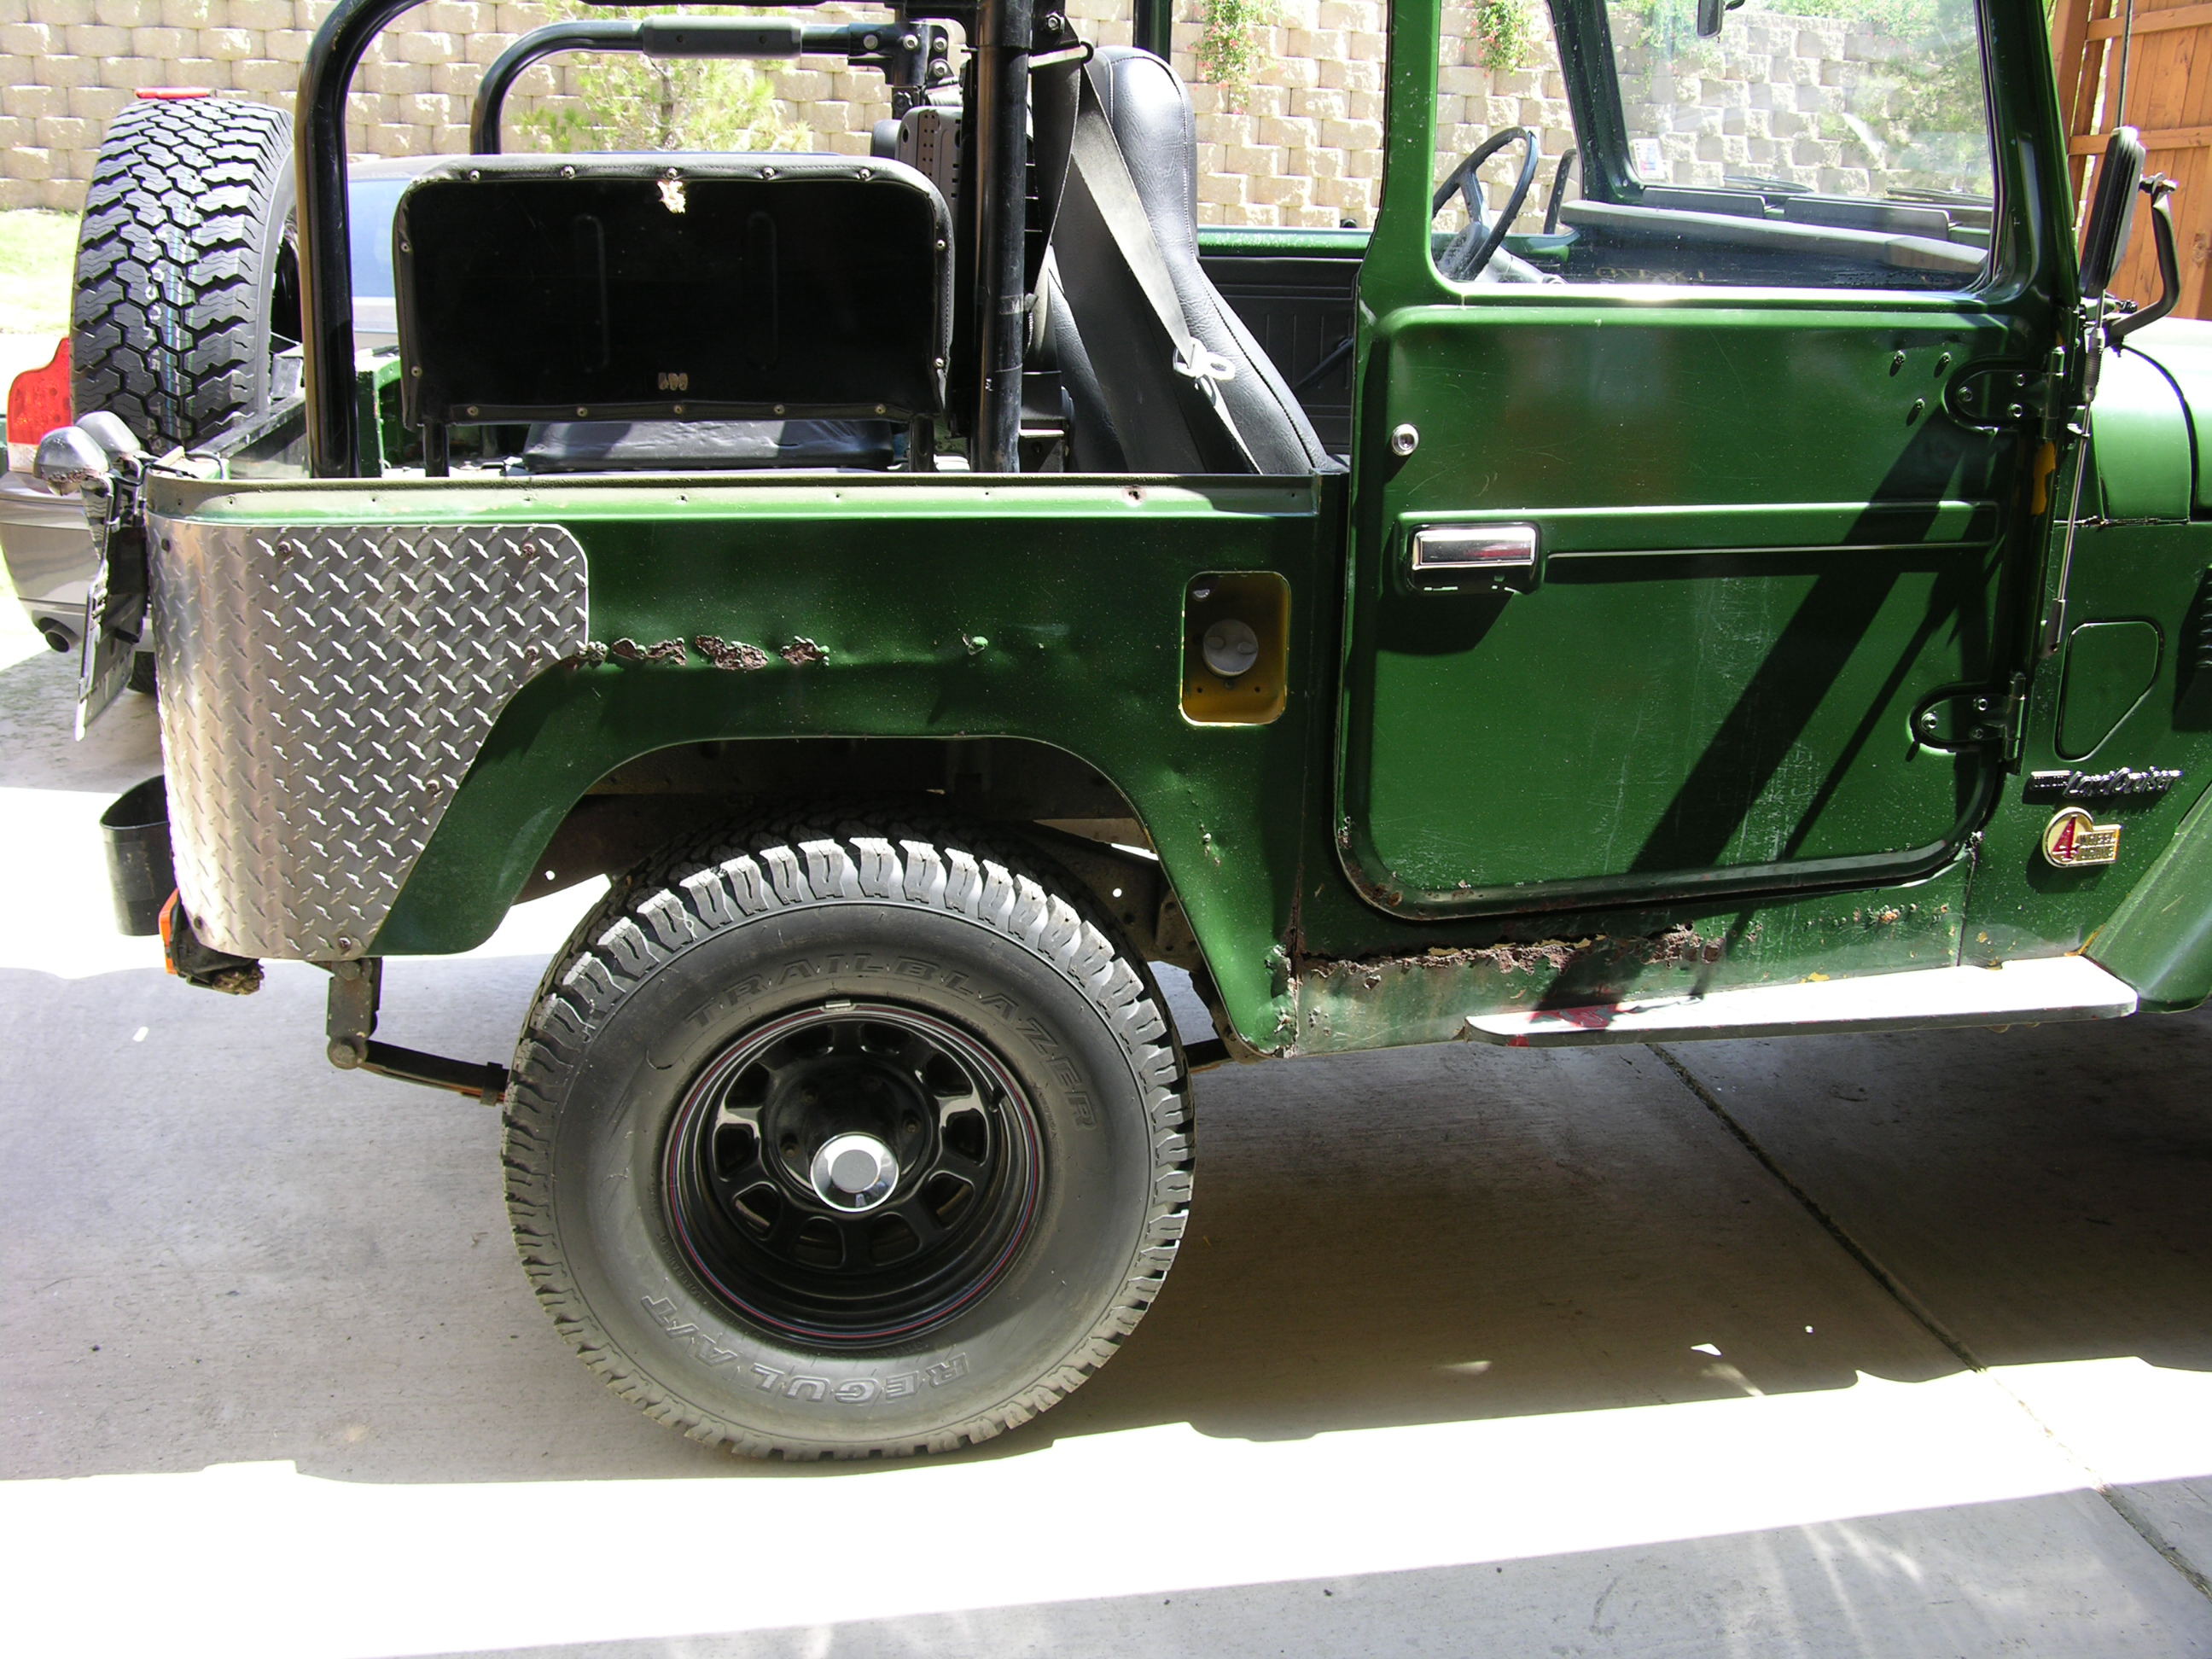
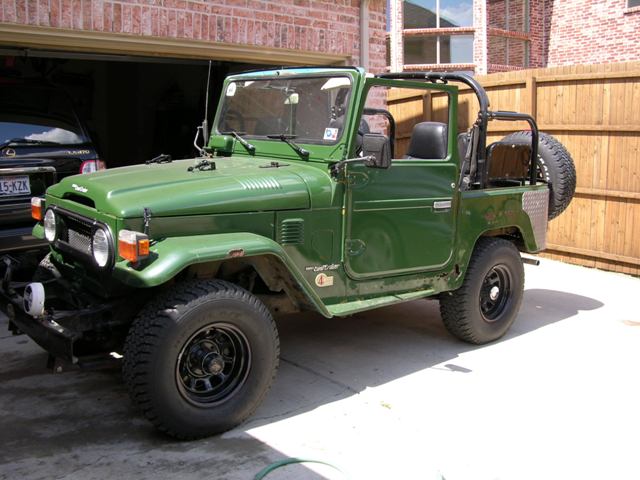
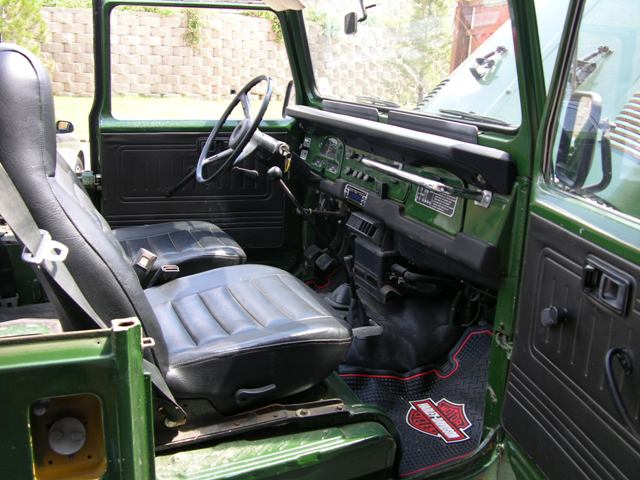
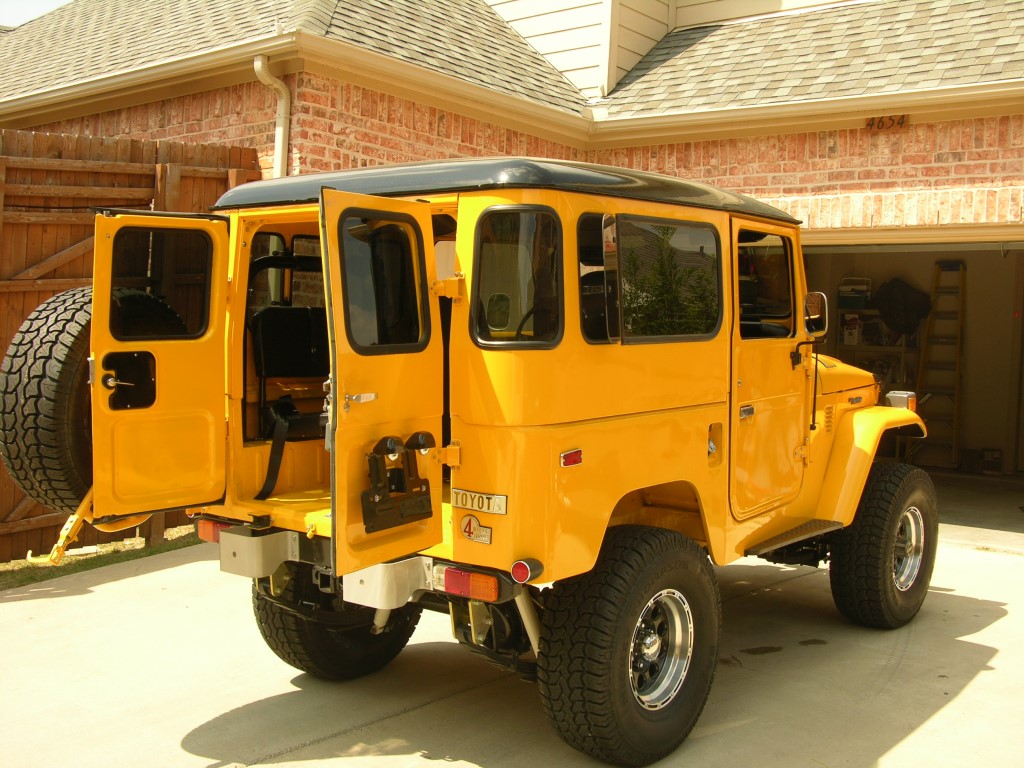
Here are some final pics Bradley sent to me via email....I ll have some more shortly as I finally am able to get some stuck pics off a disc.
 |
 |
 |
 |
 |
The Cruiser Company 2009