This is Lance Hawkins awesome 1966 model FJ40.

001LHawkins001.jpg (57758 bytes) 002LHawkins002.jpg (61621 bytes) 003LHdash001.jpg (61488 bytes) 004LHinterior002.jpg (60730 bytes) 005LHrear001.jpg (60491 bytes)

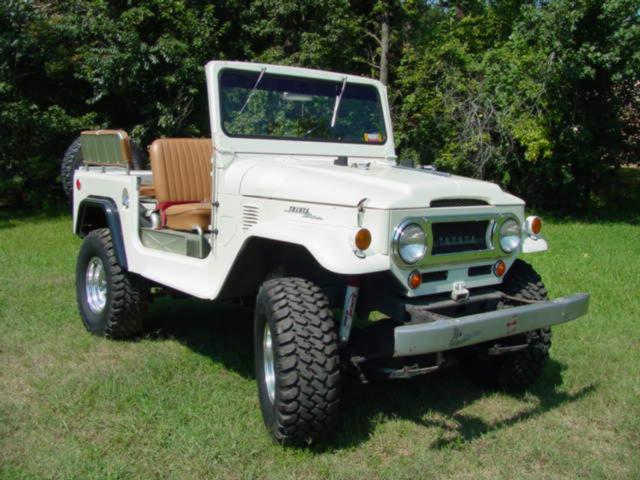
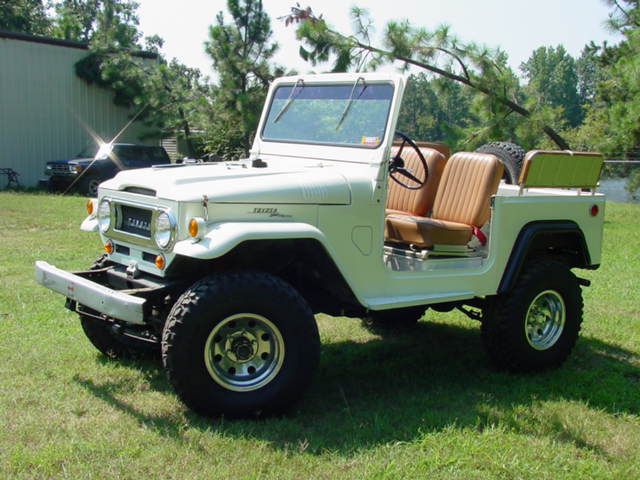
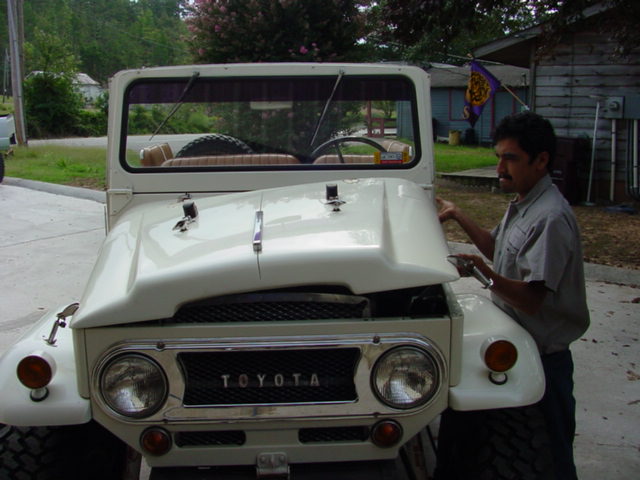
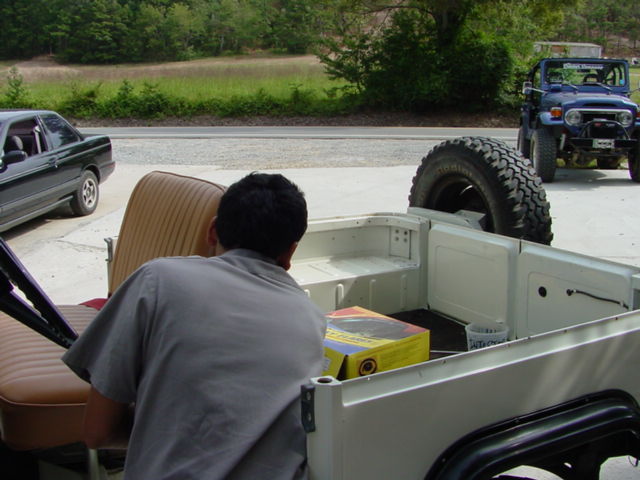
  I am one lucky shop owner to be doing the conversion on this sweet 1967 truck  Below you will find the sequence of pictures we took as the truck went throught its growing pains.

006lhhoodoff.JPG (62129 bytes) 007lhbodyoff002.JPG (62343 bytes) 008lhbodyoff003.jpg (62151 bytes) 009lhbodyoff004.jpg (60785 bytes) 010lhbodyoff005.jpg (60725 bytes)

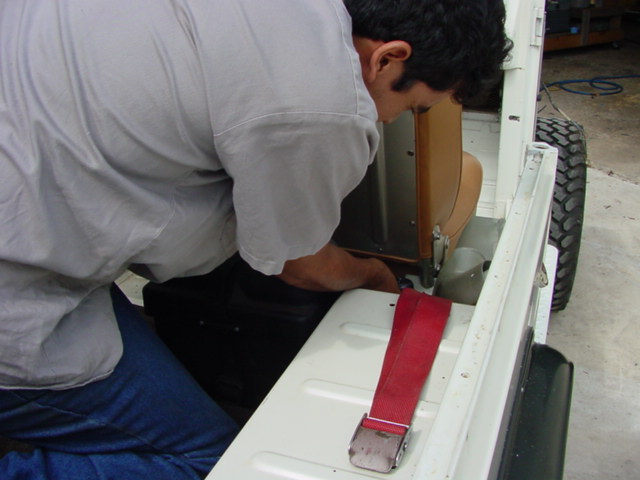
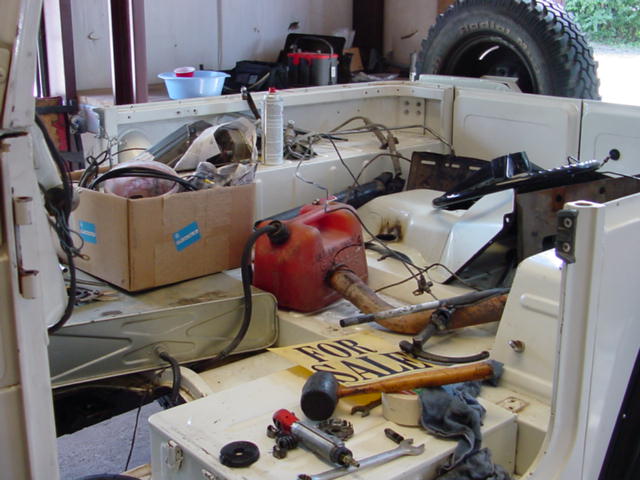
Here goes everything.  We disassemble the front cap and the interior all at once.  

011lhbumper001.jpg (62500 bytes) 012lhinter001.jpg (61496 bytes) 012lhinter002.jpg (60882 bytes) 013lhinter003.jpg (60441 bytes) 014lhinter004.jpg (62347 bytes)

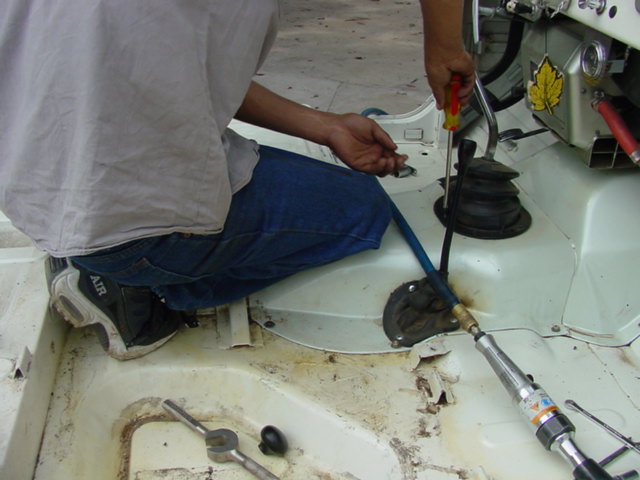
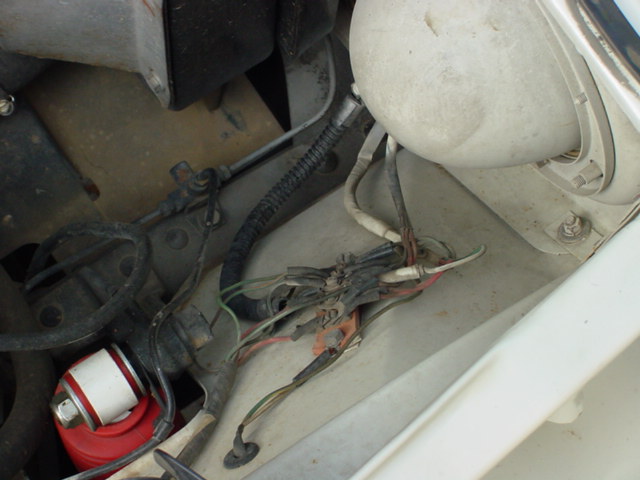
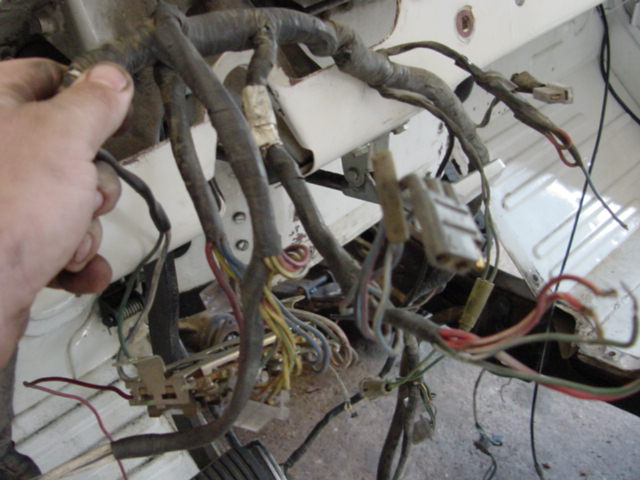
Everything came out fairly easily.  The wiring is always difficult and let me tell you, Toyota sure learned as they went along because the wiring on early models and the factory installation to put it bluntly, suck.

015lhwiring001.jpg (61777 bytes) 016lhwiring002.jpg (62214 bytes) 017lhchaos.jpg (60695 bytes) lhfactorymotor001.jpg (63041 bytes)

Check out the chaos the consumes the cruiser as things progress

018clhframeprep002.jpg (62133 bytes) 018alhframeprep.jpg (61483 bytes) 018blhframeprep001.jpg (60971 bytes) lhpscolumnout.jpg (62375 bytes)


019lhmotorprep002.jpg (61592 bytes) 020lhmotorprep003.jpg (61928 bytes) 021lhmotorprep004.jpg (61652 bytes) 023lhmotorprep007.jpg (60817 bytes) 024lhmotorprep008.jpg (61723 bytes)

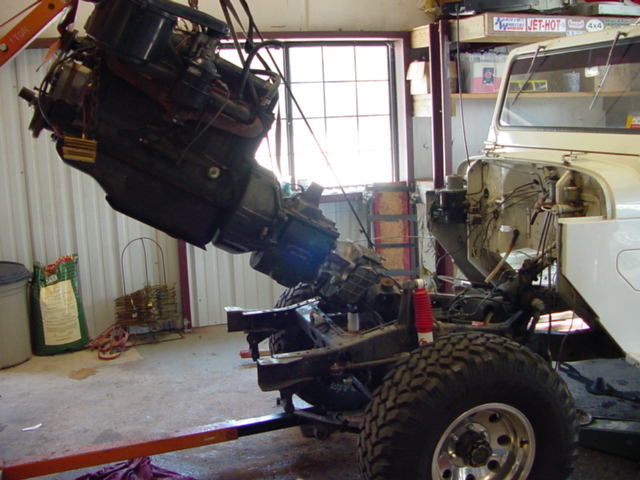
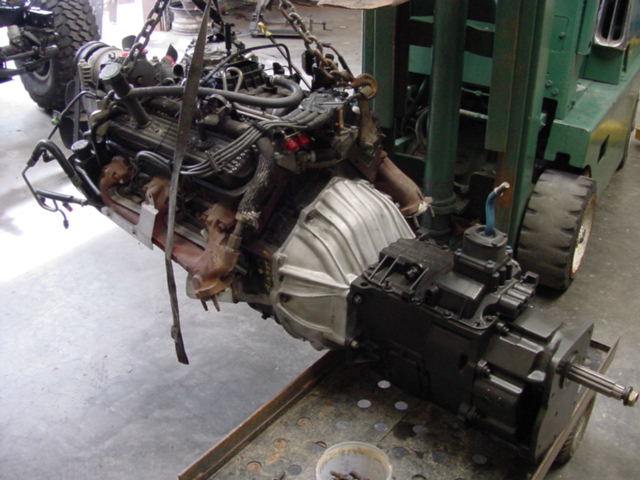
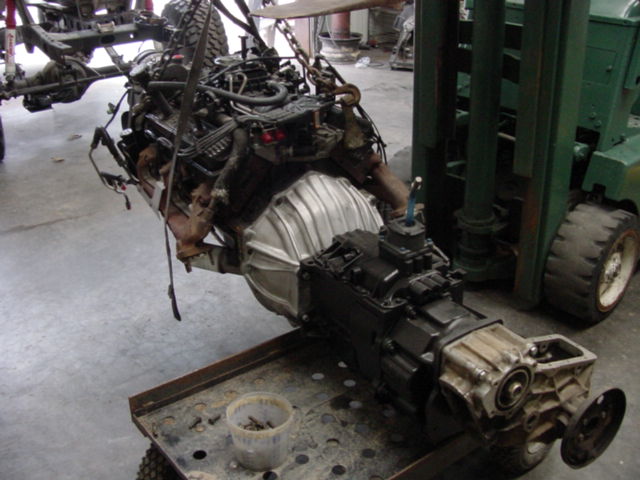
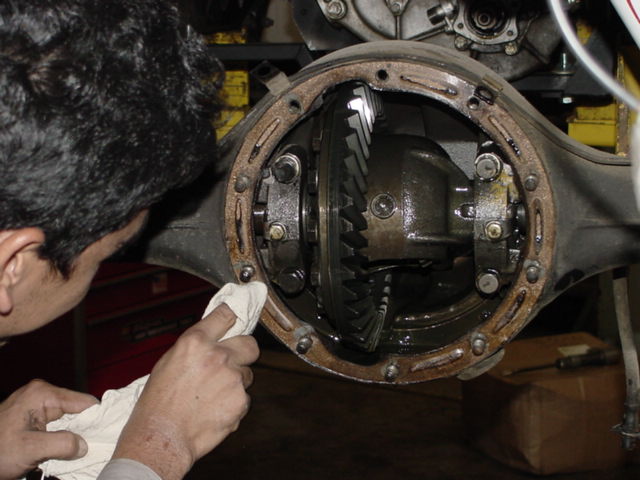
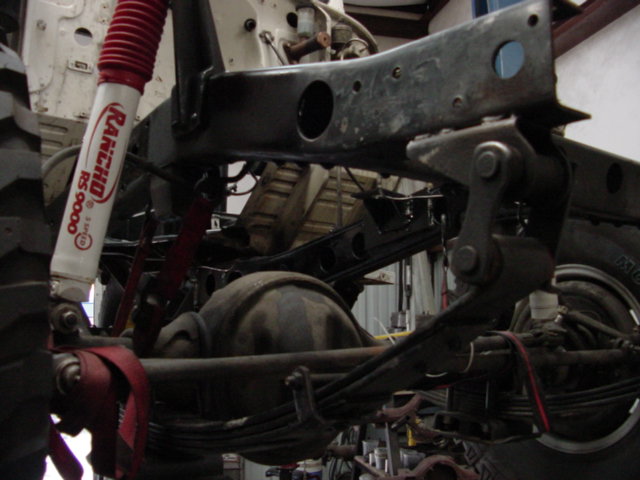
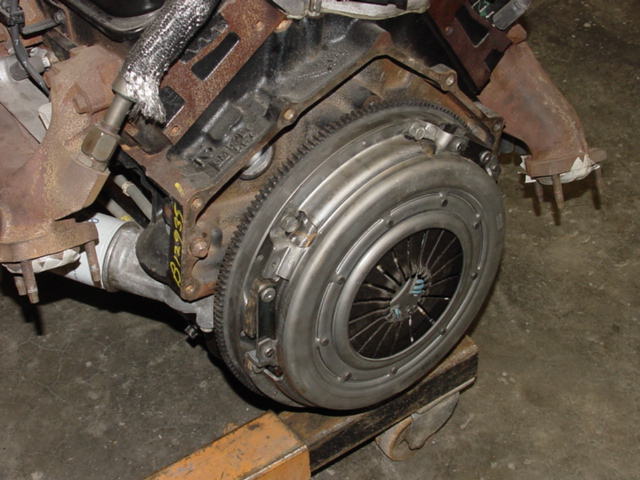
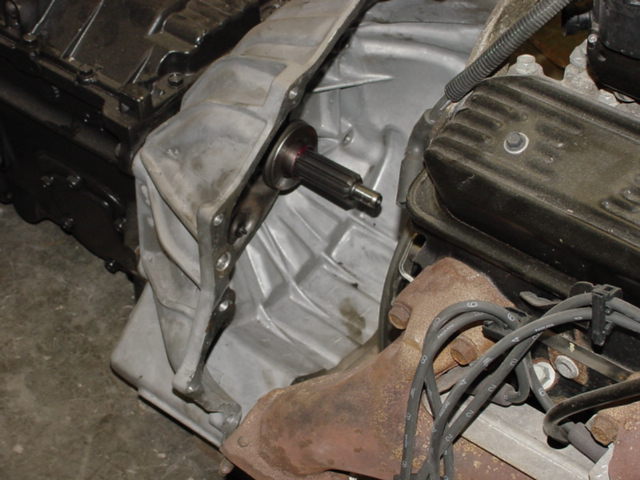
One thing I have found to be a crucial part of all major conversions like this one is to assemble the entire drive line or skeleton thereof and make sure every thing fits before any major welding is done.

022lhmotorprep005.jpg (62186 bytes) lhradin001.jpg (64146 bytes) lhradin.jpg (62680 bytes) lhradin005.jpg (61931 bytes) 026lhtrannyfit01.jpg (59681 bytes) 028lhxferspace.jpg (62544 bytes)

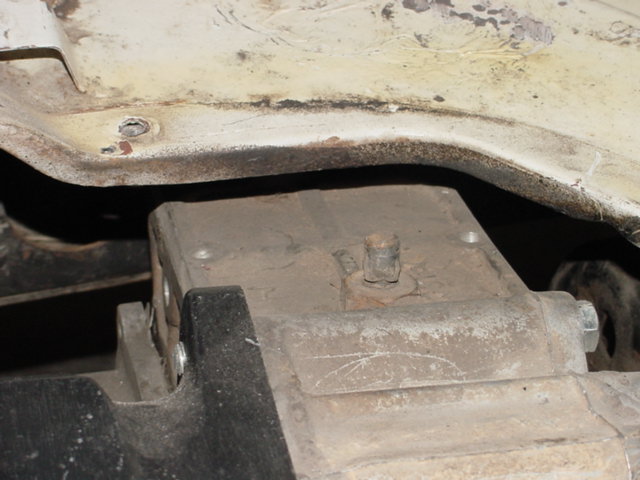
You can see the space between the xfer and the lower portion of the body.  That's good!

029lhdlprep.jpg (61673 bytes) 030lhdlprep002.jpg (61388 bytes) 031lhdlprep003.jpg (61375 bytes) 034lhdlprep006.jpg (62078 bytes) 035lhdlprep007.jpg (63380 bytes)

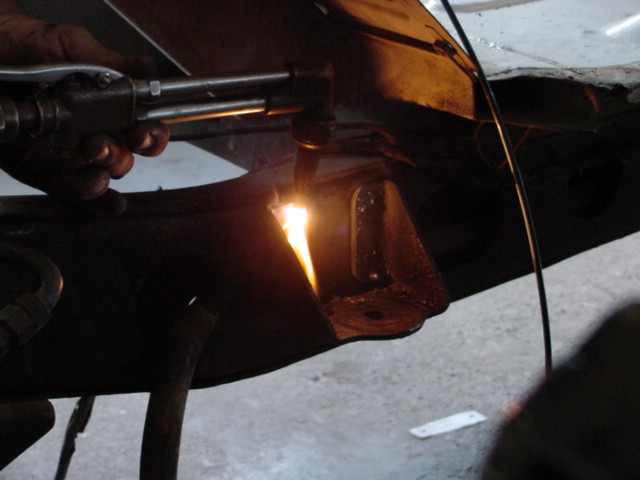
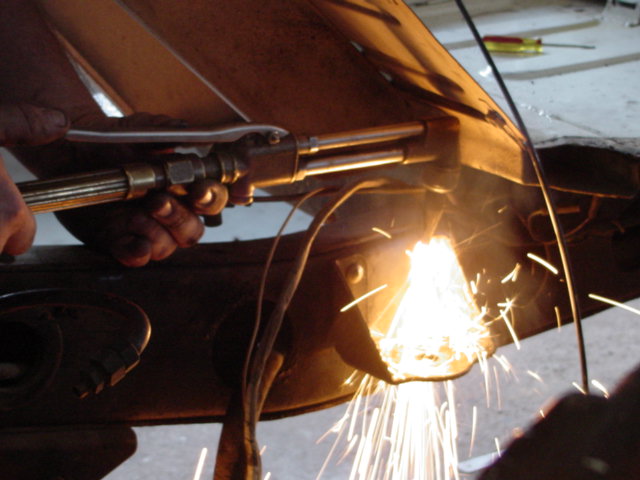
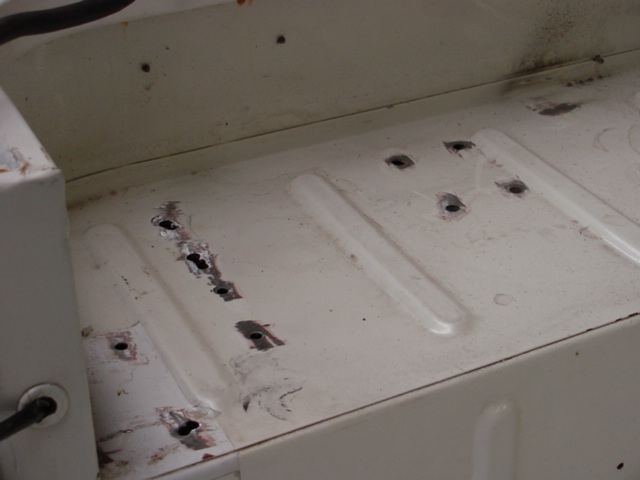
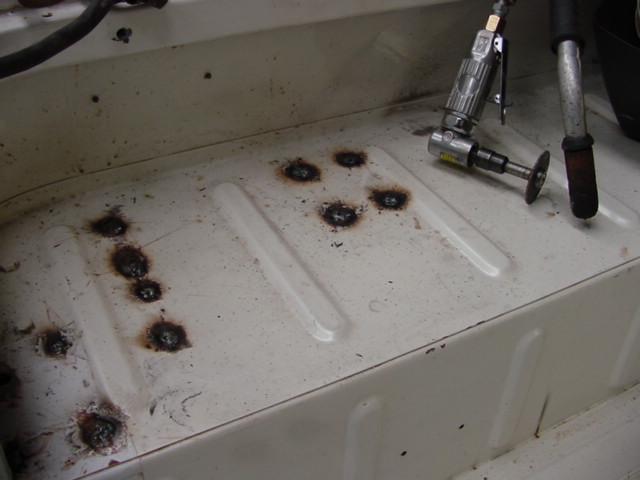
For some reason Lance's cruiser had small holes everywhere in the back so we had to weld, fill and grind them all flat before prepping the truck for the liner.

040lhrollcage001.jpg (60338 bytes) 041lhrollcage002.jpg (61901 bytes) 042lhrollcage003.jpg (62236 bytes) 044lhrollcage004.jpg (62888 bytes)

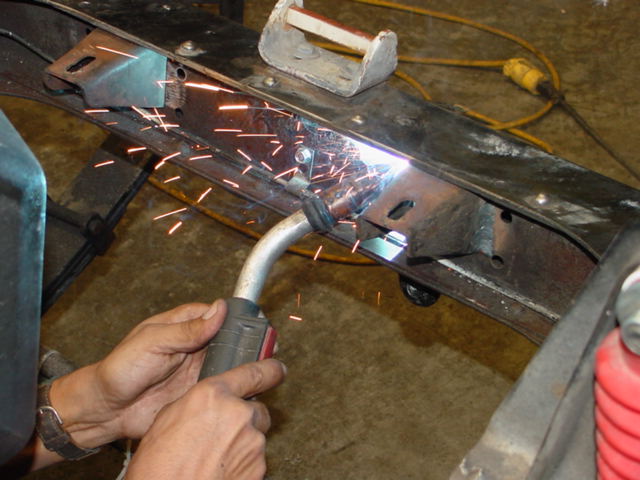
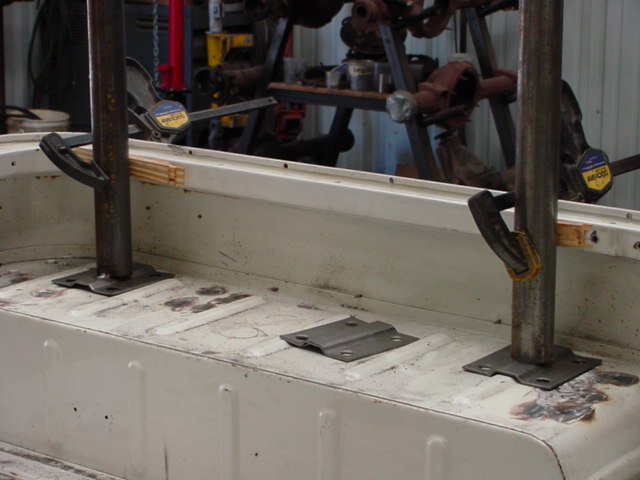
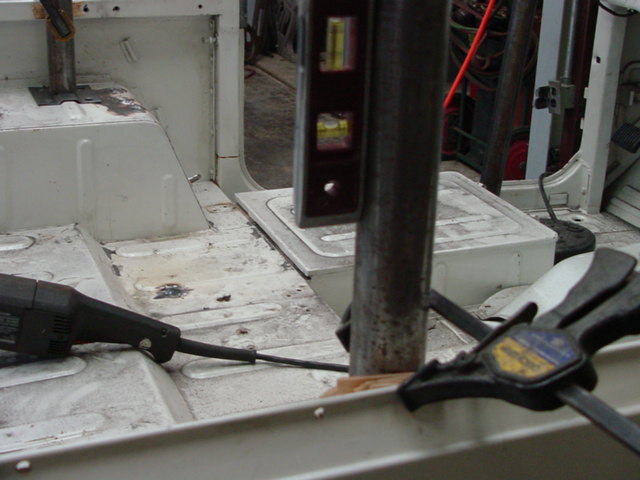
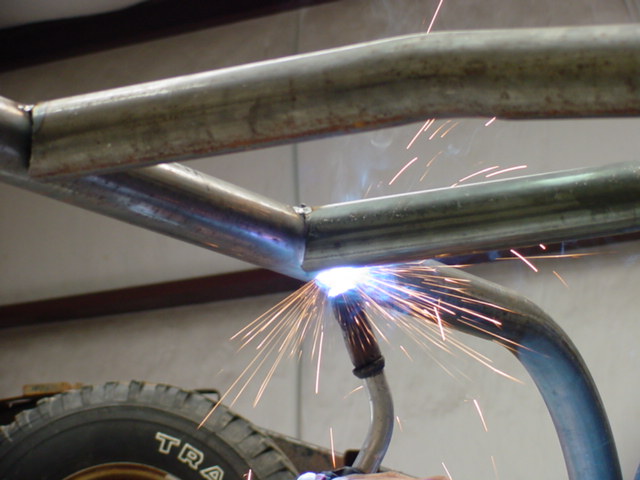
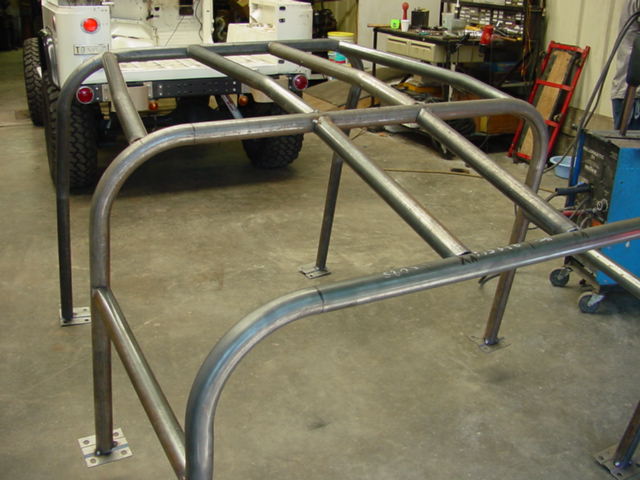
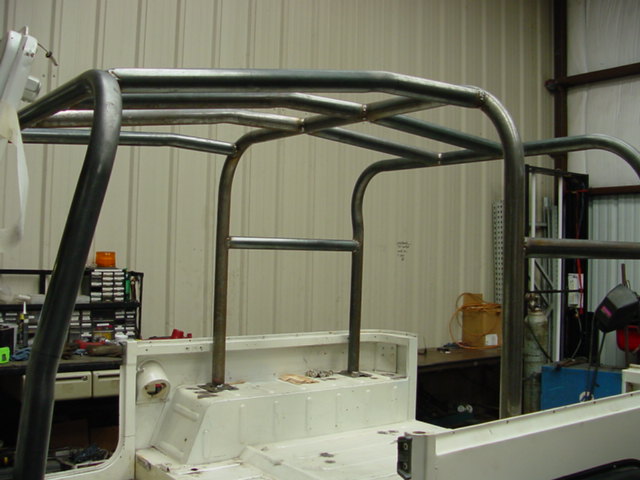
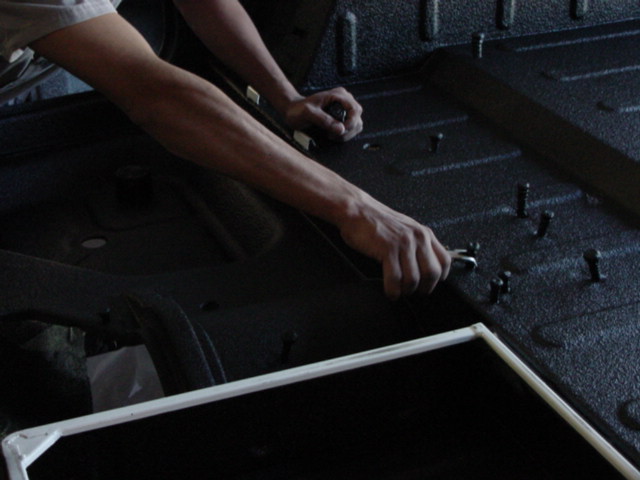
Next came the roll cage.  I didn't want to burn the liner with the welding spatter so we went ahead and assemble the family cage and drilled the holes.  Lance is having the cage and windshield hooks painted to match the silver on his seat frames.  Very trick

045lhrollcage006.jpg (62216 bytes) 046lhrollcage007.jpg (62032 bytes) 047lhrollcage008.jpg (62370 bytes)

By the way check out the feet on the rollcage.  Nice touch, you can say it. 

032lhdlprep004.jpg (62118 bytes) 033lhdlprep005.jpg (60993 bytes) 038lhdlprep008.jpg (61690 bytes) 039lhdlprep009.jpg (61838 bytes) 039alhdlprep010.jpg (61783 bytes)

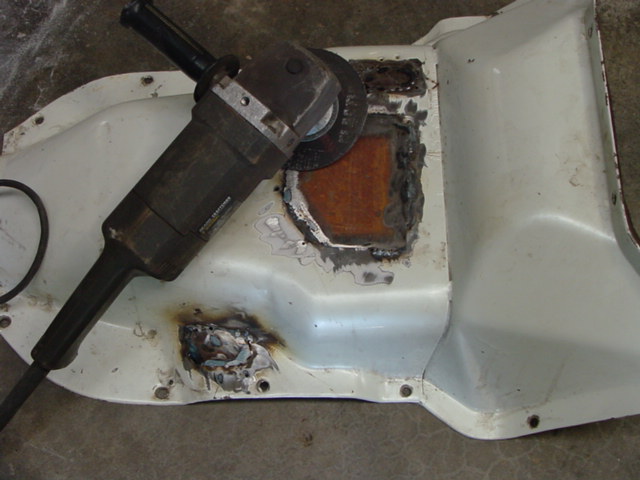
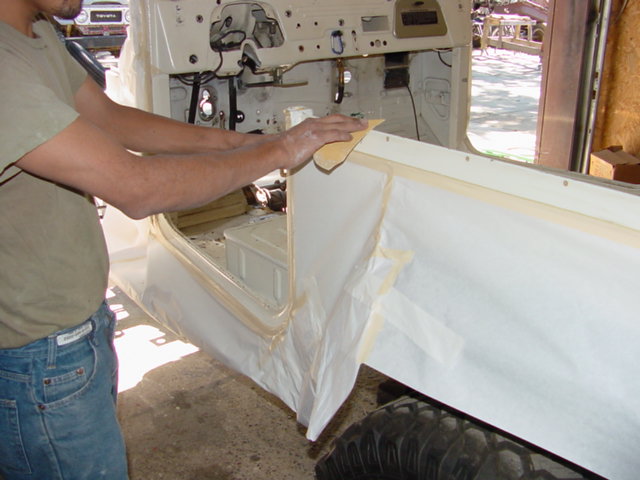
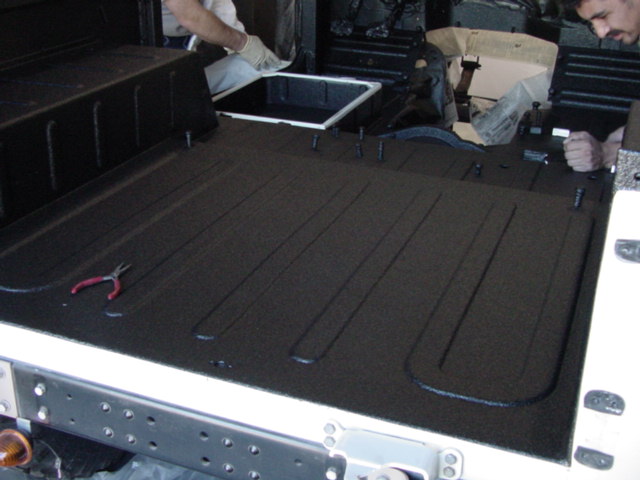
Ugh, prepping for the liner.   The fourth pic above shows why we are the best.  Look for the holes that were present before.  They are no longer and the liner looks absolutely great.

lhframeprep.jpg (61483 bytes) lhframeprep003.jpg (61509 bytes) lhrrcrossmem.jpg (60823 bytes)

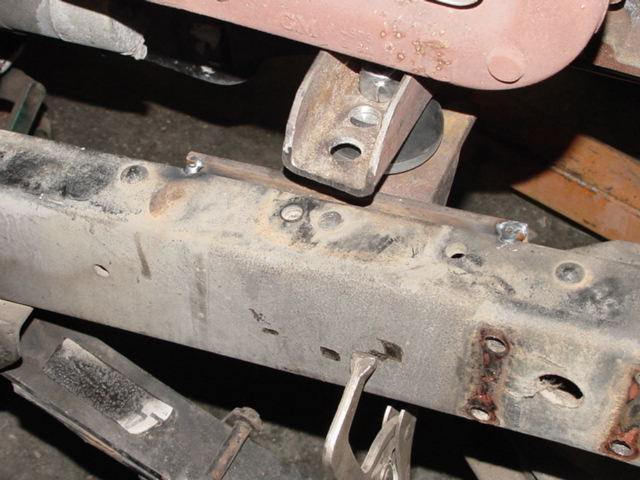
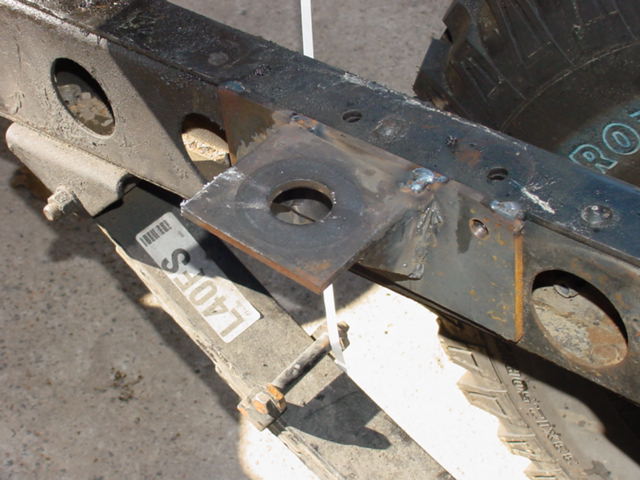
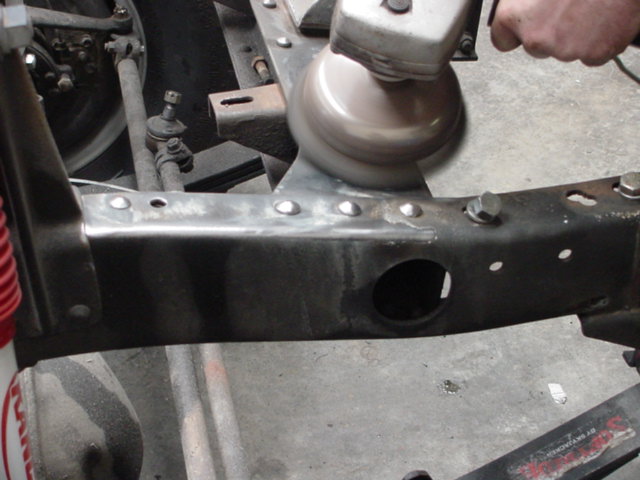
Here are some sequences involving the prepping of the frame for motor installation.

055lhrrdisc001.jpg (61369 bytes) 056lhrrdisc002.jpg (62291 bytes) 057lhrrdisc003.jpg (60421 bytes) 059lhrrdisc005.jpg (61989 bytes)

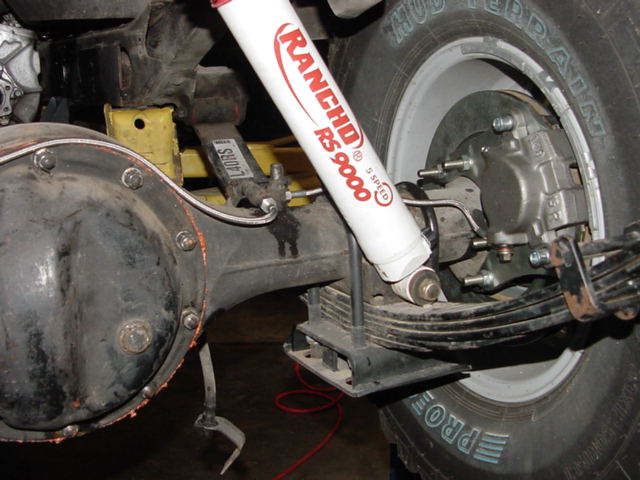
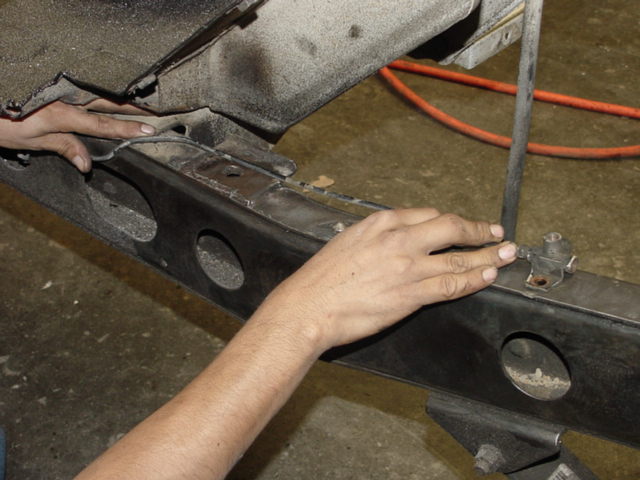
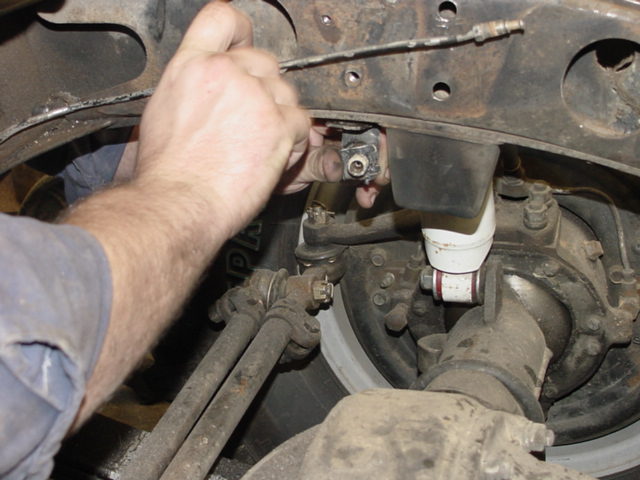
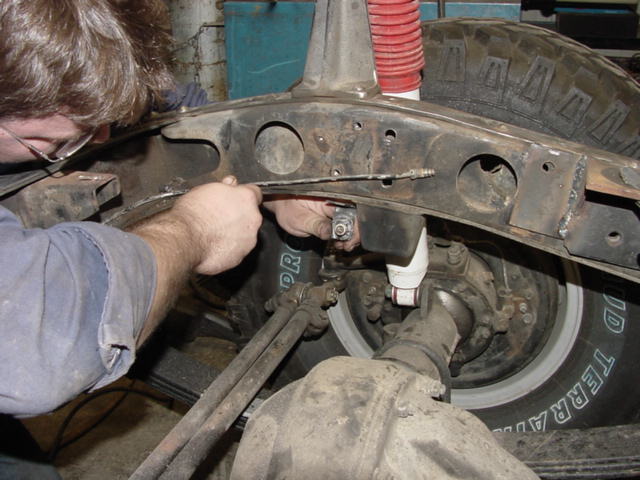
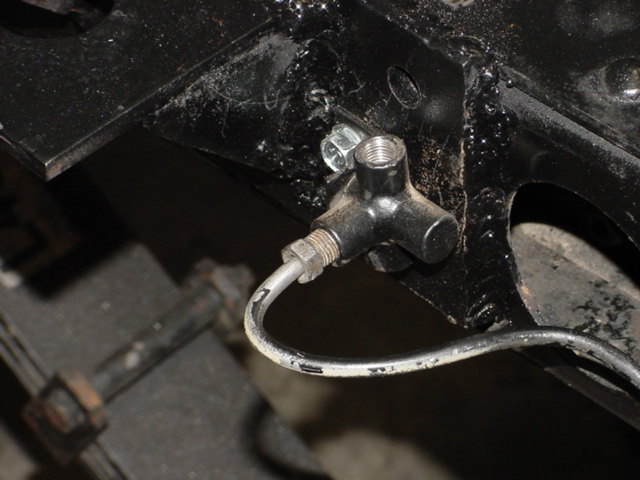
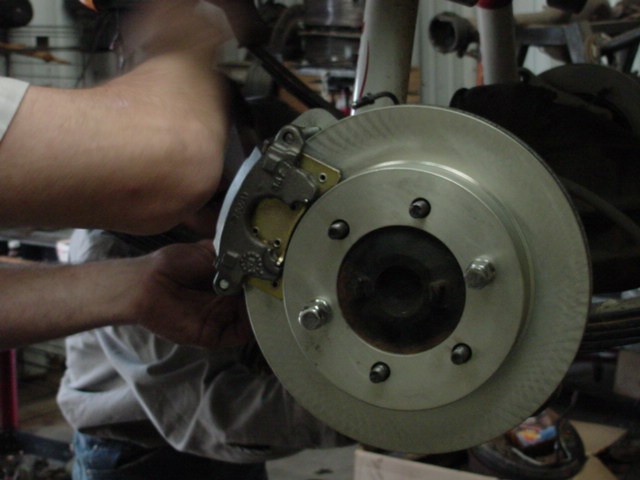
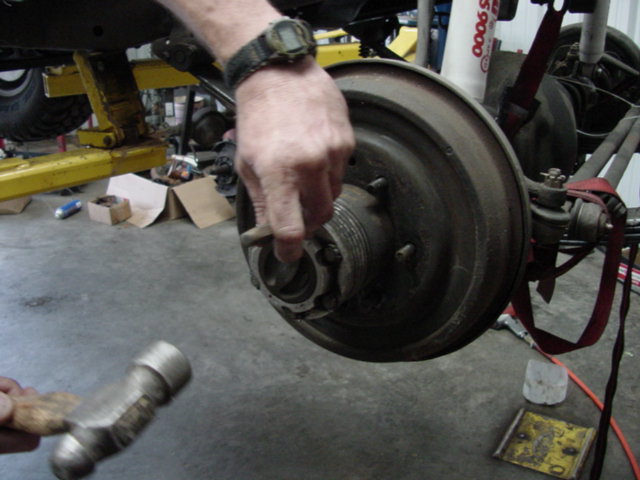
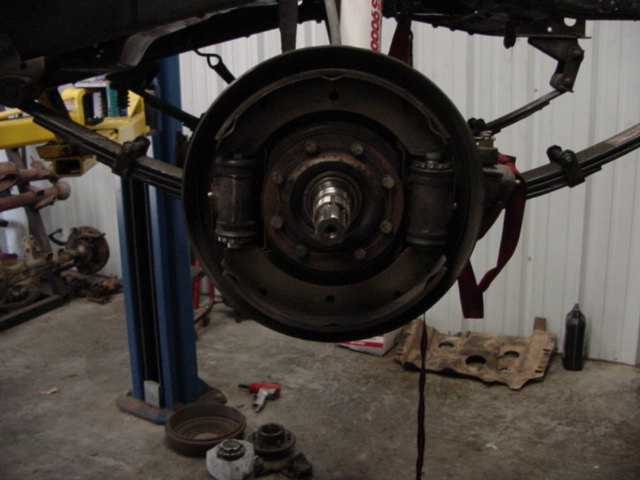
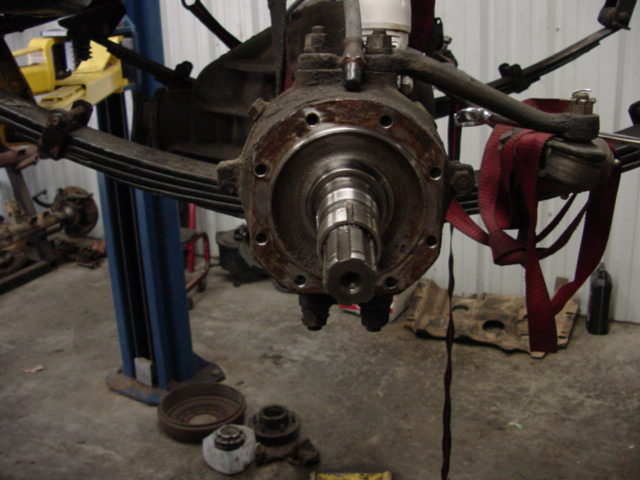
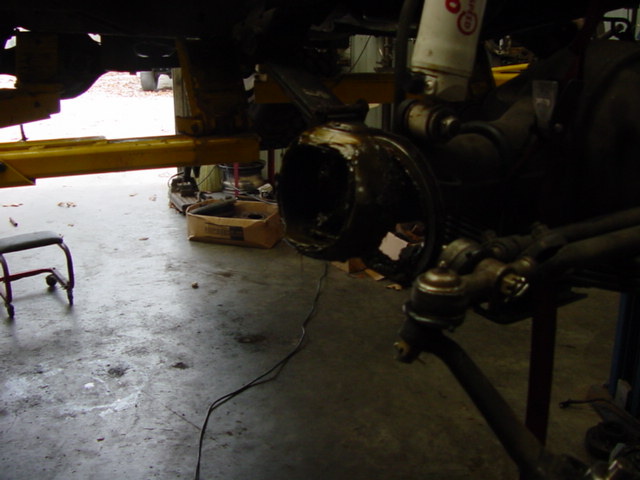
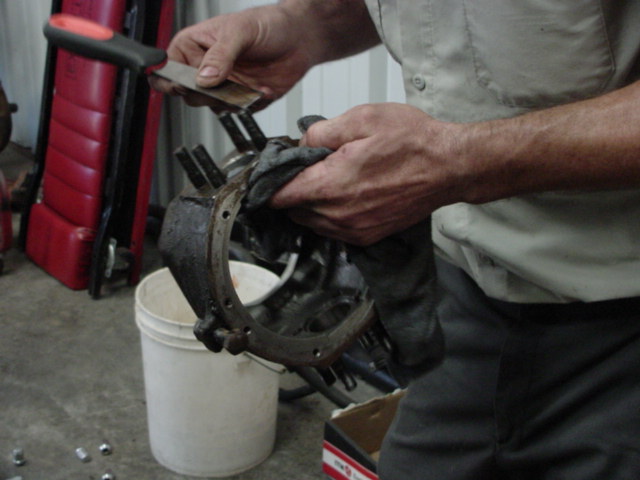
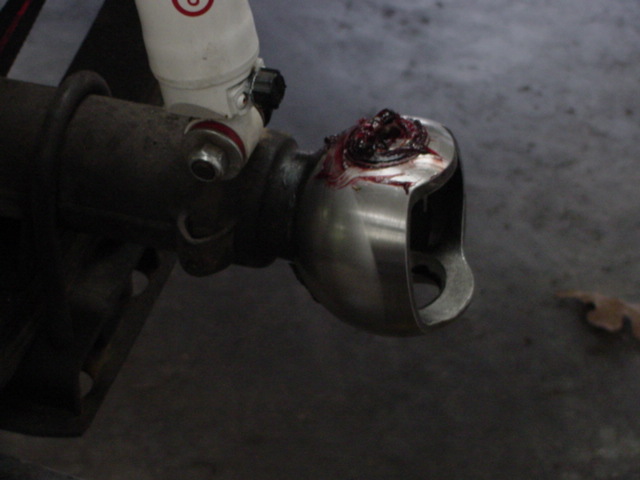
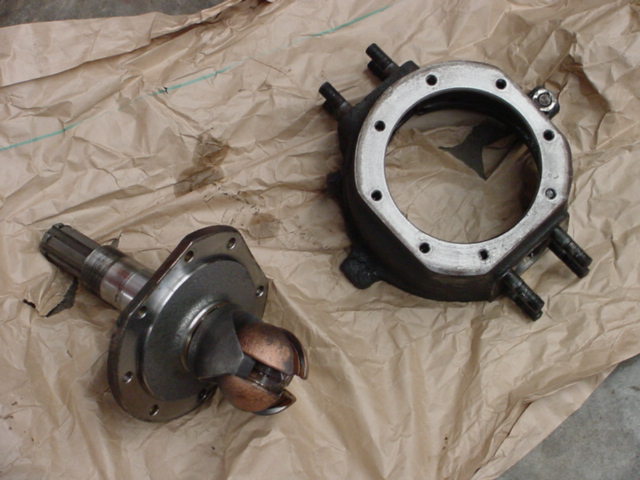
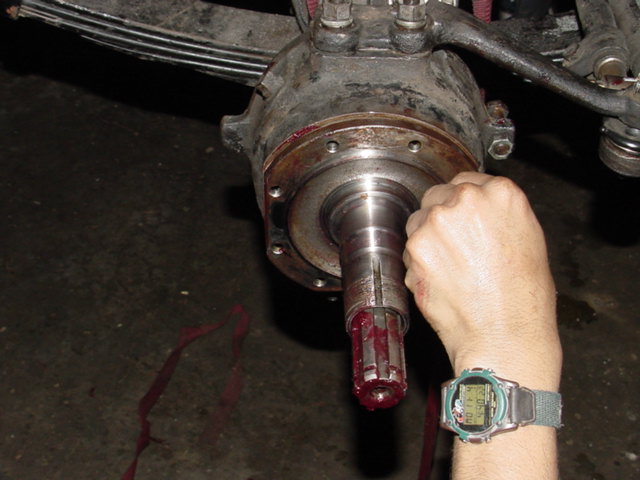
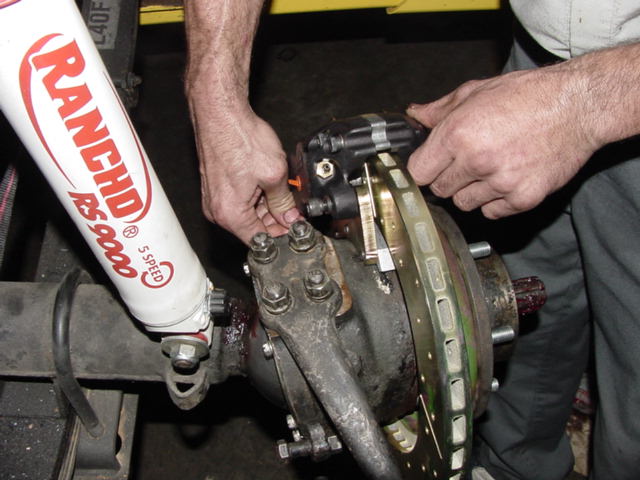
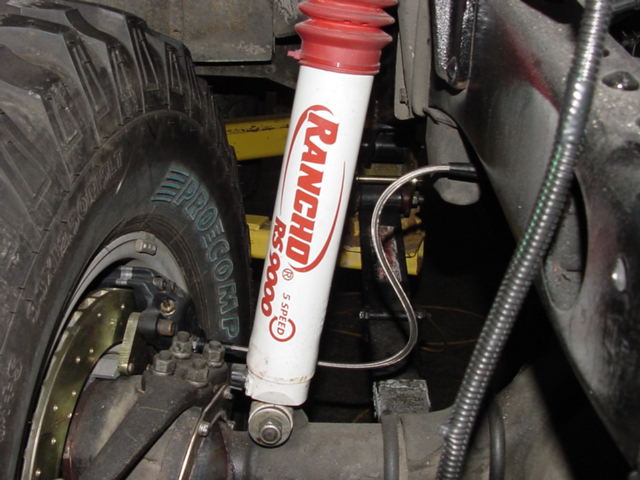
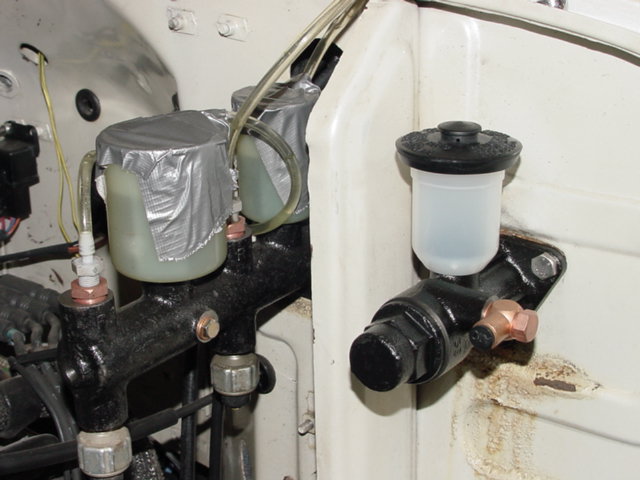
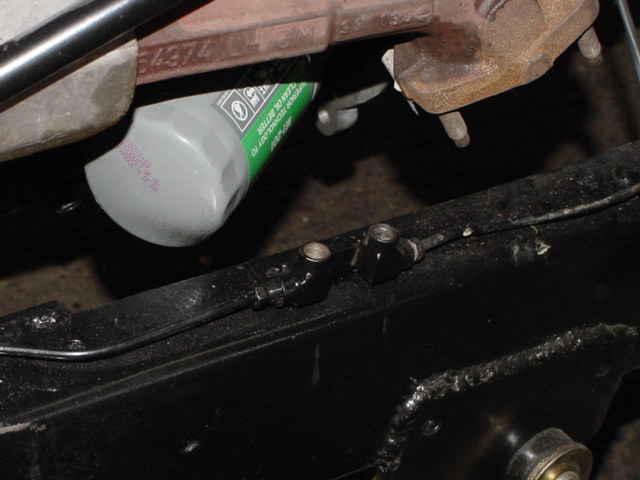
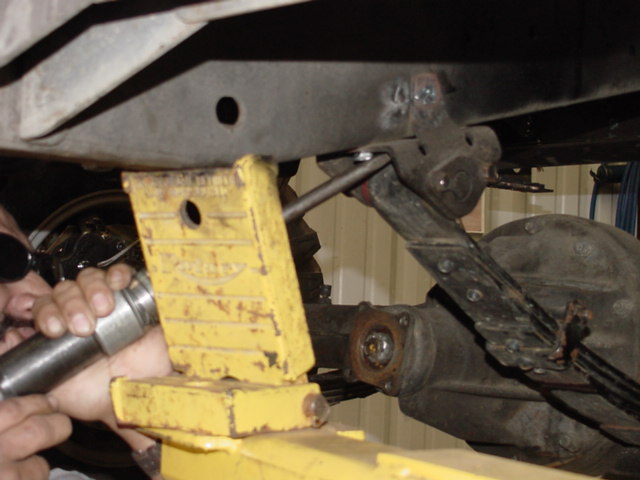
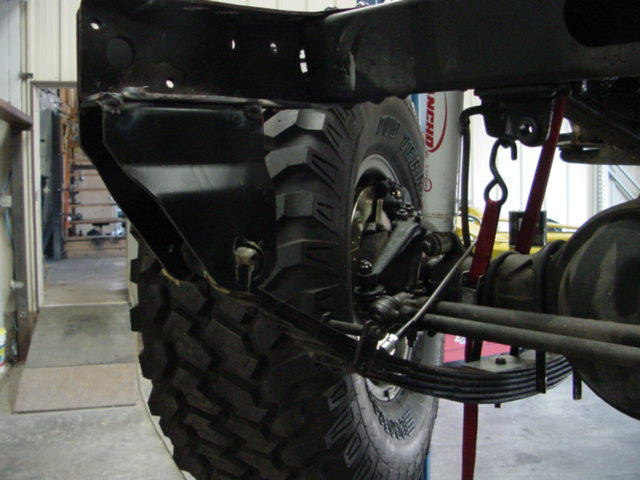
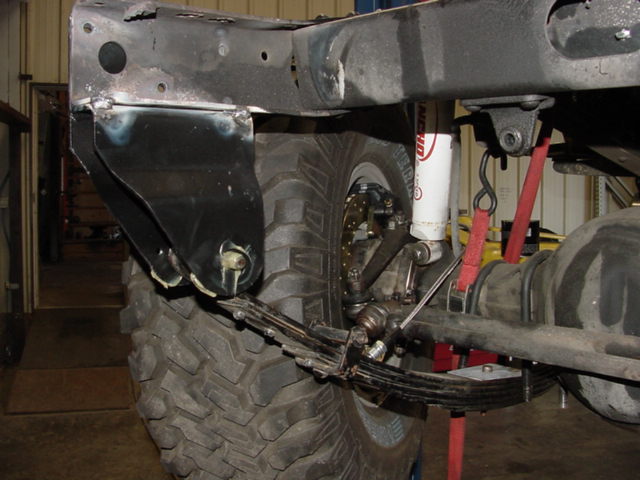
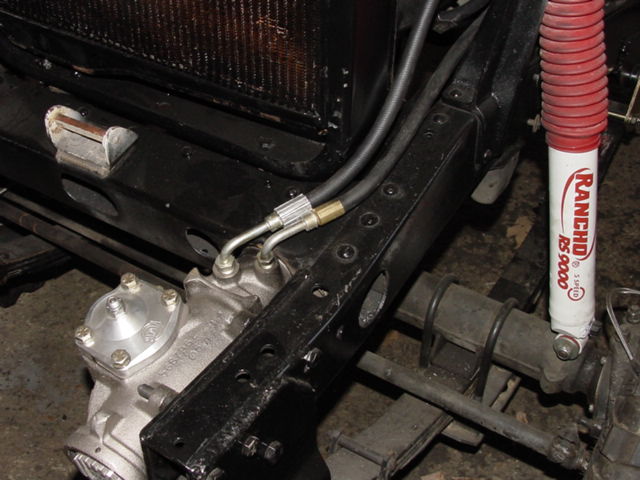
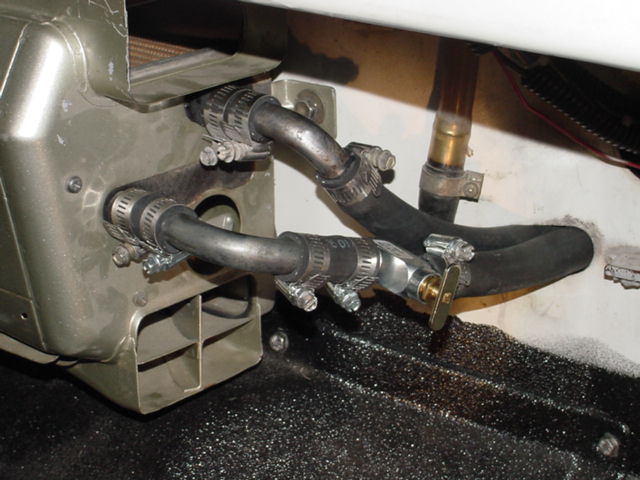
The rear disc conversion went smoothly.  We then moved on to moving and shaping the brakelines for the driver side frame rail.  The stock master cylinder goes bye-bye shortly.

065lhbrakeline001.jpg (61978 bytes)

065lhbrakeline002.jpg (62310 bytes)

065lhbrakeline003.jpg (61830 bytes)

065lhbrakeline004.jpg (62118 bytes)

lhbrakeconv001.jpg (61017 bytes)

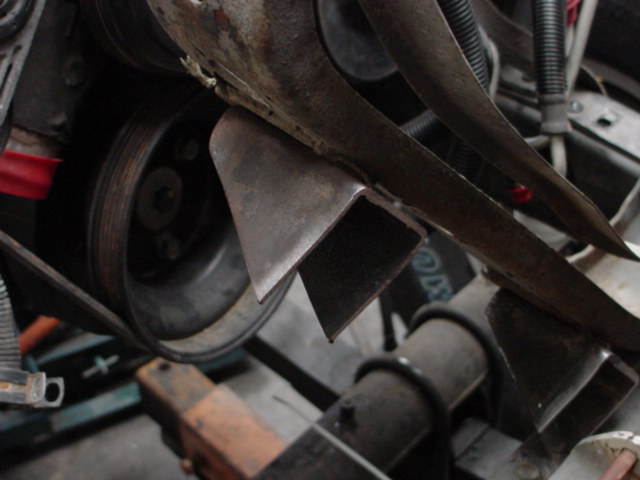
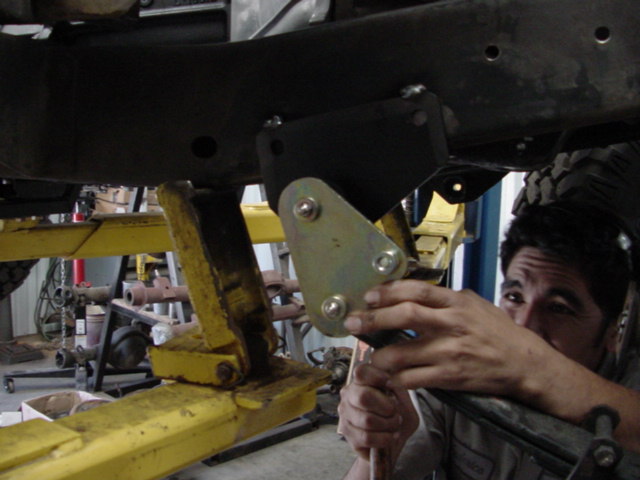
The next series shows the some of the steps involved when installing the Man-a-fre bolt on kit.  Its actually a very cool kit but did have some minor issues we had to overcome.

060lhfrtdisc001.jpg (62835 bytes) 060lhfrtdisc002.jpg (63518 bytes) 060lhfrtdisc003.jpg (63750 bytes) 060lhfrtdisc005.jpg (61880 bytes) 060lhfrtdisc006.jpg (61438 bytes)
060lhfrtdisc007.jpg (61079 bytes) 060lhfrtdisc008.jpg (61700 bytes) 060lhfrtdisc010.jpg (60992 bytes) 060lhfrtdisc011.jpg (62186 bytes) 060lhfrtdisc012.jpg (62322 bytes)
060lhfrtdisc013.jpg (63322 bytes) 060lhfrtdisc014.jpg (63499 bytes) 060lhfrtdisc016.jpg (63440 bytes) 060lhfrtdisc017.jpg (62611 bytes) 060lhfrtdisc019.jpg (61411 bytes)
060lhfrtdisc020.jpg (61837 bytes) 060lhfrtdisc021.jpg (61536 bytes) 060lhfrtdisc022.jpg (61870 bytes) 060lhfrtdisc023.jpg (61618 bytes) 060lhfrtdisc024.jpg (61730 bytes)
060lhfrtdisc025.jpg (61922 bytes) 060lhfrtdisc026.jpg (61119 bytes) 060lhfrtdisc027.jpg (60048 bytes) 060lhfrtdisc030.jpg (61228 bytes)

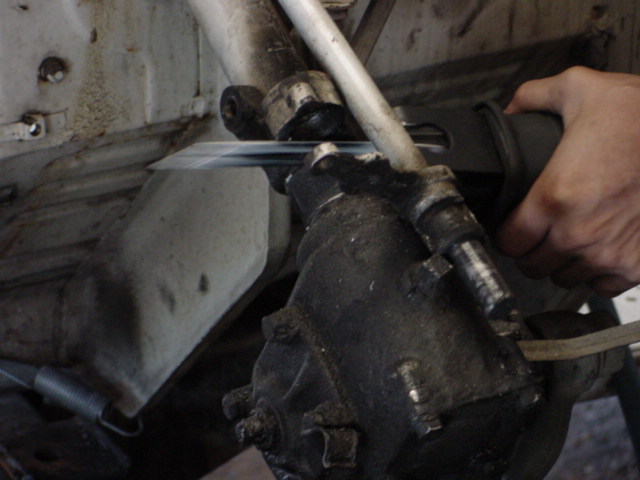
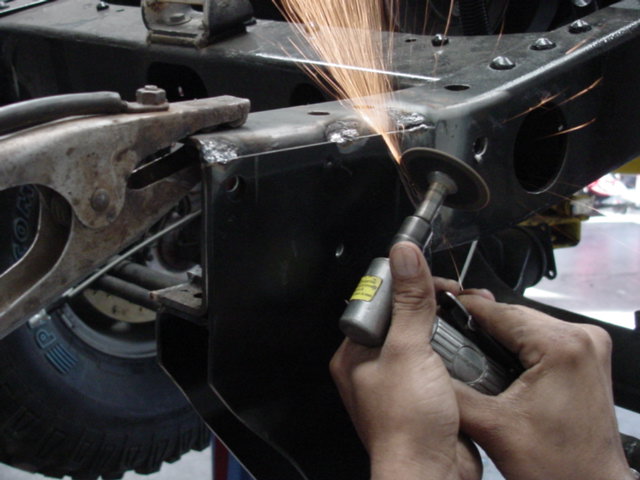
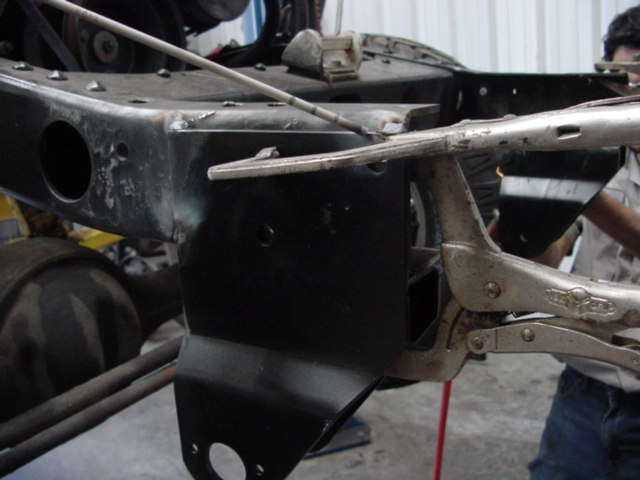
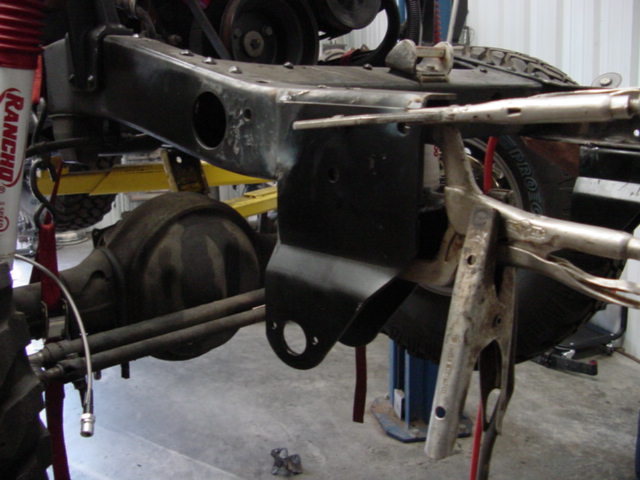
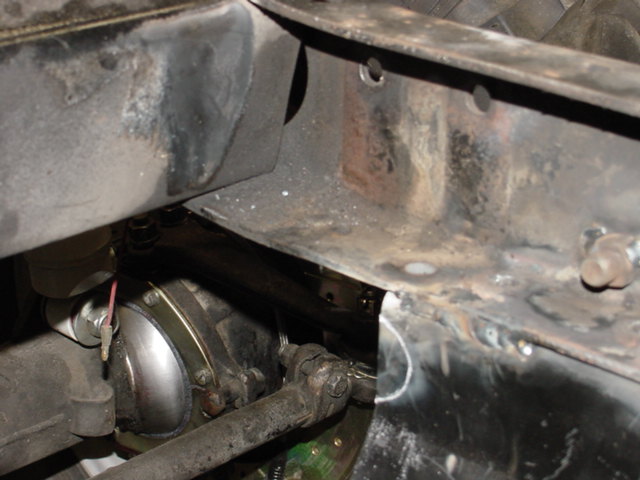
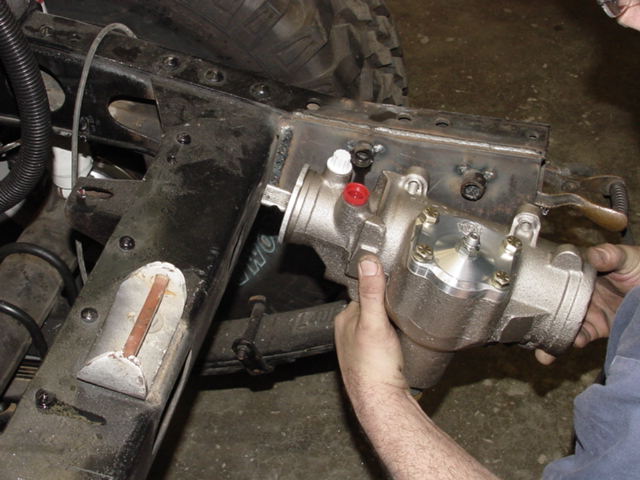
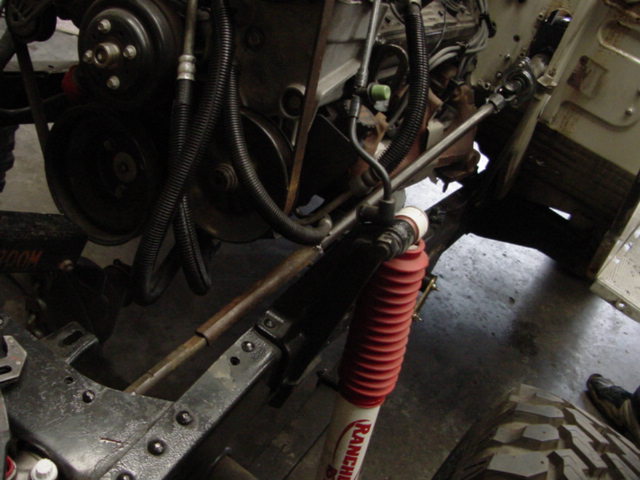
These next pictures show the correction kit and power steering being installed.

070lhcorkitin001.jpg (60874 bytes) 070lhcorkiton002.jpg (62132 bytes) 070lhcorrkt001.jpg (61129 bytes) 070lhcorrkt002.jpg (61517 bytes)

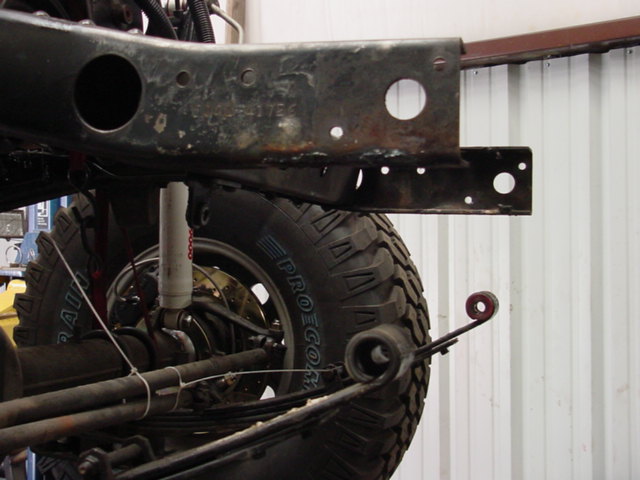
Again, make sure everything fits.

070lhcorrkt003.jpg (61417 bytes) 070lhcorrkt004.jpg (62116 bytes) 070lhcorrkt005.jpg (61656 bytes) 070lhcorrkt006.jpg (63001 bytes)

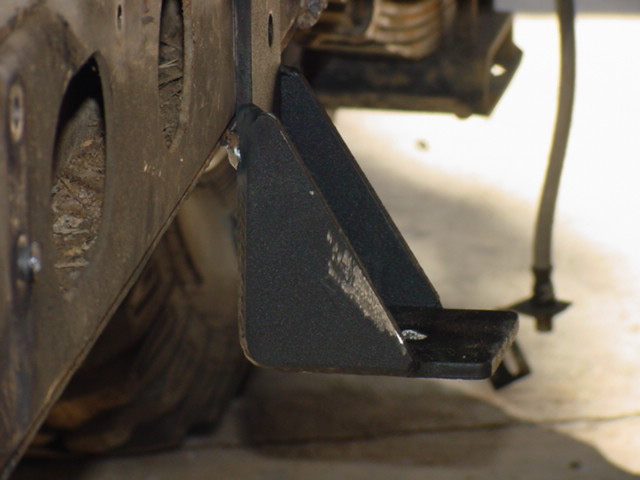
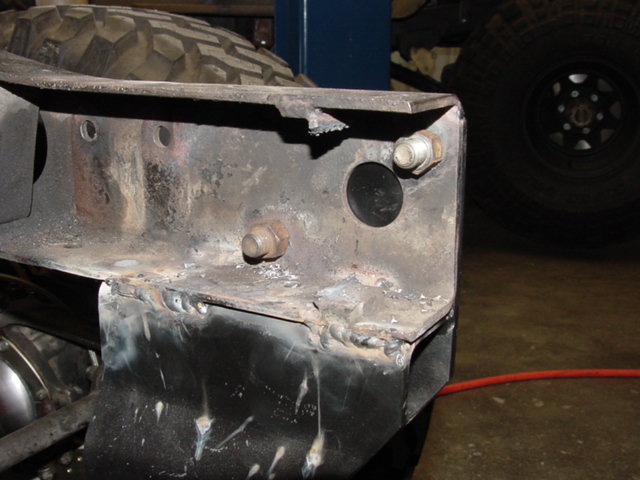
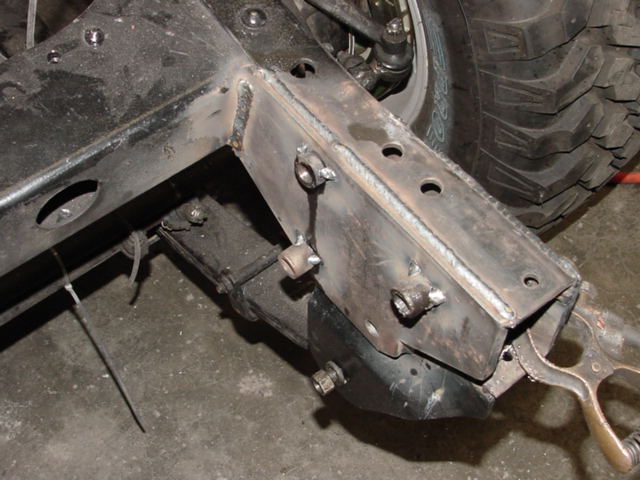
Notice the bolts welded in for the bumper.  One of the greatest tools invented: the pickle fork for an impact air hammer.

070lhcorrkt007.jpg (61669 bytes) 070lhcorrkt008.jpg (61271 bytes) 070lhcorrkt009.jpg (61916 bytes) lhpsprep.jpg (60859 bytes)

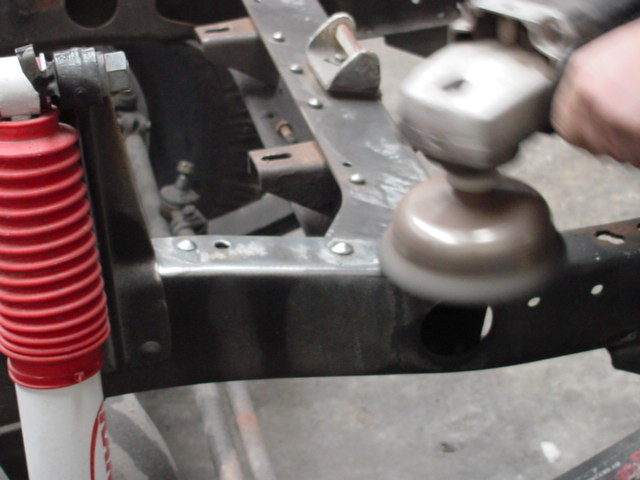
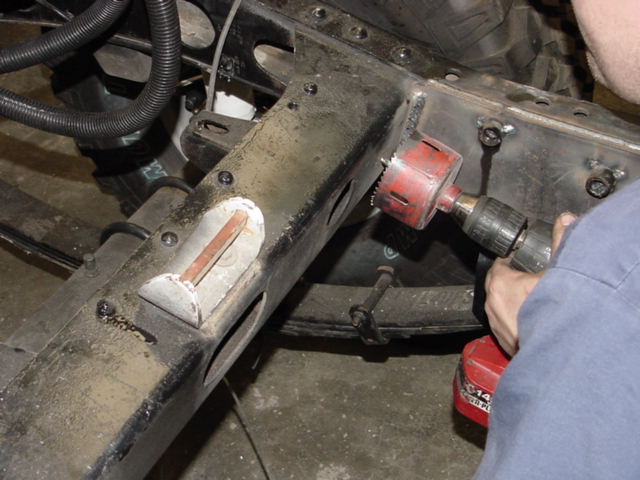
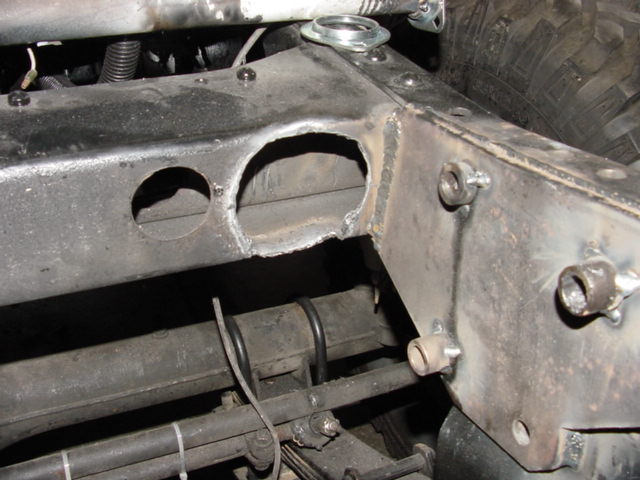
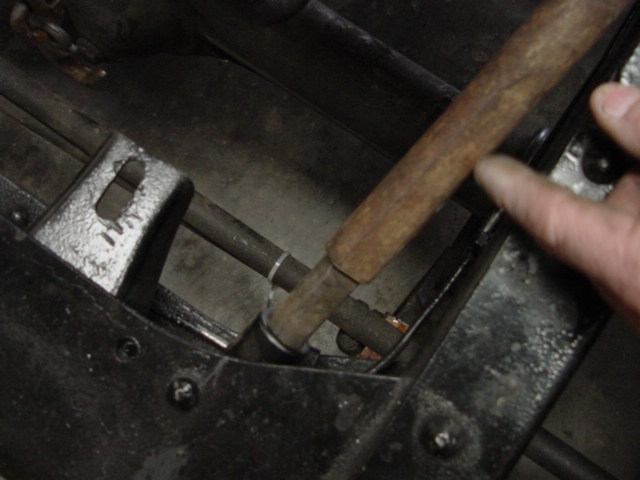
Here you can see where the fit is affected by the slope of the front frame crossmember.  Notice the hole for the sector is blocked by the correction kit.  I use the hole saw to scribe the hole then cut it with a torch.

070lhpskt001.jpg (62951 bytes) 070lhpskt003.jpg (62221 bytes) 070lhpskt005.jpg (59022 bytes) 070lhpskt006.jpg (61648 bytes) 070lhpskt007.jpg (60804 bytes) 070lhpskt008.jpg (62483 bytes)

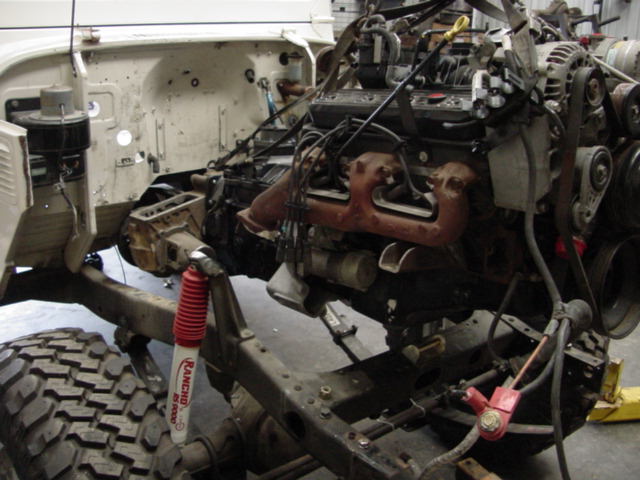
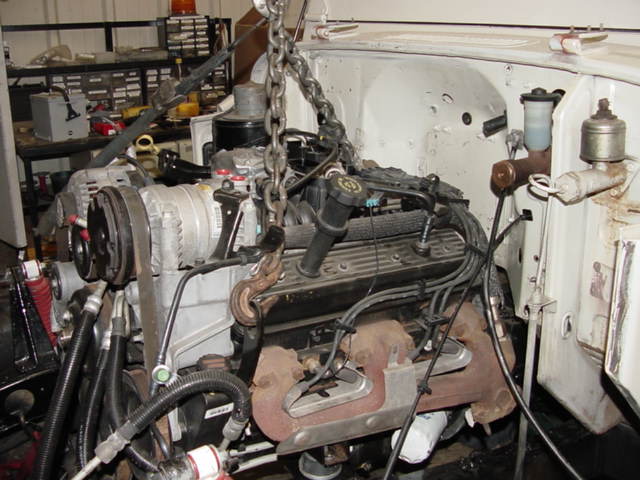
The next step is to get the motor and tranny installed so that the final fittings can start.

080lhpressplt.jpg (62057 bytes) 080lhtrannyon.jpg (62221 bytes) 080lhxferon.jpg (62069 bytes) 075lhmotorin001.jpg (62277 bytes) 075lhmotorin002.jpg (62029 bytes)

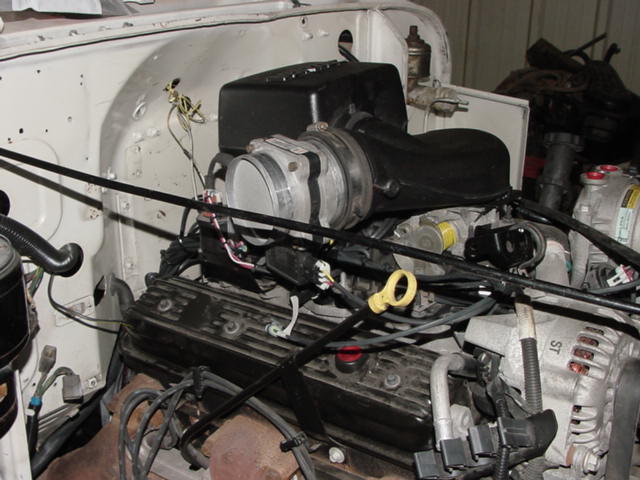
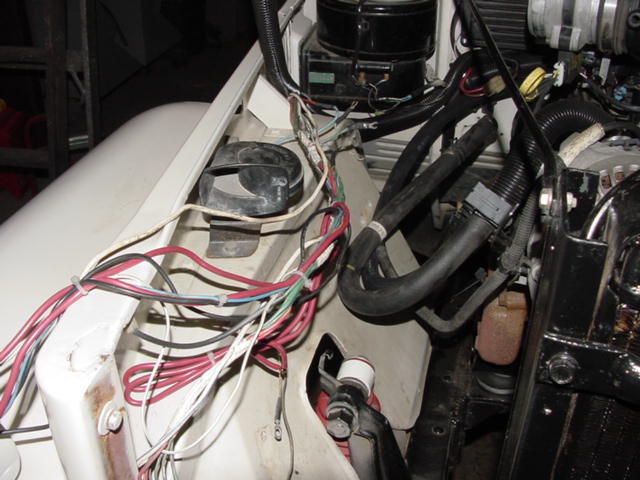
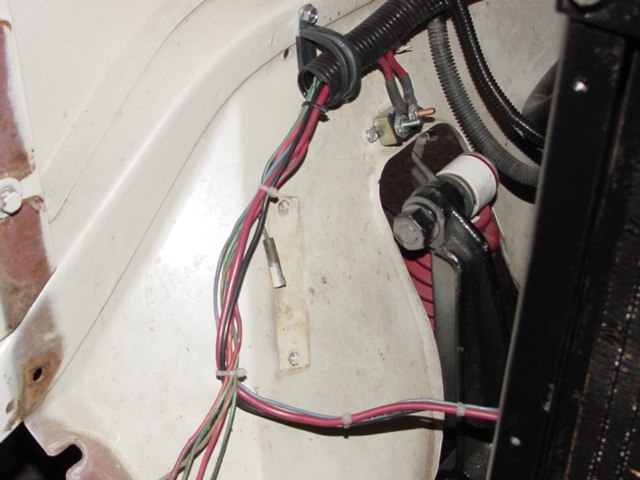
Once the motor is in we can concentrate on the wiring of the truck,  that way you can see where wires need to go and connectors need to be.  Check out how we make the accelerator cable fit snugly.

050lhaccelcable001.jpg (62533 bytes) 051lhaccelcable002.jpg (61982 bytes) lhwiringredo001.jpg (62413 bytes) lhwiringredo002.jpg (63492 bytes) lhwiringredo005.jpg (61704 bytes)

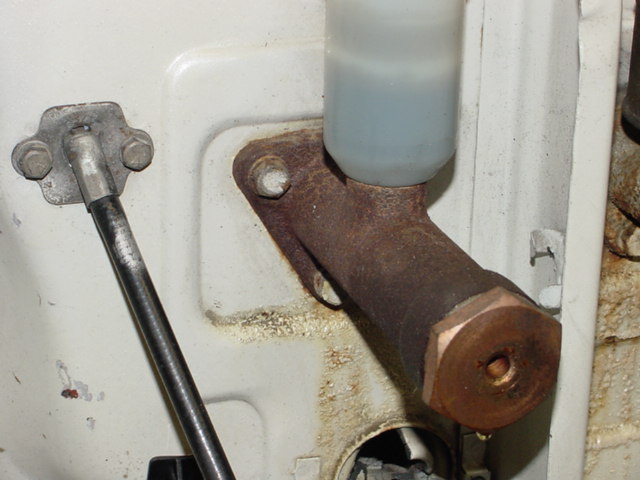
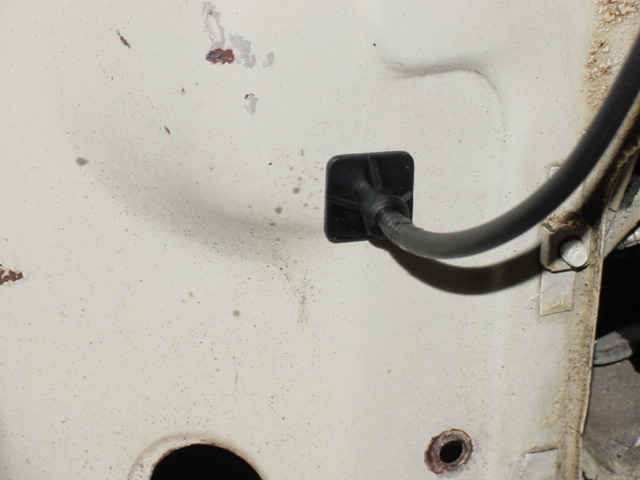
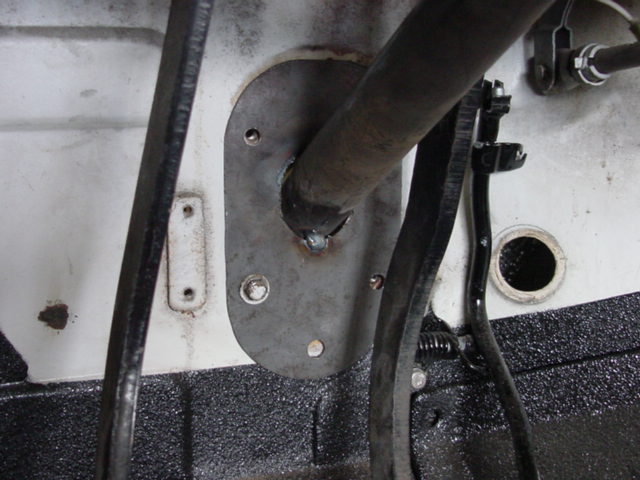
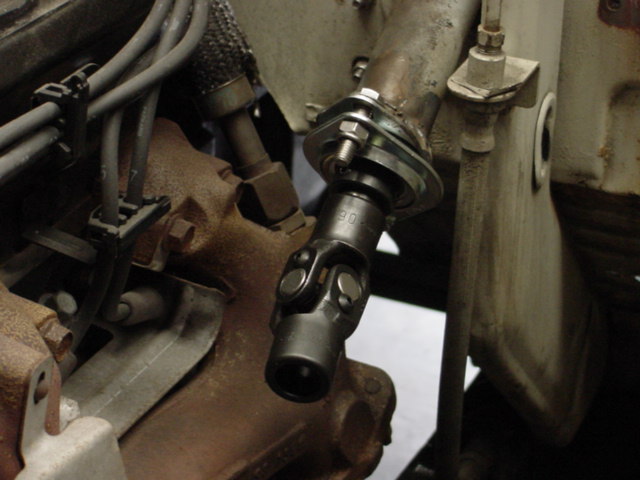
The power steering column was installed next.

070lhpskt009.jpg (62861 bytes) 070lhpskt011.jpg (63353 bytes) 070lhpskt010.jpg (63172 bytes) 070lhpskt013.jpg (62365 bytes) 070lhpskt025.jpg (62177 bytes)

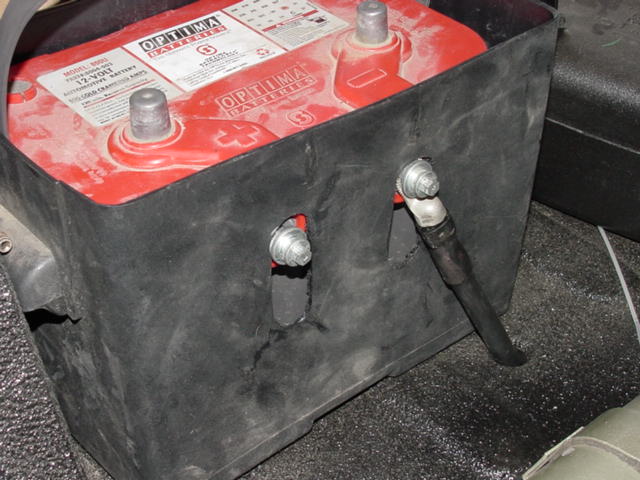
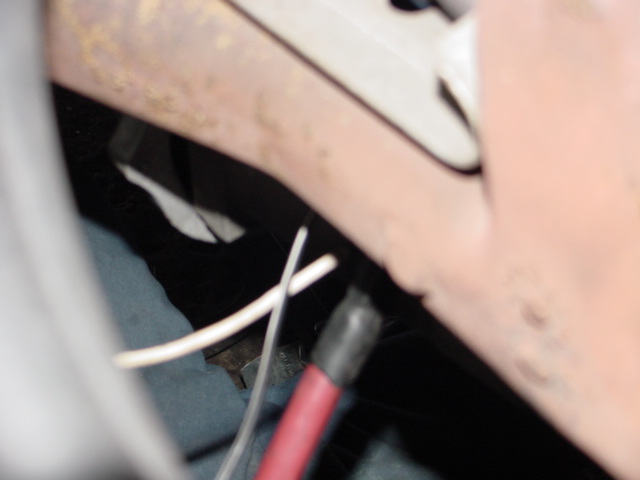
These next pictures are not that clear but do show how we did the battery box.  This was done before we got to work on the truck so we refined it and made it functional.  These are extremely heavy duty custom battery cables.  Notice the multiple grounding straps.

lhbattery001.jpg (61869 bytes) lhbattery003.jpg (59628 bytes) lhbattery002.jpg (61059 bytes) lhbattery005.jpg (57988 bytes)

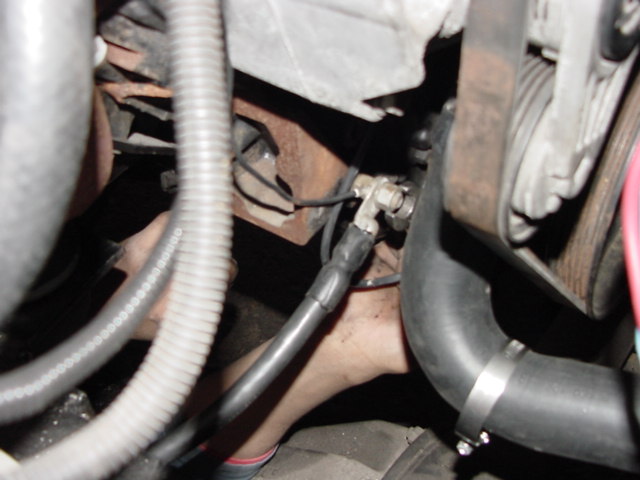
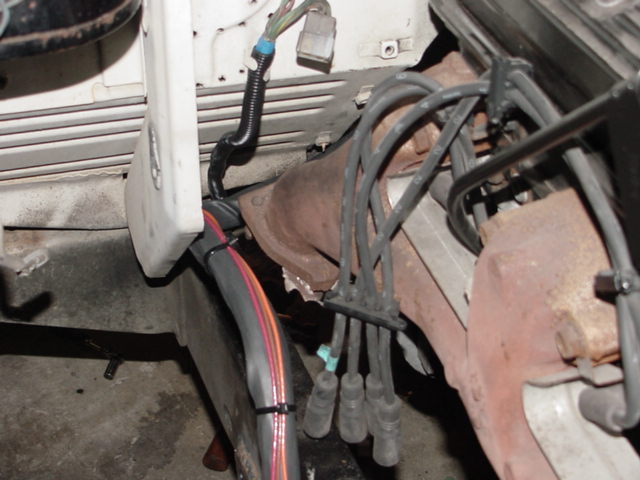
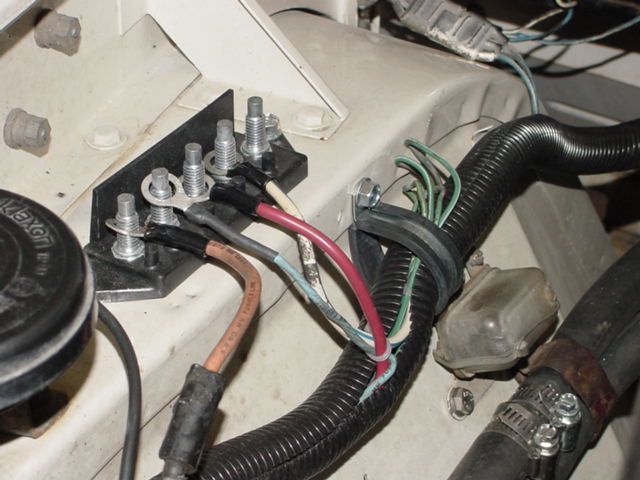
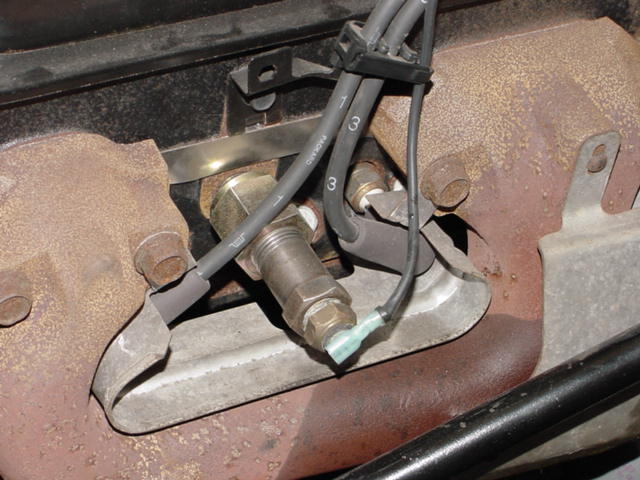
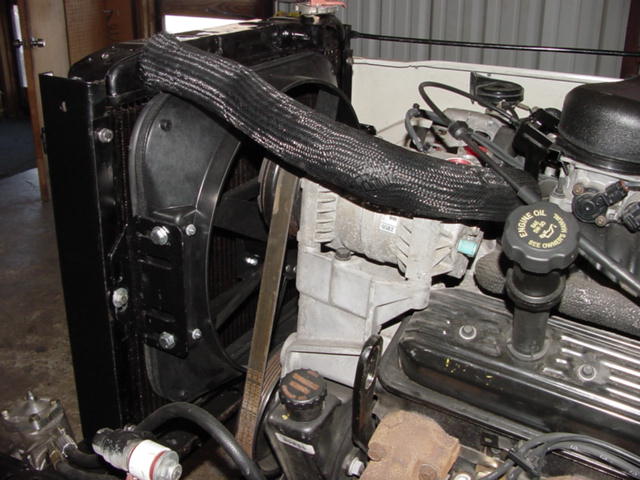
We wired up the motor next.  ATD is essential here.  Look closely at the heat shield for the wiring.  The power center keeps the rear mounted battery box free of wires. 

085lhengwire001.jpg (60990 bytes) 085lhengwire002.jpg (61230 bytes) 085lhengwire003.jpg (60895 bytes) 085lhengwire004.jpg (60650 bytes) 085lhengwire005.jpg (61913 bytes)
085lhengwire006.jpg (61873 bytes) 085lhengwire007.jpg (62085 bytes) 085lhengwire010.jpg (61225 bytes) 085lhengwire009.jpg (61452 bytes) 085lhengwire008.jpg (61157 bytes)

The last picture shows how things sometimes don't go the way you plan.  I intend on the oil cooler going in front of the radiator.  There was just not enough room.  So I put the cooler on the side of the radiator in an upright position.  It will not be as effective as the original plan would have made it but it will still take the edge off the temperature of the oil.

lhatd004.jpg (59656 bytes) lhatd002.jpg (62523 bytes) lhatd003.jpg (63164 bytes) lhoilclr001.jpg (60990 bytes) lhoilclr002.jpg (61795 bytes)

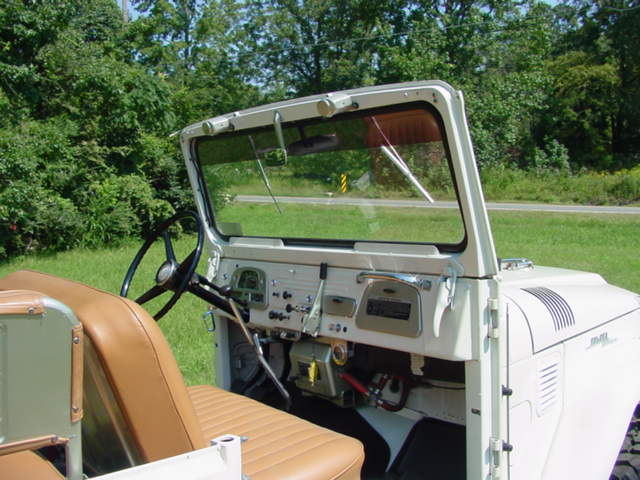
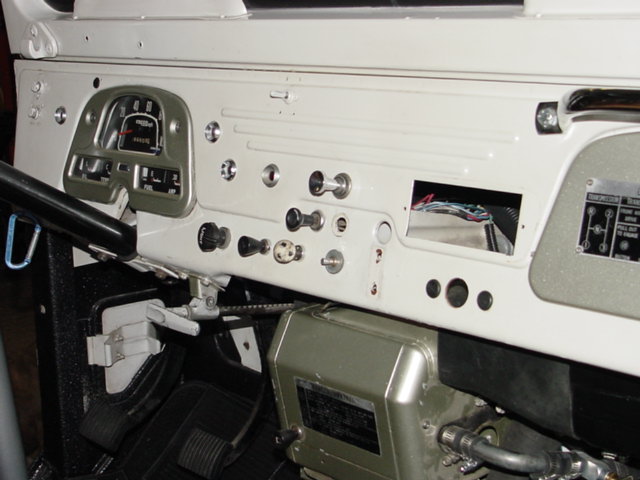
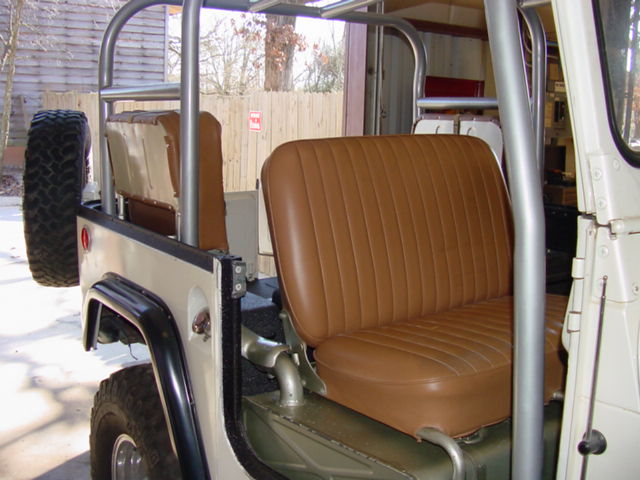
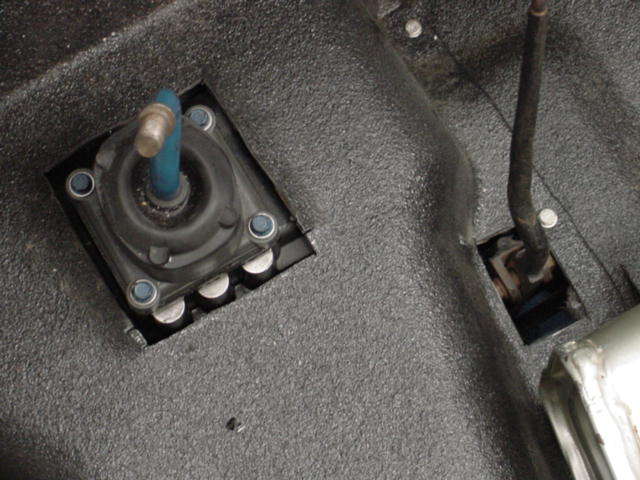
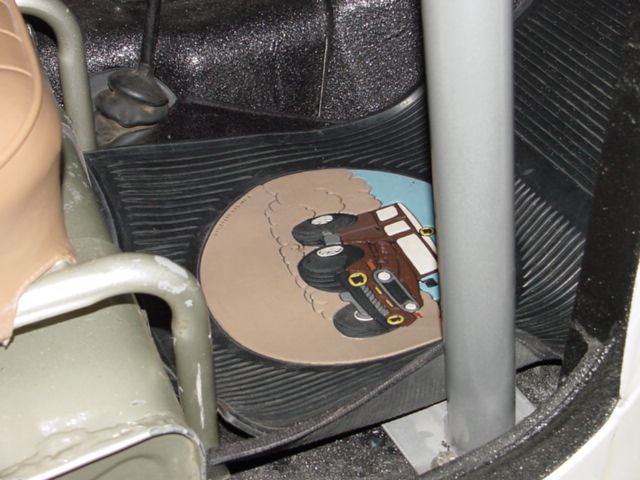
These are some of the reasons people choose us to do there conversions.  I cleaned up the dash of all the extras,  the check engine light is tucked away nicely, the heater is adapted to the motor in a clean way,  the shifters look stock and are functional, and I'll let Lance cut the carpet and the mats for the rollcage.

lhdash.jpg (60415 bytes) lhckenglite.jpg (59076 bytes) lhhtr.jpg (62663 bytes) lhinteriorin001.jpg (62823 bytes) lhshifters001.jpg (61928 bytes) lhmats.jpg (61543 bytes)


The Cruiser Company   
Copyright © 2000 The Cruiser Company. All rights reserved.

Wednesday, March 05, 2008


jordan 11 low bred cement tongue 5s low bred 11s space jam 5s cement tongue 5s jordan 5 cement tongue jordan 11 low bred cement tongue 5s jordan 5 cement tongue jordan 5 cement tongue low bred 11s low bred 11s cement tongue 5s space jam 5s cement tongue 5s jordan 5 space jam jordan 5 cement tongue low bred 11s cement tongue 5s low bred 11s low bred 13s jordan 13 low bred jordan 11 low citrus jordan 11 low citrus Jordan retro 11 jordan 11 low citrus Jordan retro 11 Jordan retro 11 Jordan retro 11 jordan 13 low bred low bred 13s low bred 13s Jordan retro 11 Jordan retro 11 jordan 5 space jam jordan 11 low citrus jordan 13 low bred low citrus 11s jordan 5 space jam low citrus 11s