|
 |
 |
 |
 |
First off I have to apologize to Jim and his family this is taking WAAAAAy too long to finish. I have been waiting for a body tub for just under a year now from the fabricator and it's getting old quickly.
Anyways here we go with the transformation
Jim called me for about 3 weeks debating on whether to do this MAJOR project. One of his girls is turning driving age and he wanted this truck to pass down to his family since its been in his for a long time. He told me had searched the web and found no one that put as much effort and care into their projects and wanted me to restore his truck. I'm honored.
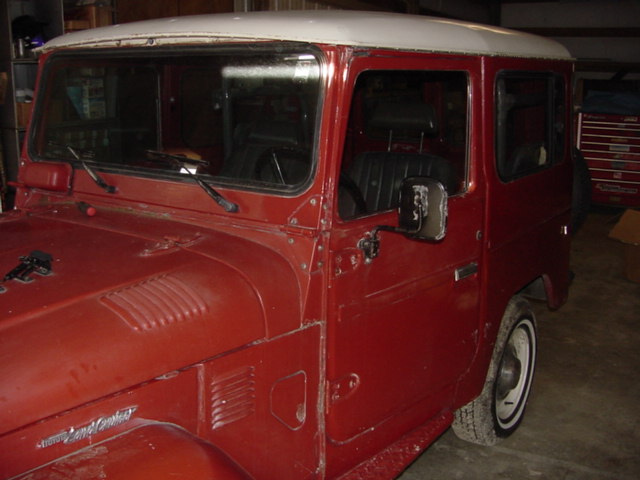
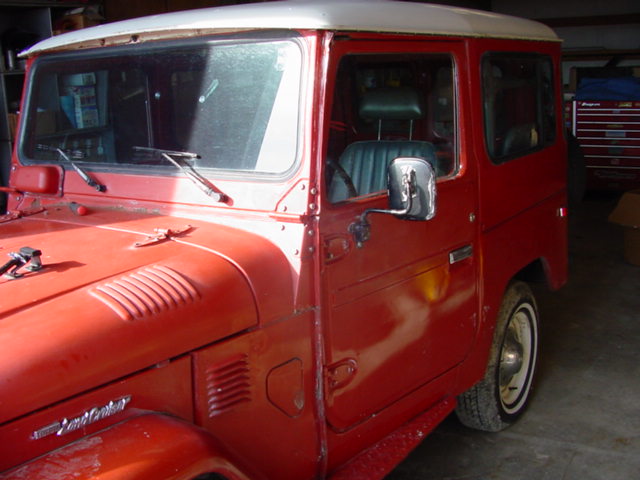
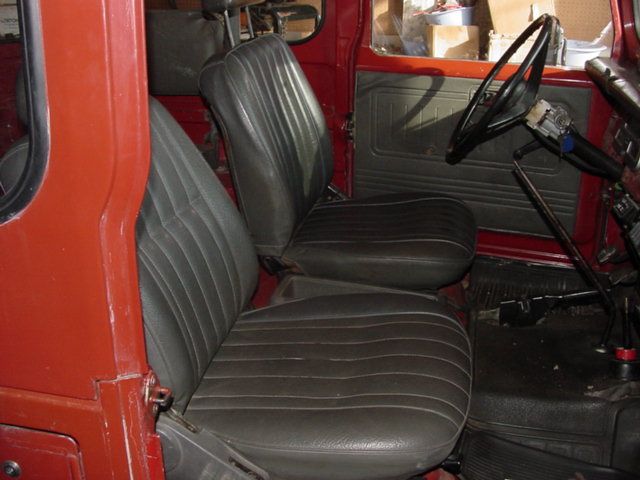
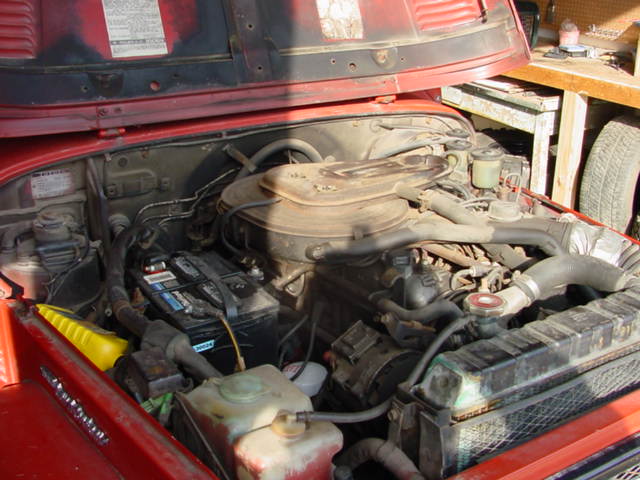
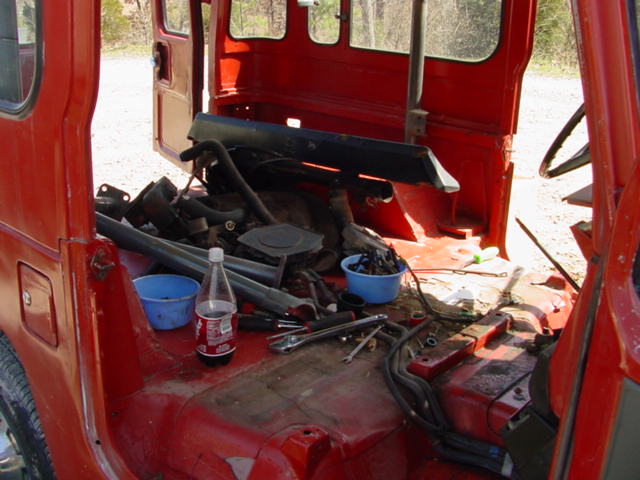
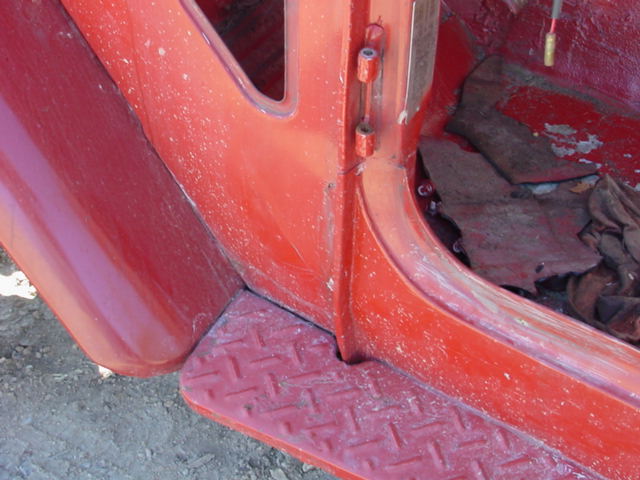
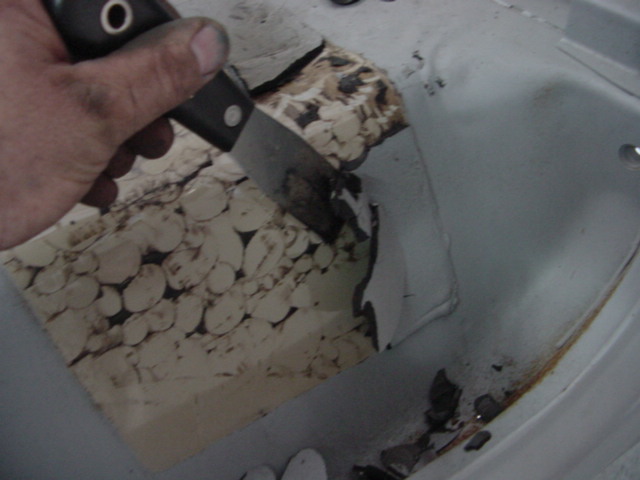
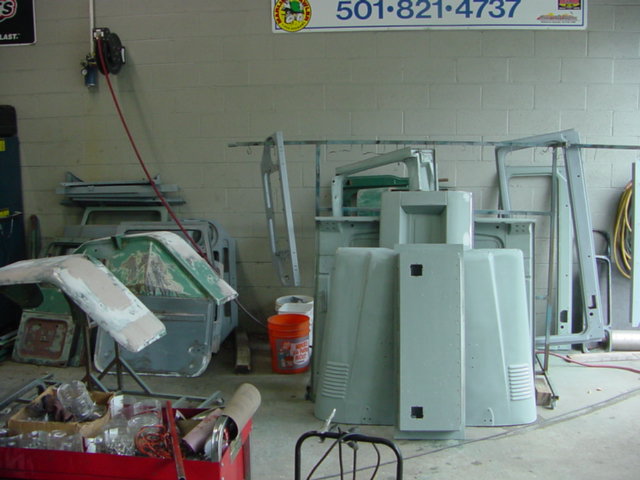
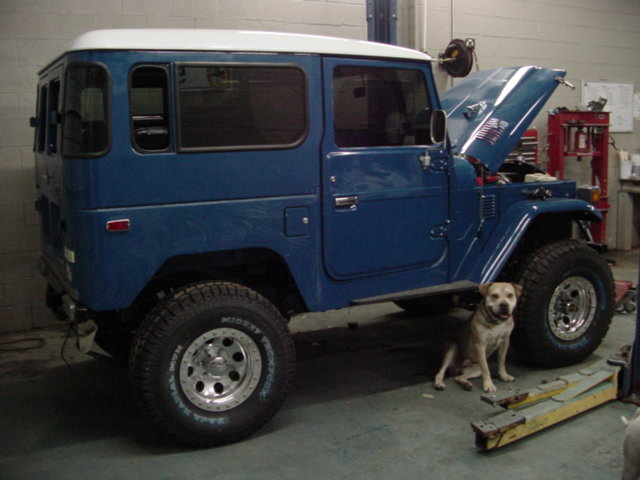
The trucks itself looked great when it arrived. Unfortunately this beauty was only skin deep. Lots of rust covered by skins of metal.
|
|
|
|
|
 |
 |
 |
 |
 |
 |
 |
 |
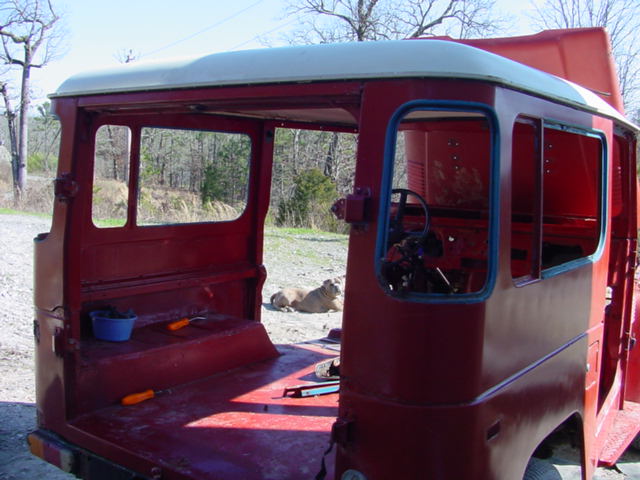 |
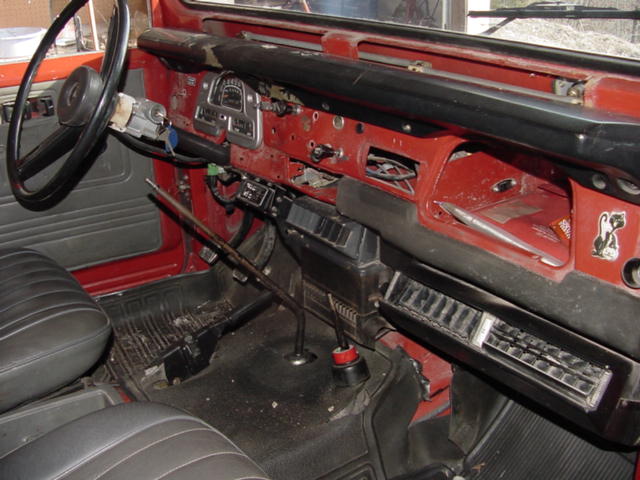
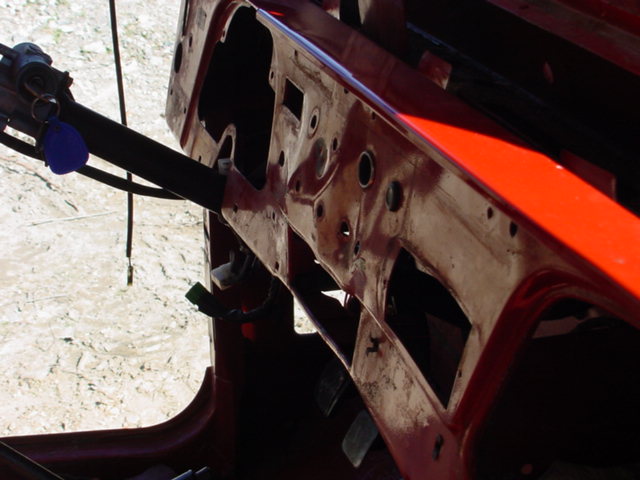
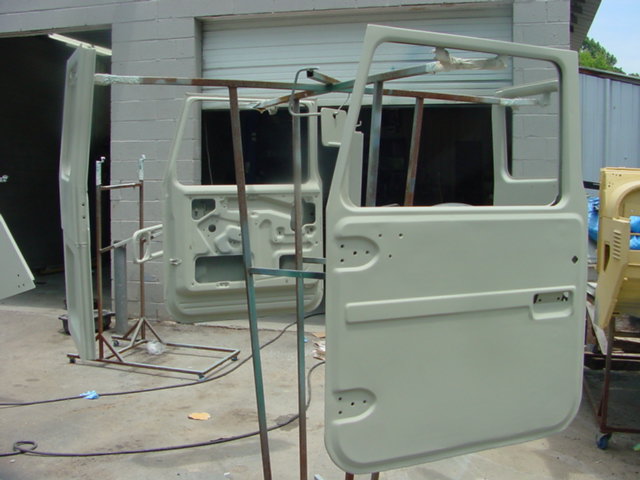
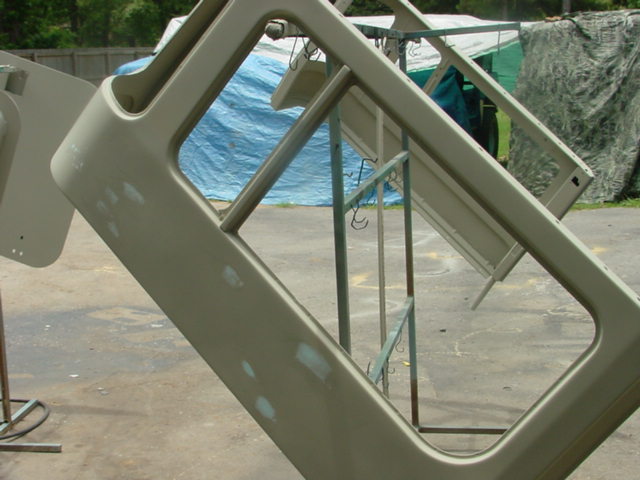
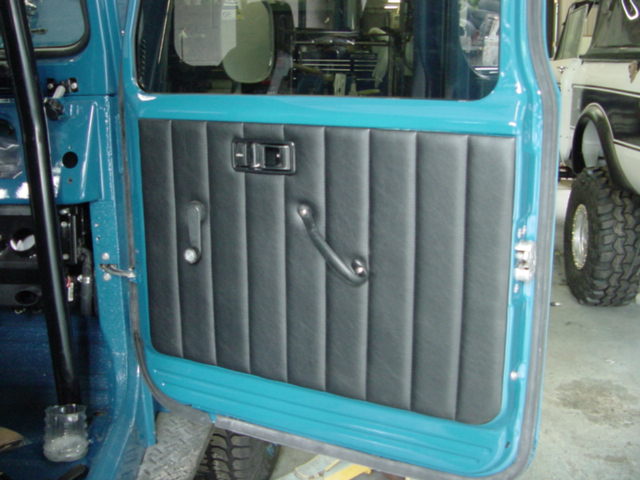
The dash is needing some love, but the top sections and door were in great condition.
 |
 |
 |
 |
 |
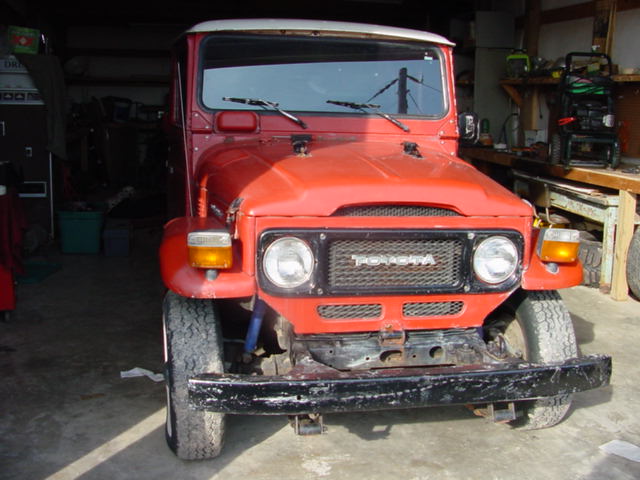
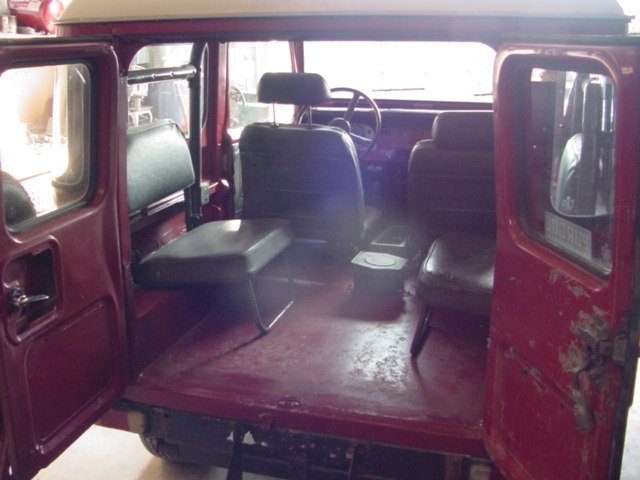
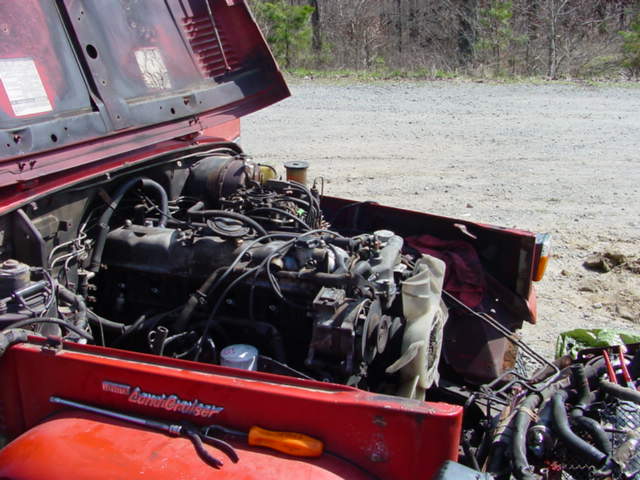
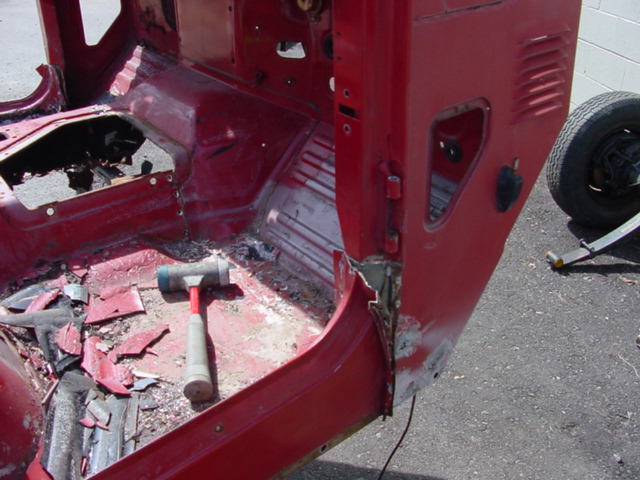
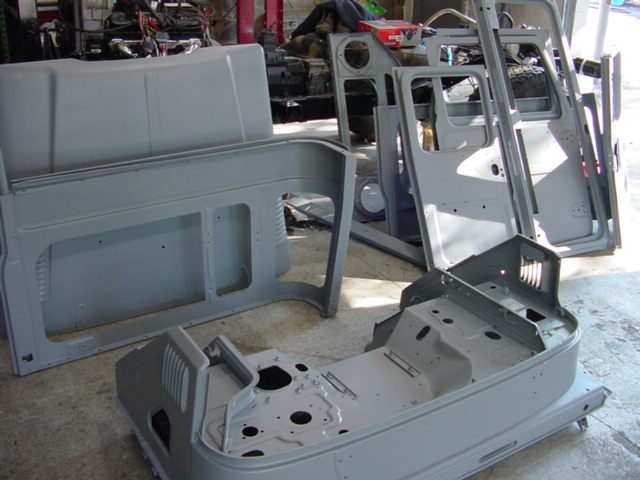
Overall the truck wasn't in too bad of shape. The most serious needs are mainly from the b pillar back
 |
 |
 |
 |
 |
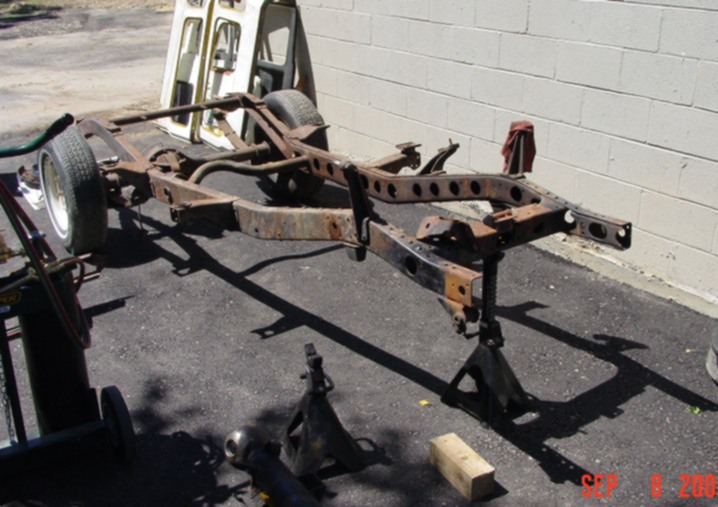
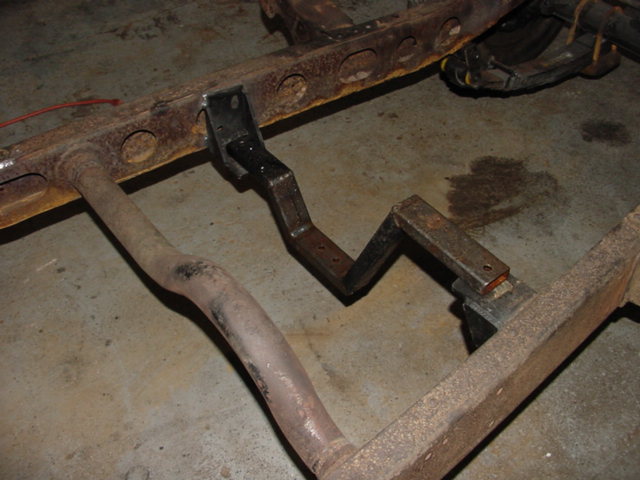
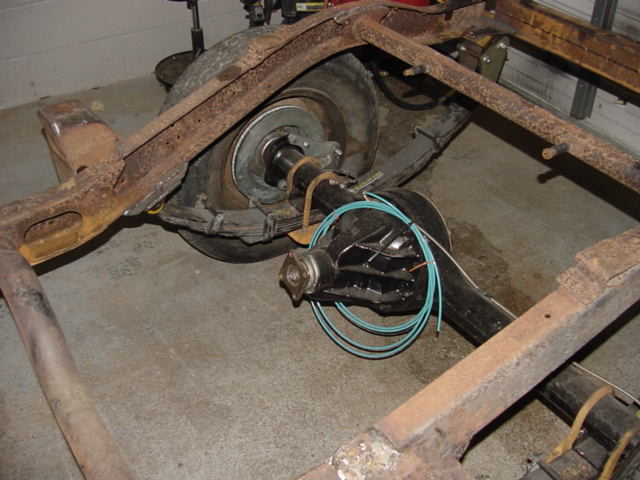
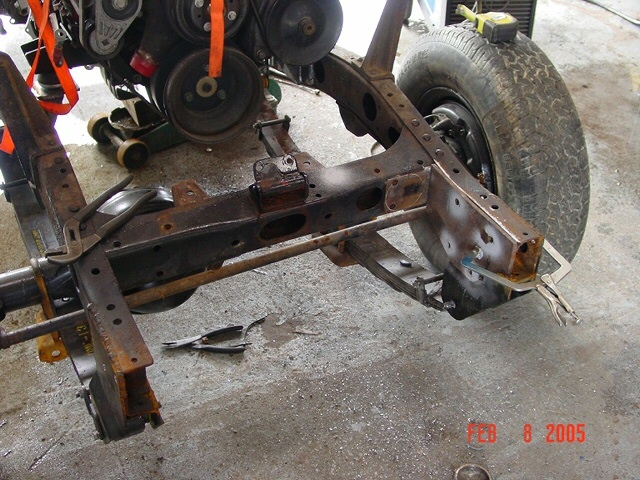
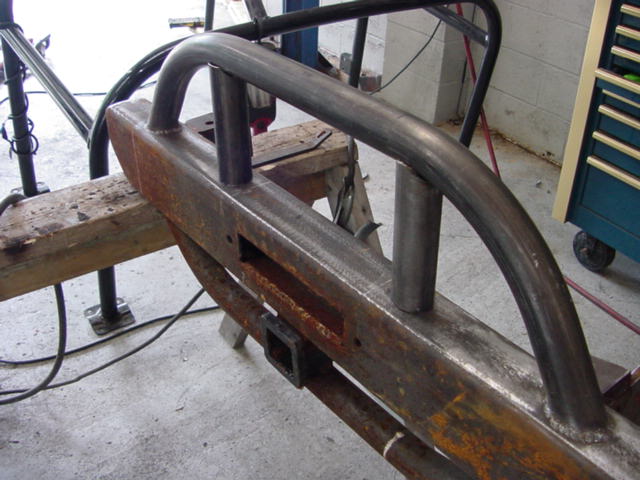
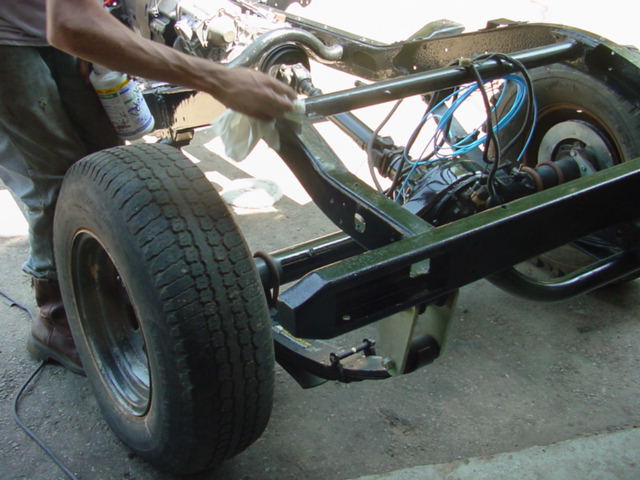
The frame had a lot of rust damage, the majority we cut out and repaired. The rear section matters not as I am going to integrate a rear tubular bumper into the frame and move the rear axle back about 5 ".
 |
 |
 |
 |
 |
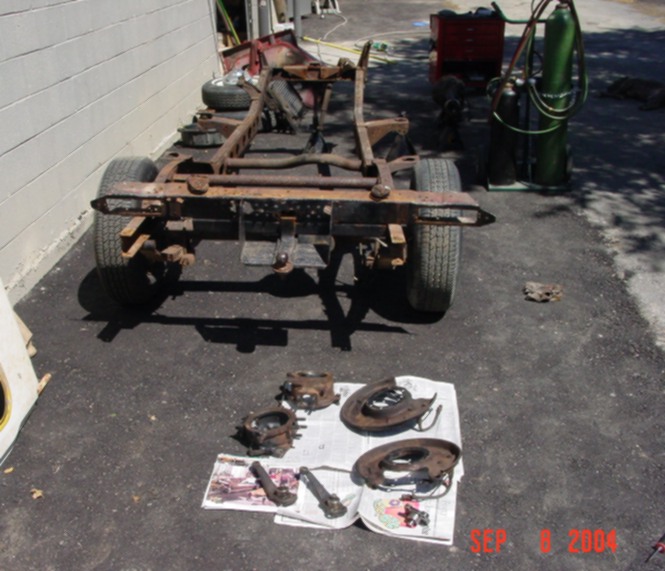
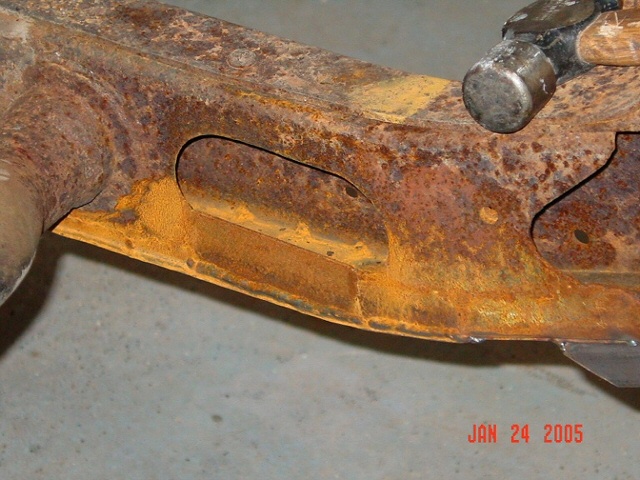
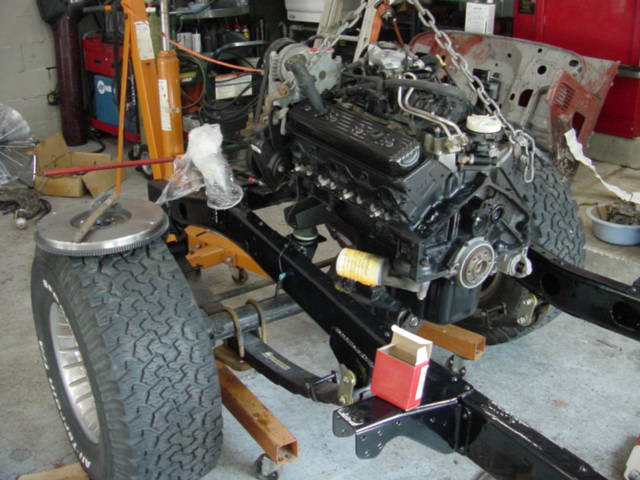
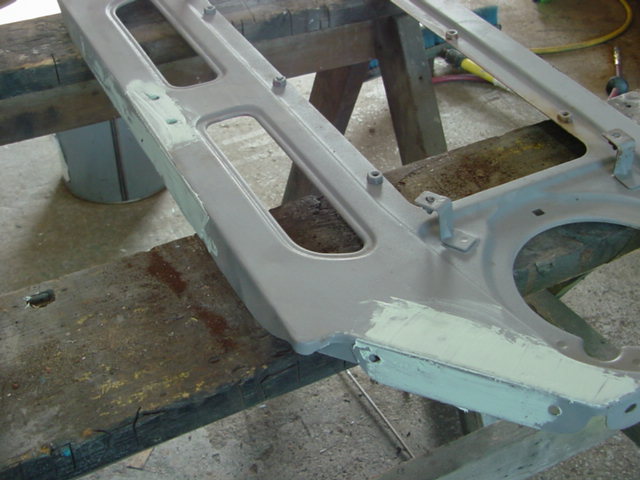
Here you can see some of the prep work to fix the frame and begin the V8 installation.
 |
 |
 |
 |
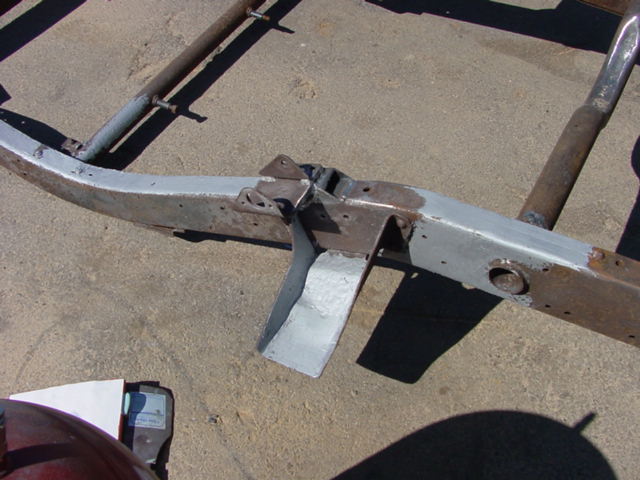 |
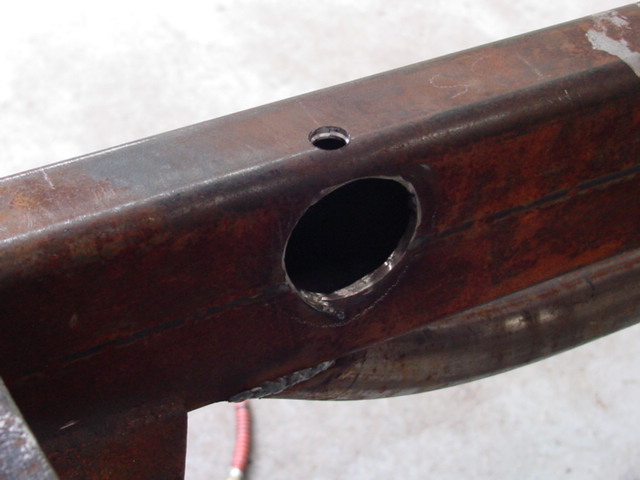
Some more repair and prep work. The aluminum colored fill is made to withstand the heat of the powdercoating ovens. We literally had to stich weld up some pits of the frame and then grind them down to the proper look
 |
 |
 |
 |
 |
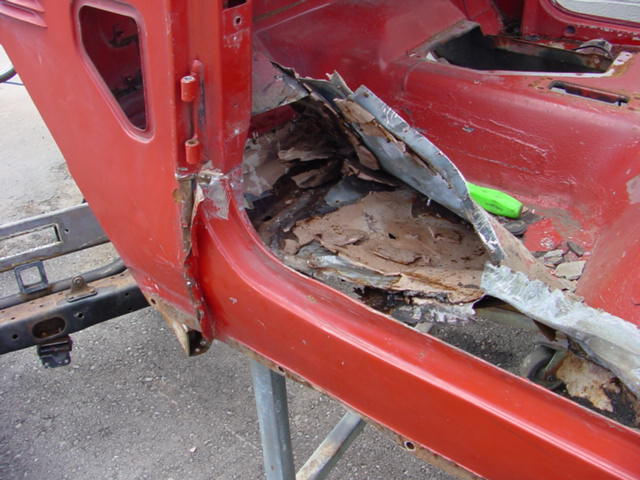
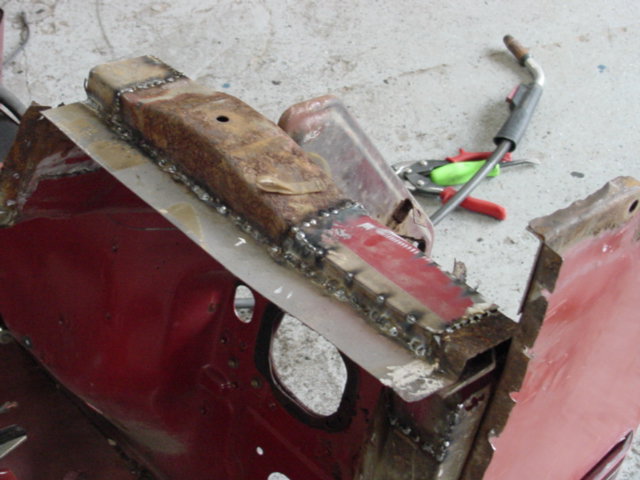
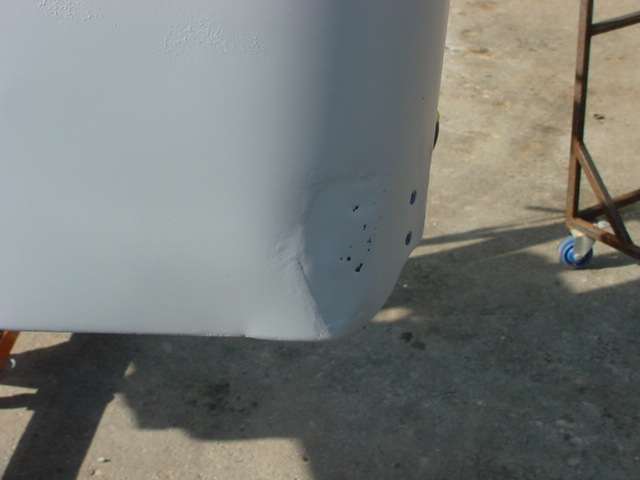
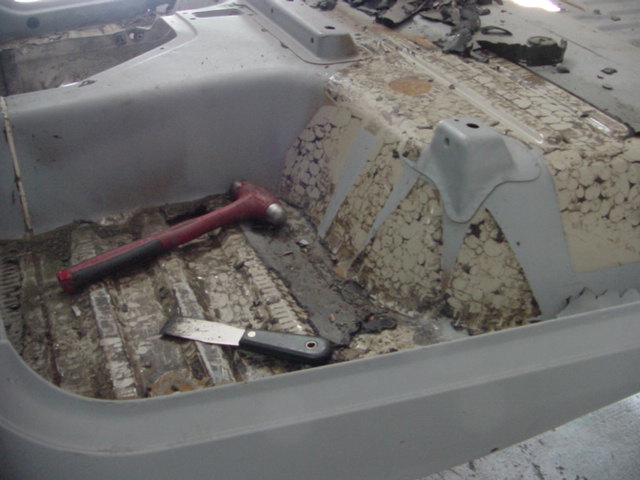
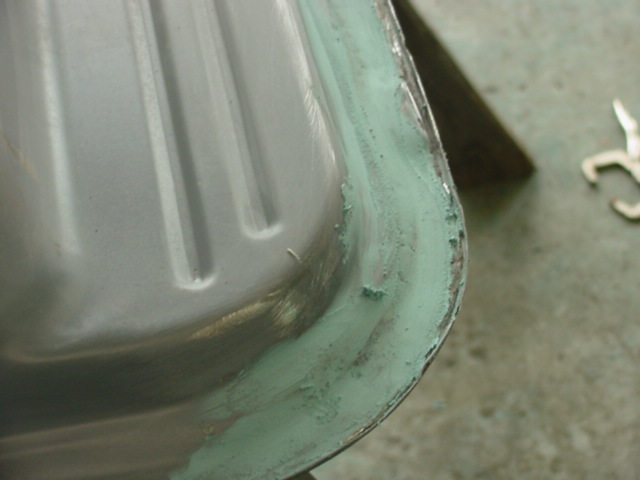
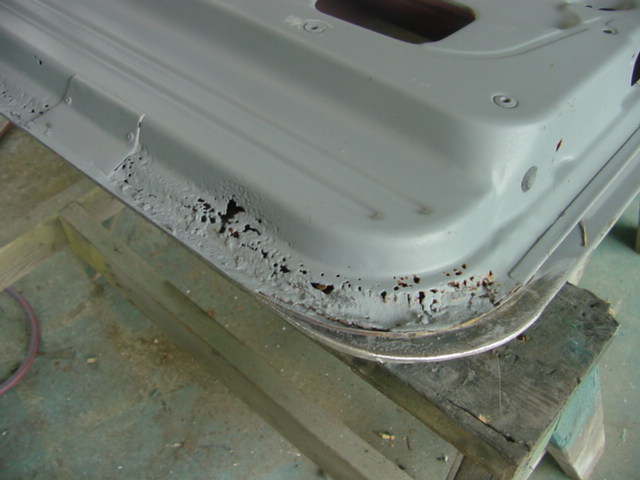
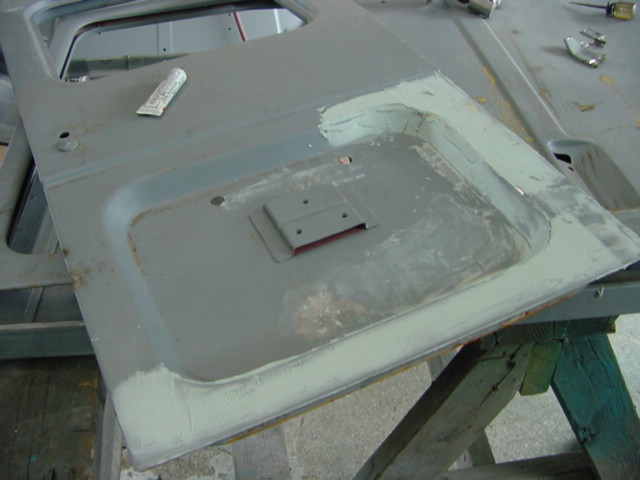
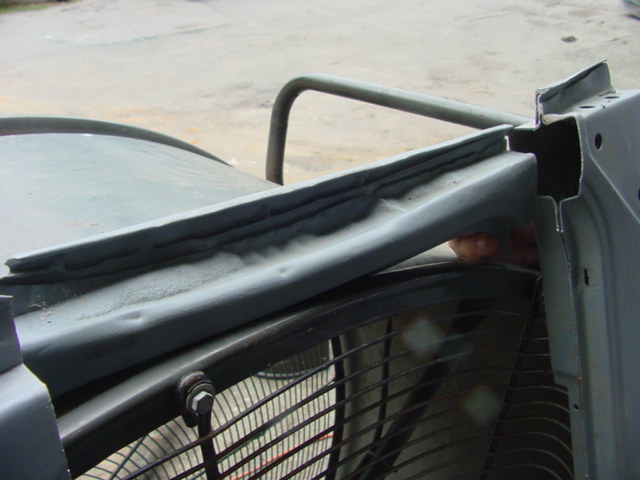
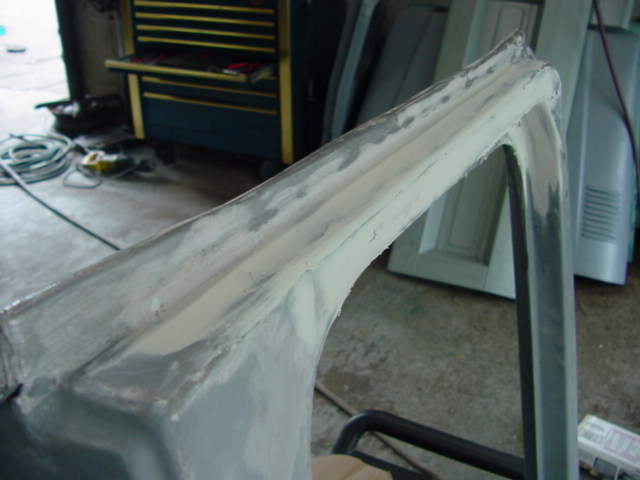
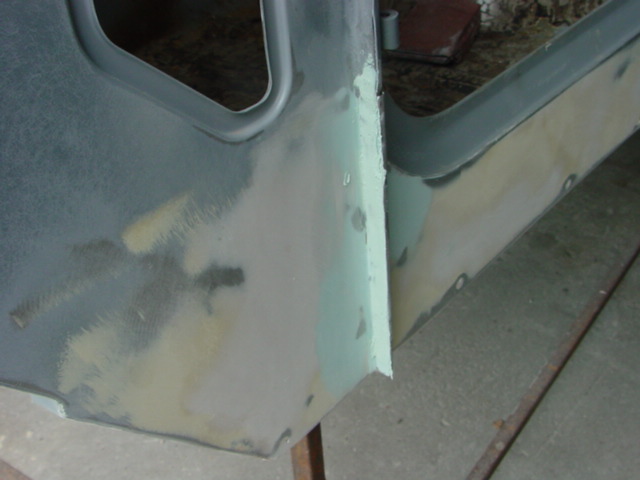
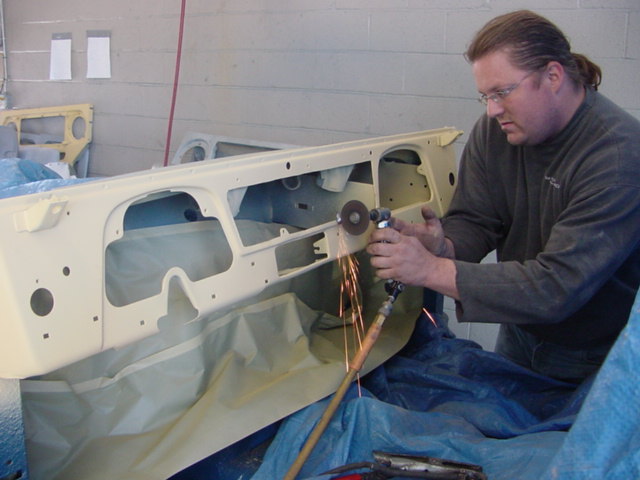
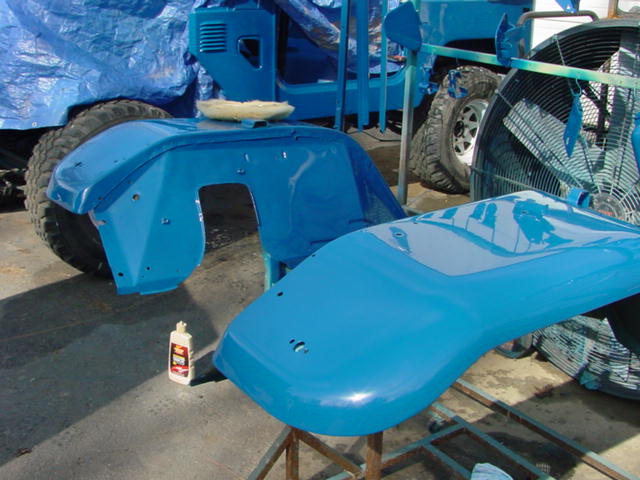
What can I say but Oh My@!...Since we have a tub on the way I decided to get a head start on the cowl work and as you can see in the next few series it needed it.
 |
 |
 |
 |
 |
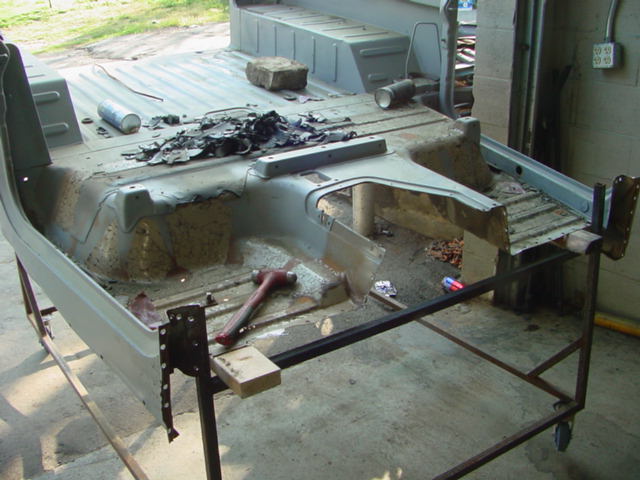
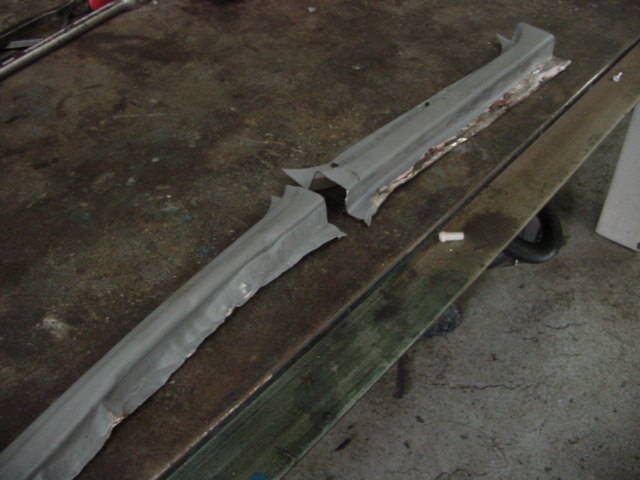
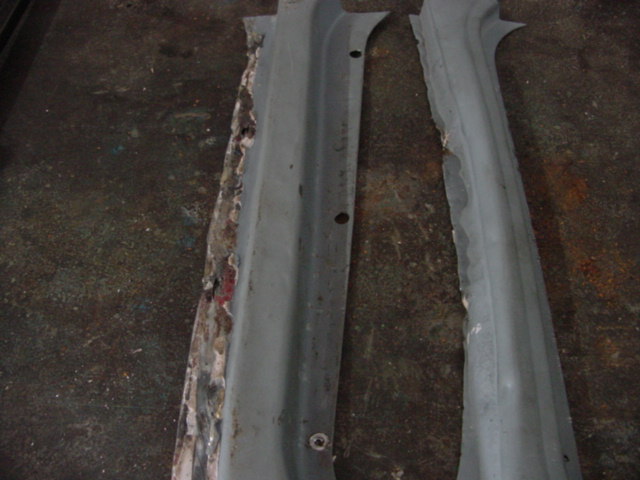
I repaired each underlying section then repaird the next tier of metalwork above it to make sure every bit of rust gets cut or sandblasted out.
 |
 |
 |
 |
 |
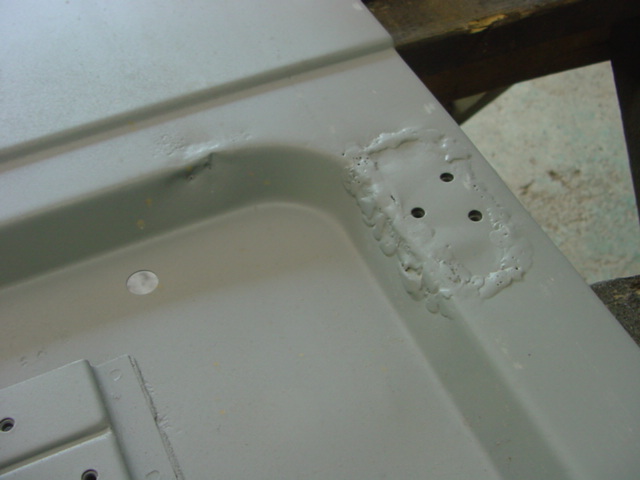
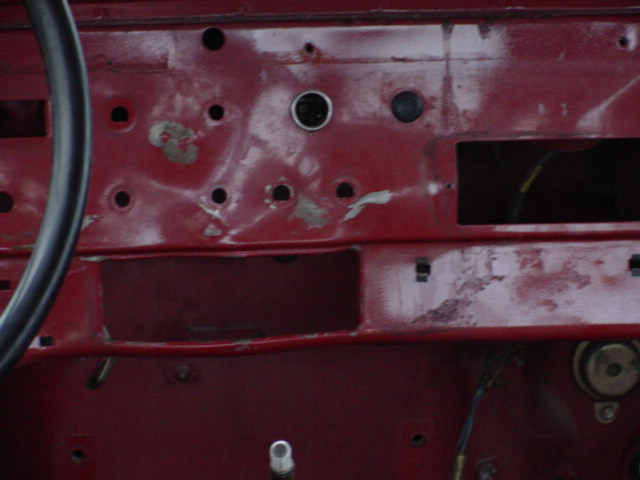
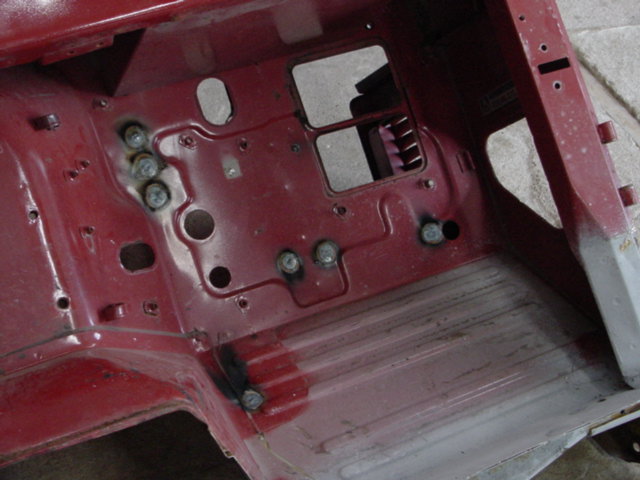
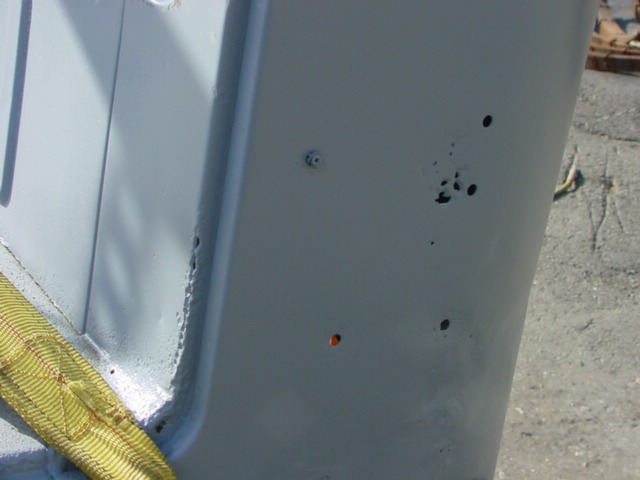
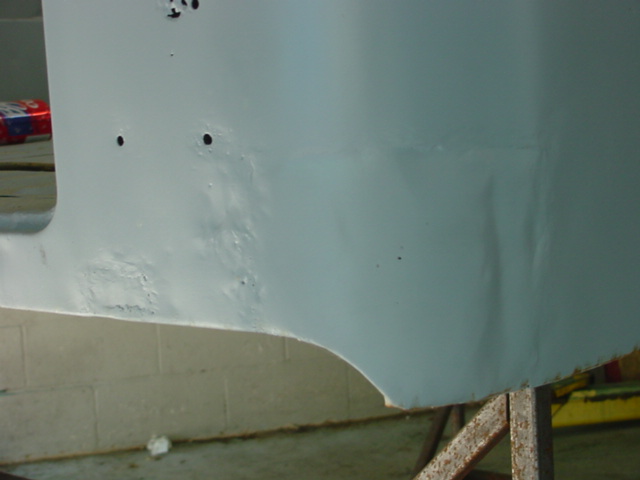
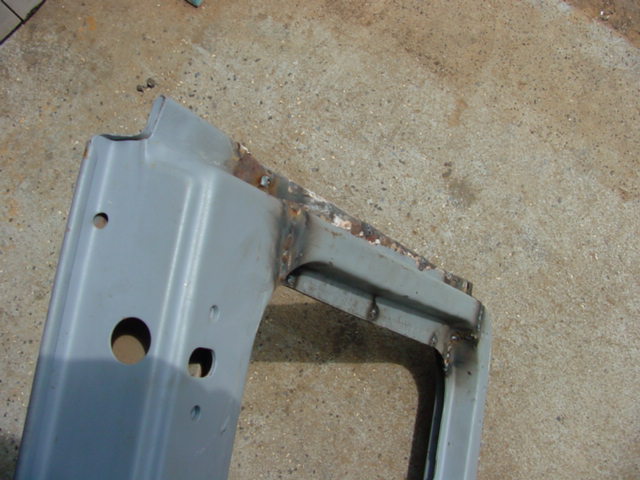
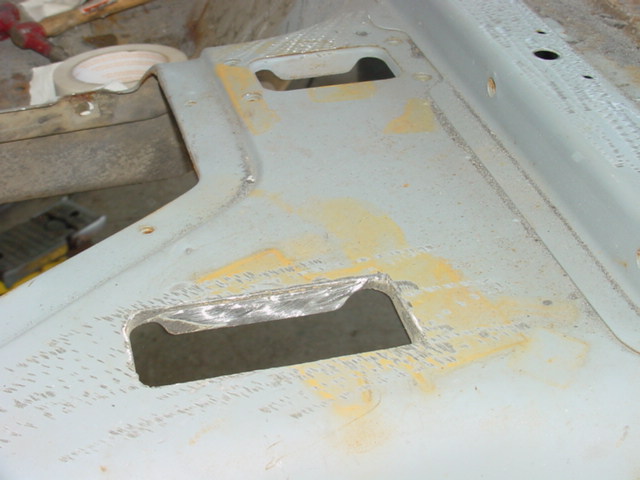
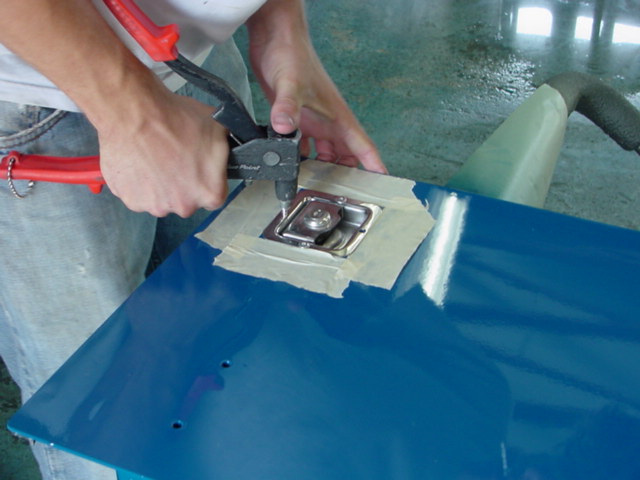
Since we our doing a custom install of a heater/ac unit I thought it would be cool to weld up and smooth all the unnecessary holes in the cab
 |
 |
 |
 |
 |
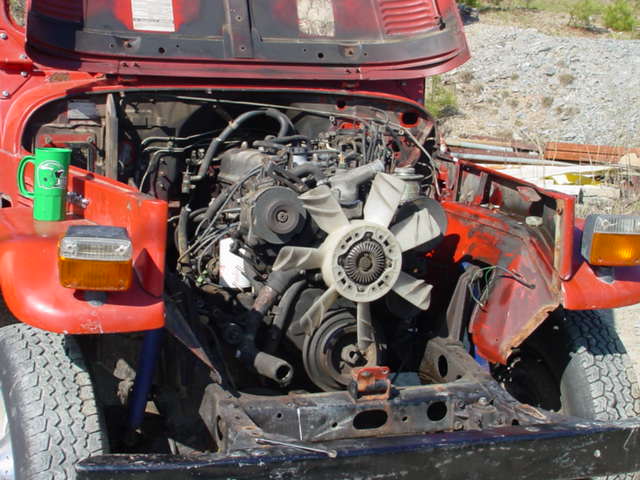
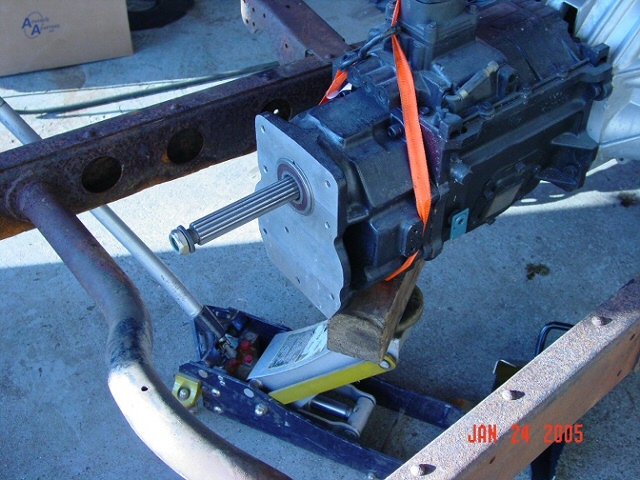
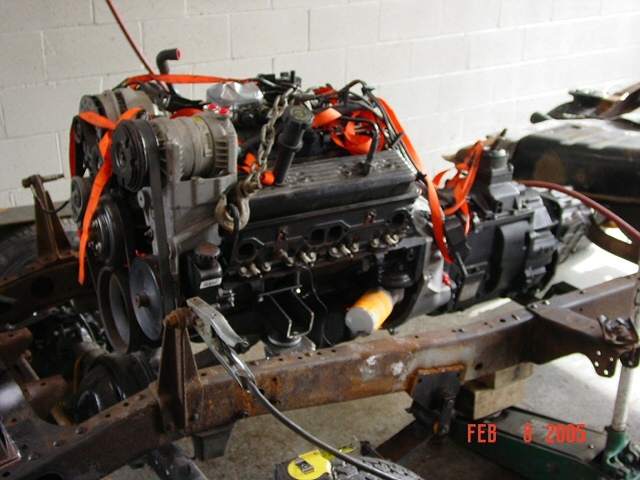
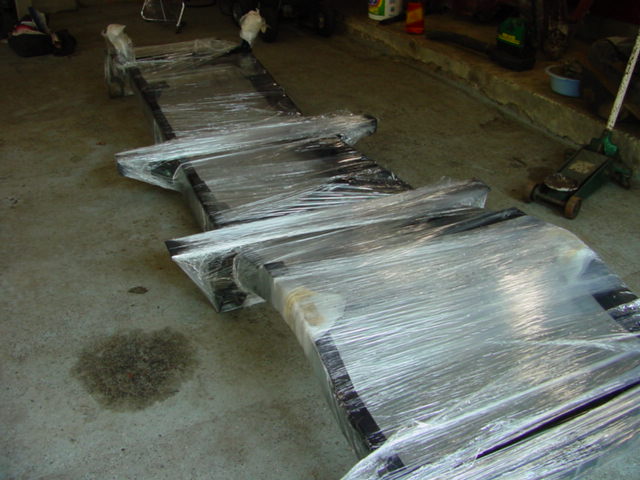
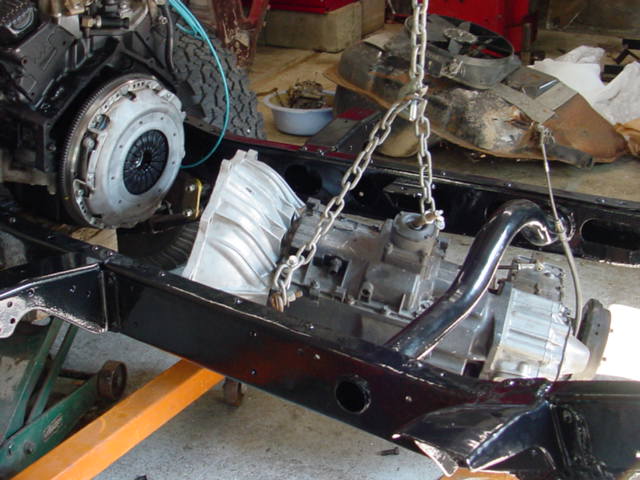
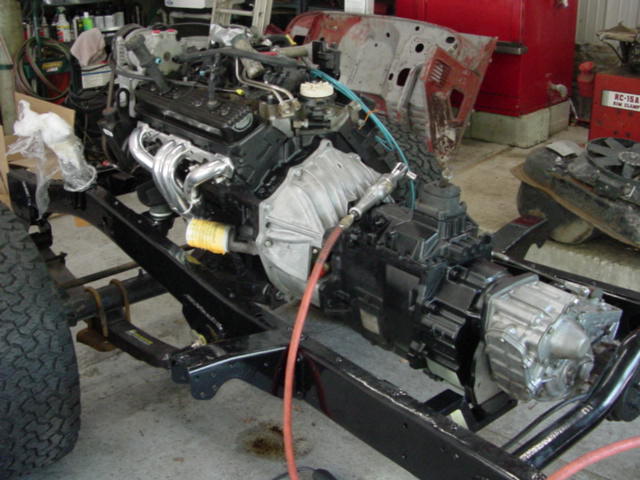
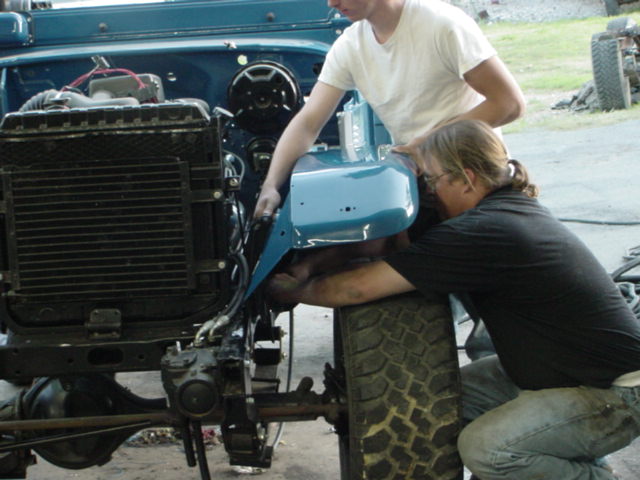
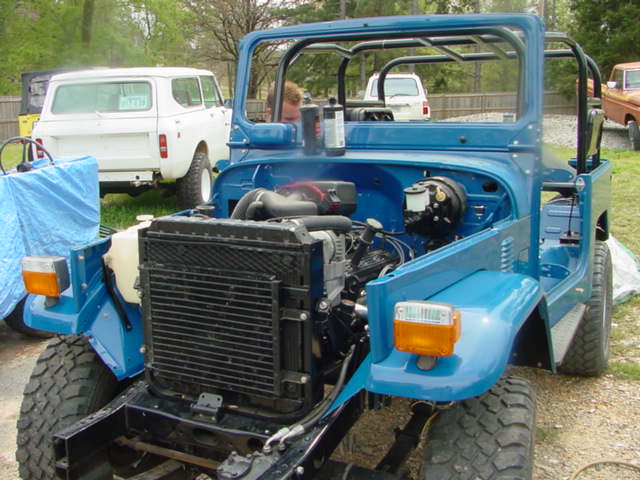
This section of the tub had like super paint on it, I'm still working the paint off the front cowl. Here are some pics of the driveline being installed for mockup purposes.
 |
 |
 |
 |
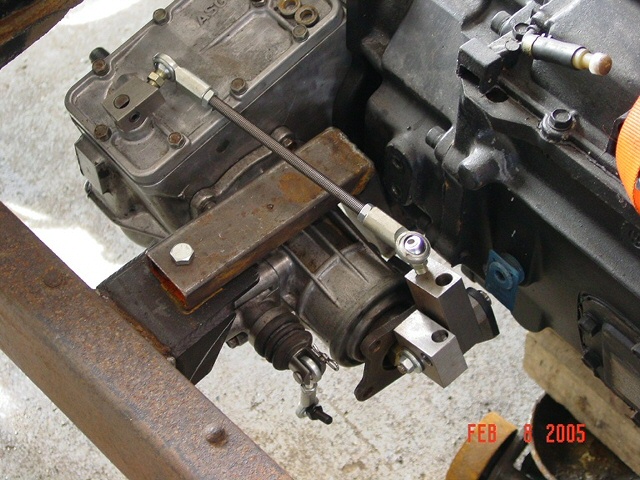 |
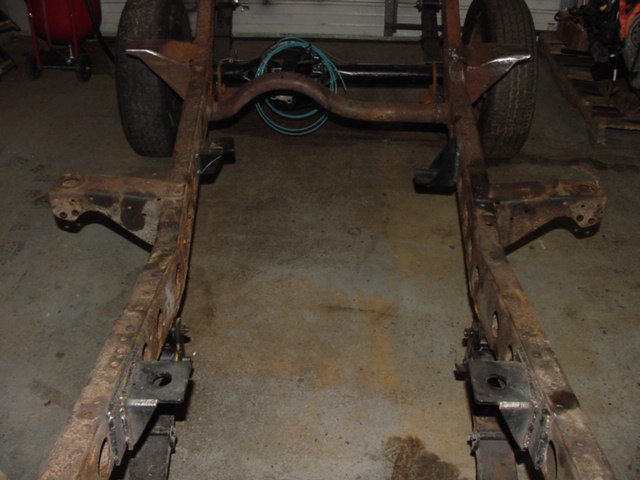
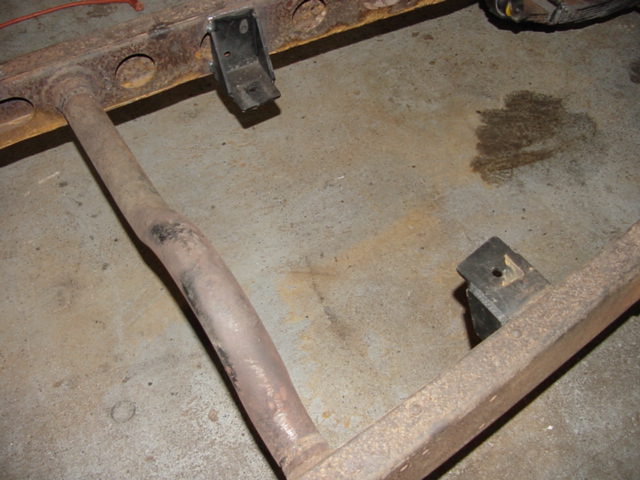
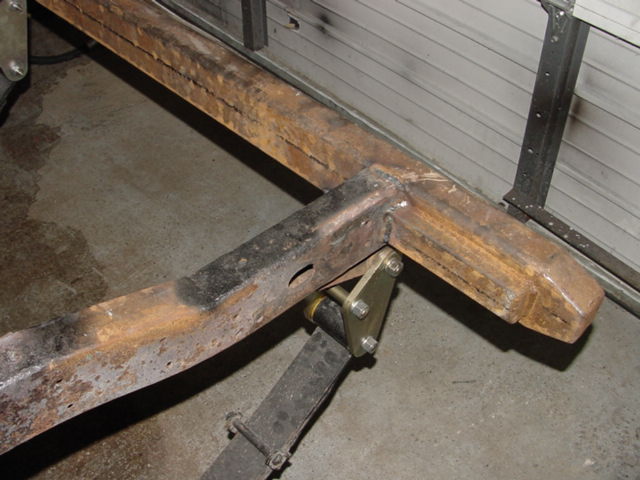
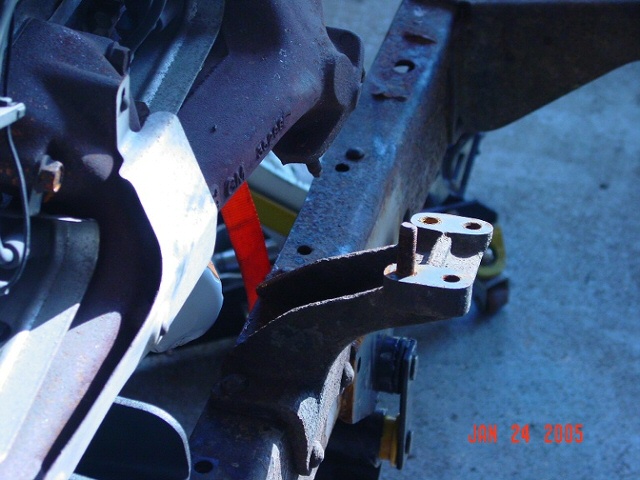
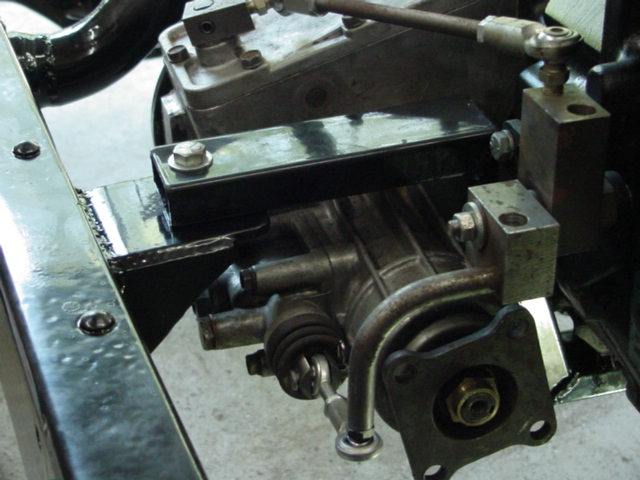
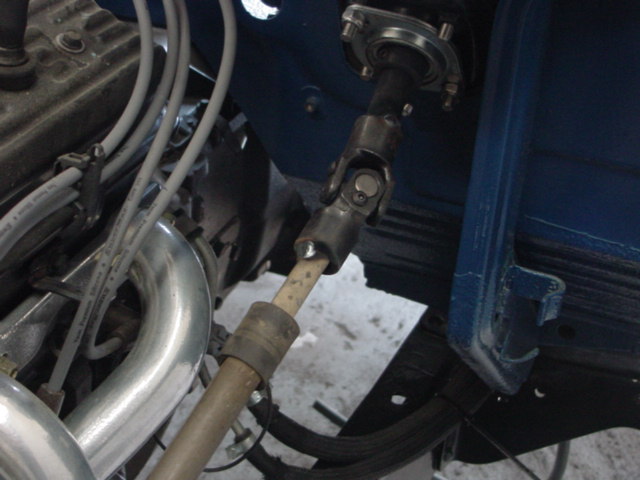
Notice the trouble in pic 3? The steering box bracket interferes with the header so I spoke with Jim and we agreed the best route would be to do a Saginaw conversion. I custom make the rear crossmember to route over the nosecone, makes repairs much easier and gains ground clearance.
 |
 |
 |
 |
 |
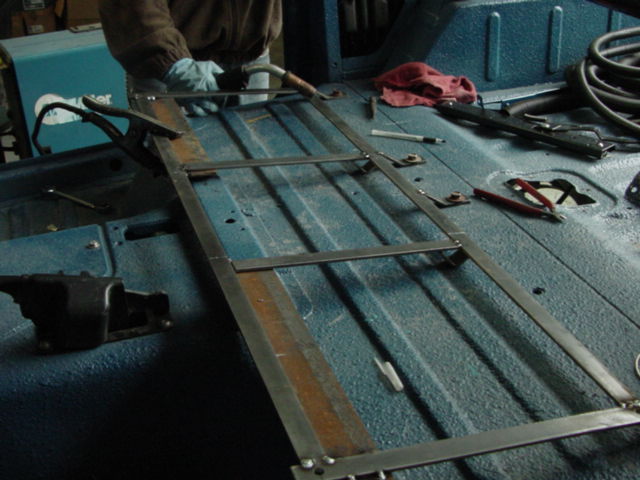
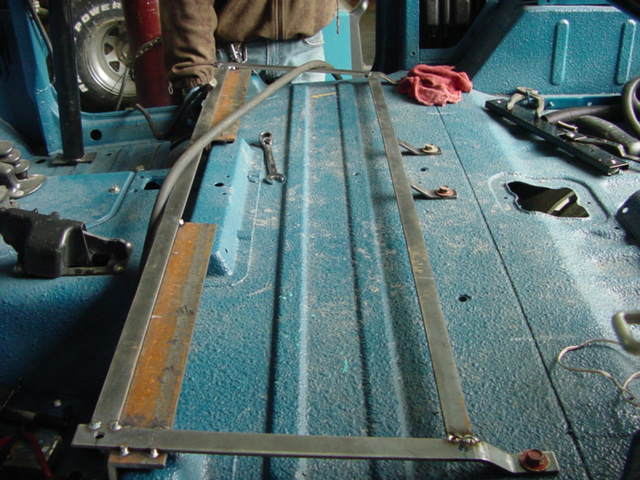
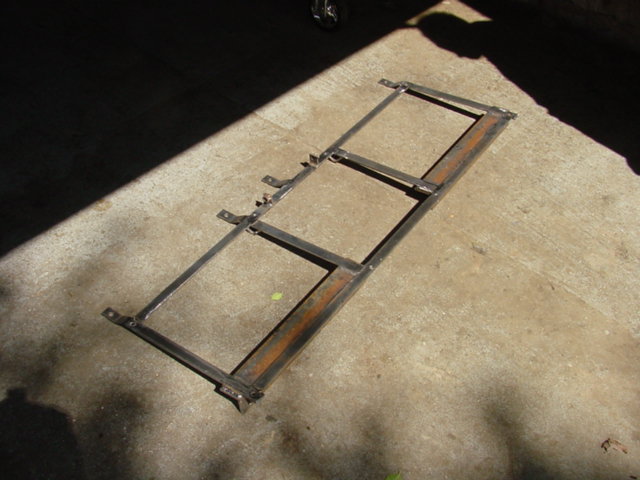
More metal work
 |
 |
 |
 |
 |
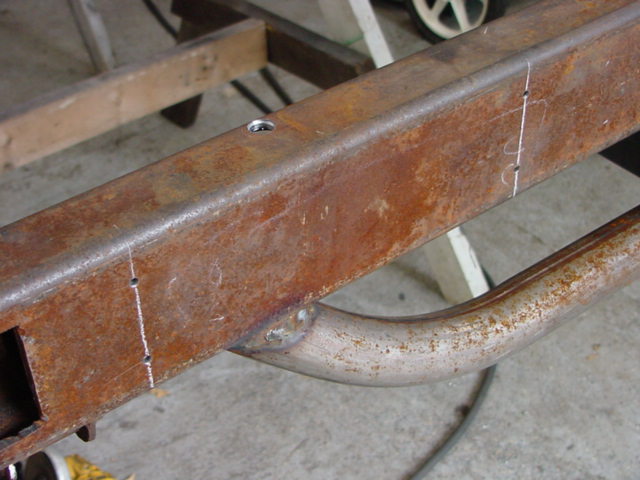
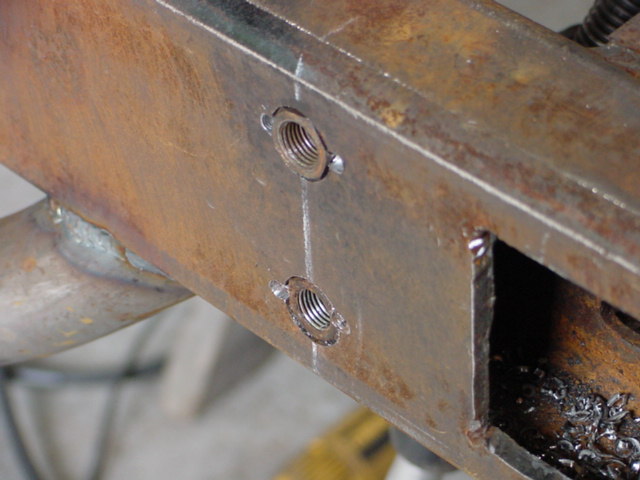
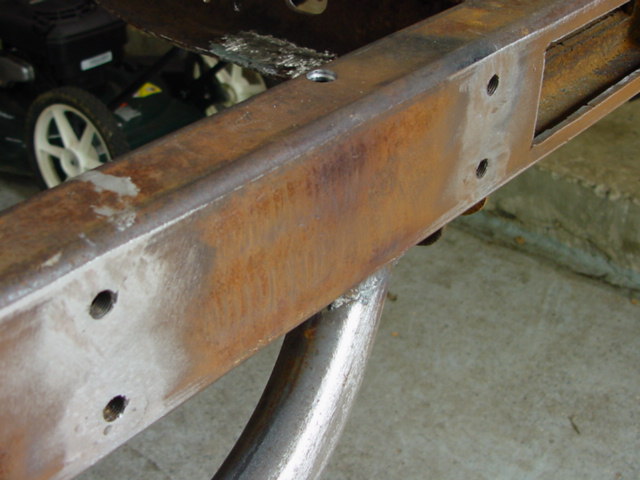
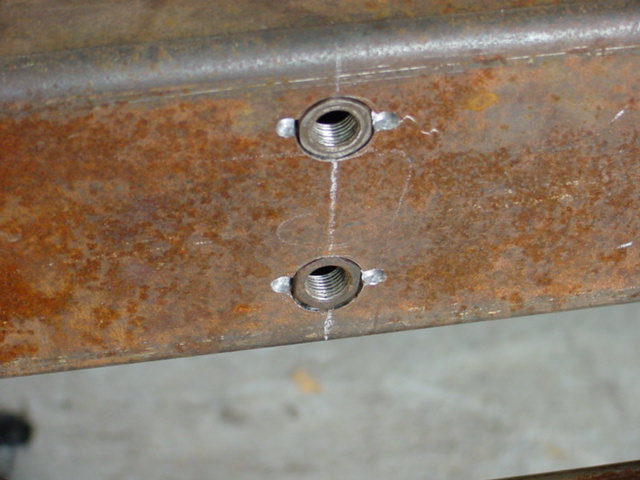
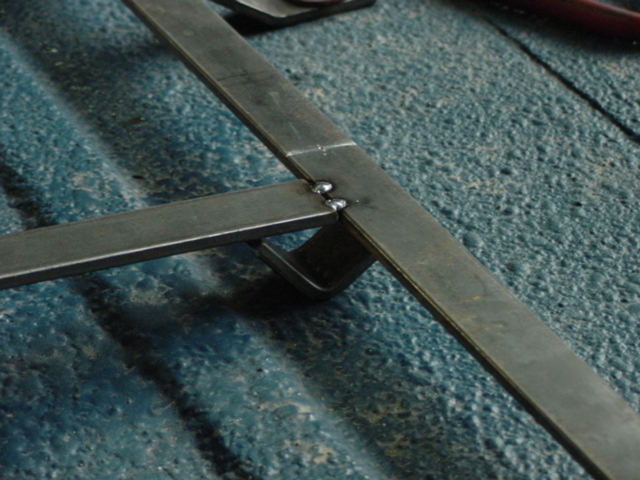
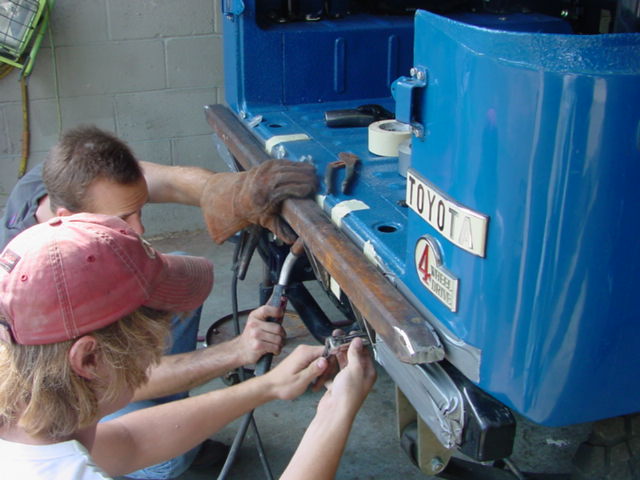
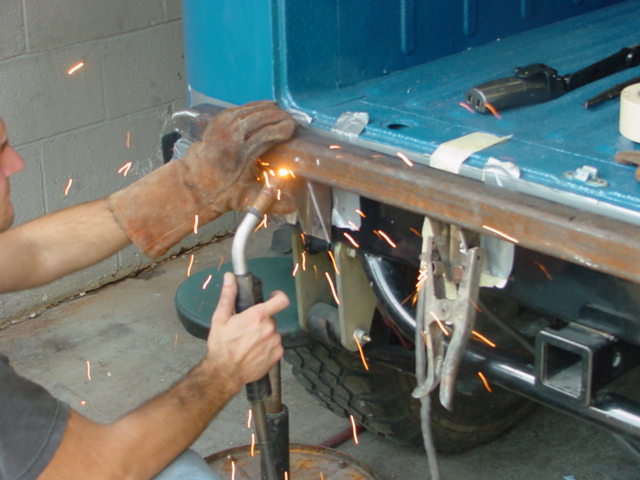
I'm doing these bolts in the rear tube for a sweet little tire carrier I'm going to fab up for Jim.
 |
 |
 |
 |
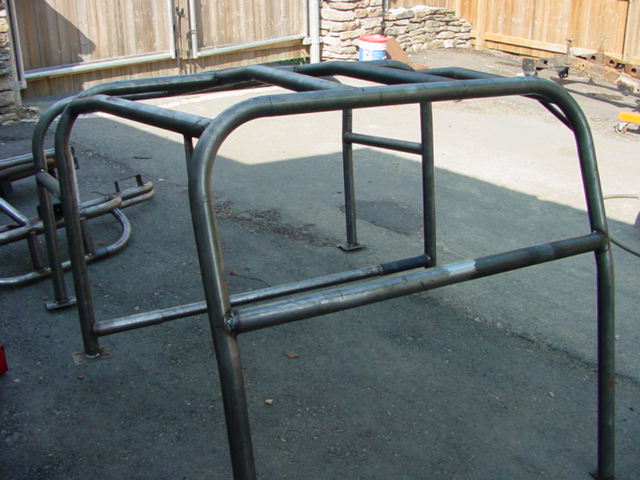 |
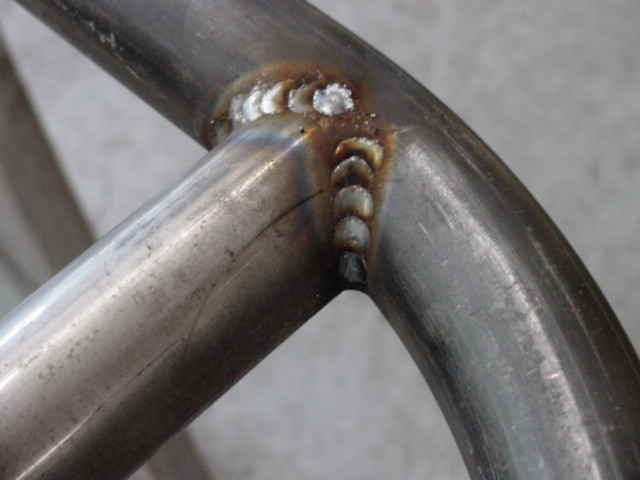
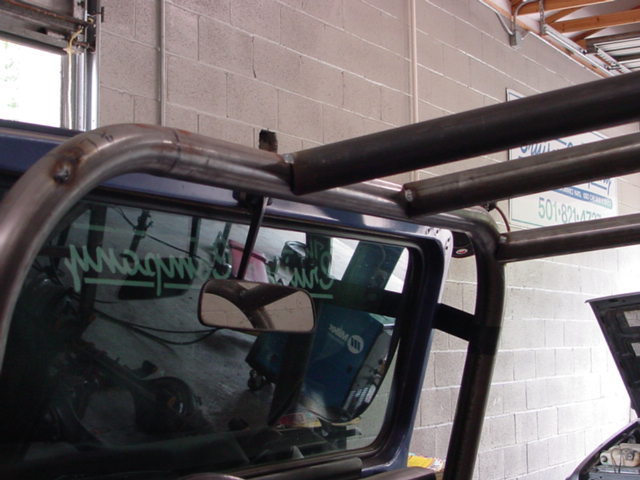
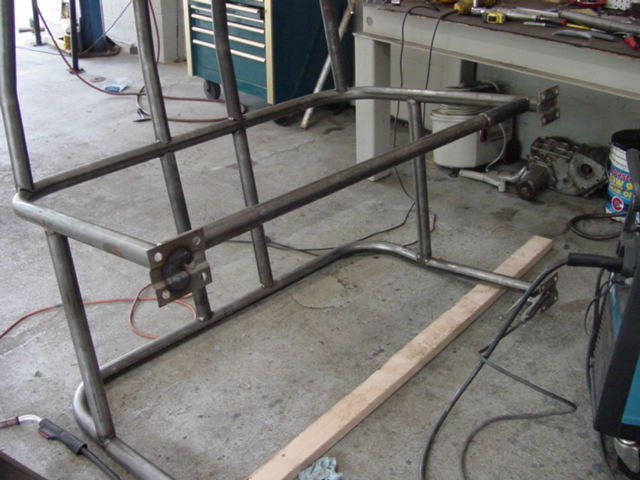
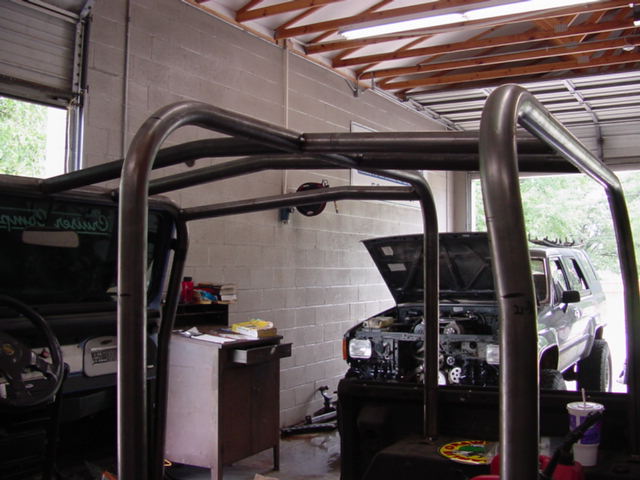
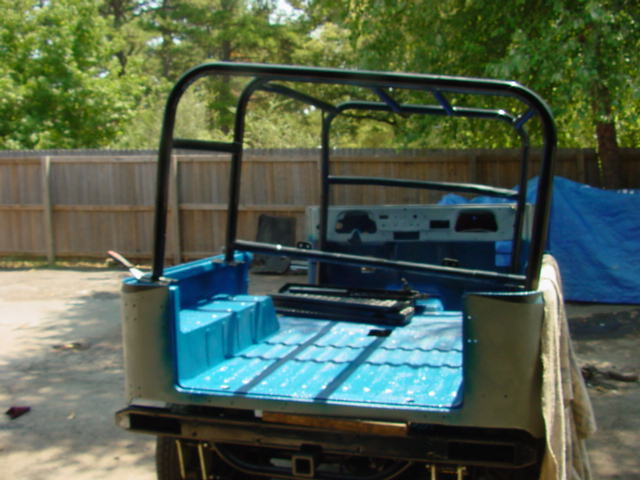
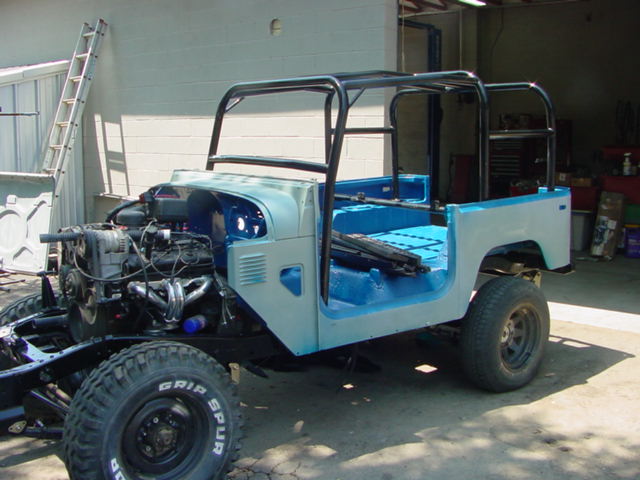
I used my truck as a pattern for the rollcage. The cage turned out sweet.
 |
 |
 |
 |
 |
 |
 |
 |
 |
 |
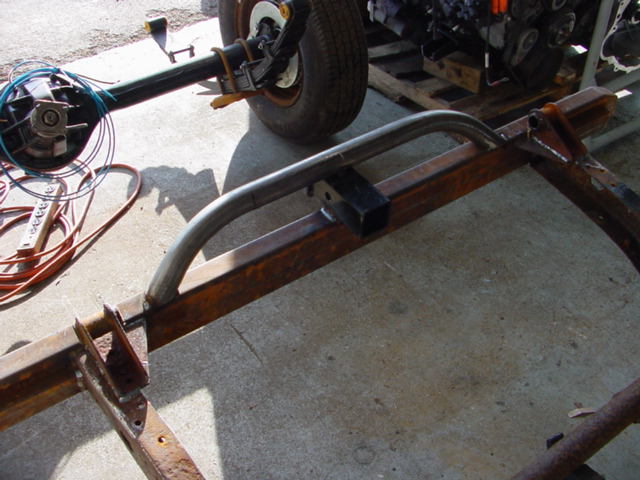
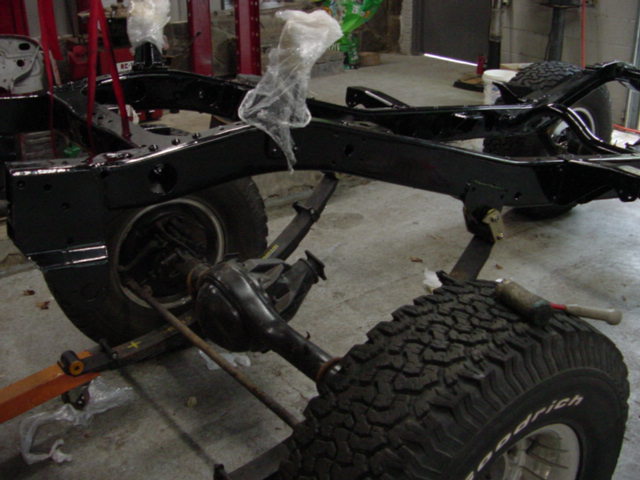
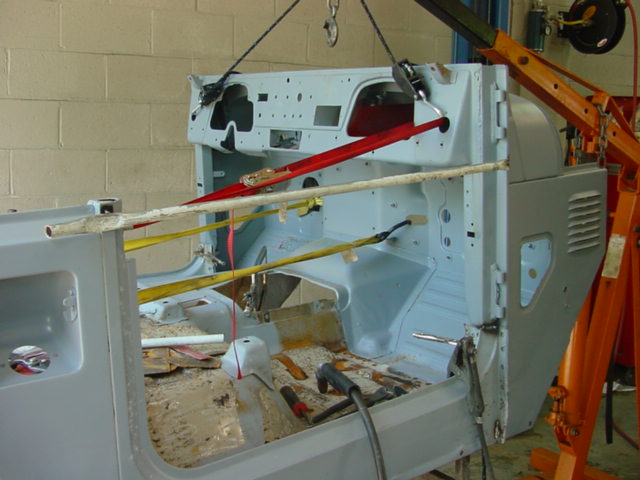
Frame is back from powder coat, axles going in, pic of my custom crossmember, here you can see where i cut the shrink wrap of the engine harness and installed the wiring I need for a later plug that I make for engine to truck communication.
 |
 |
 |
 |
 |
 |
 |
 |
 |
 |
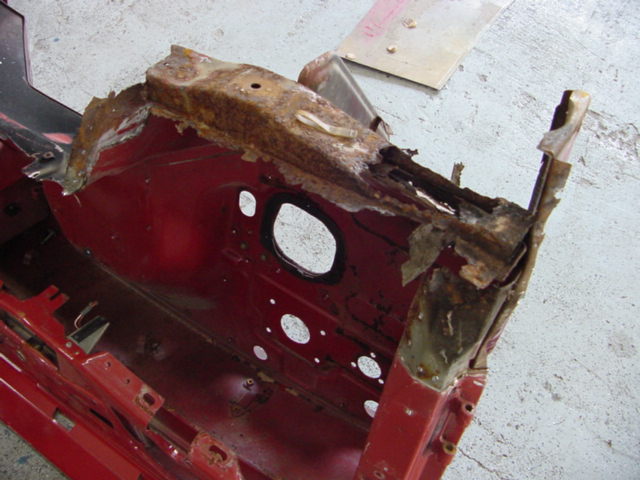
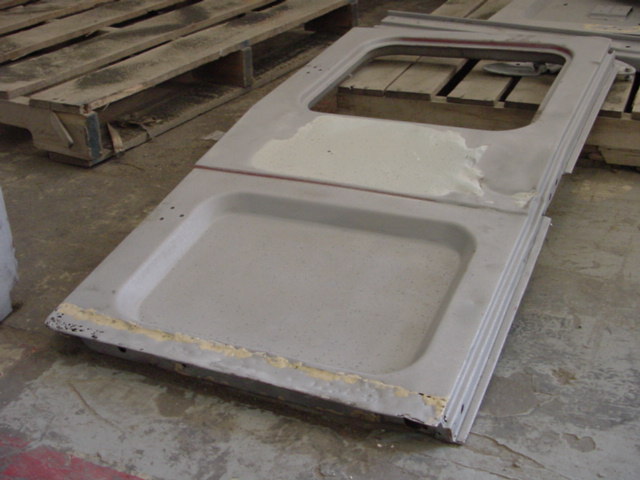
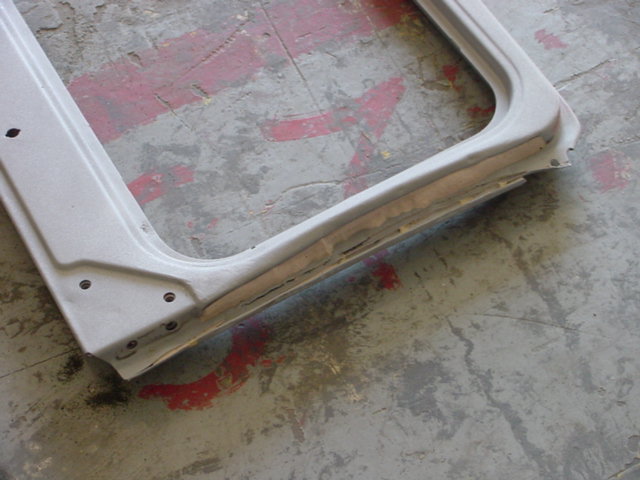
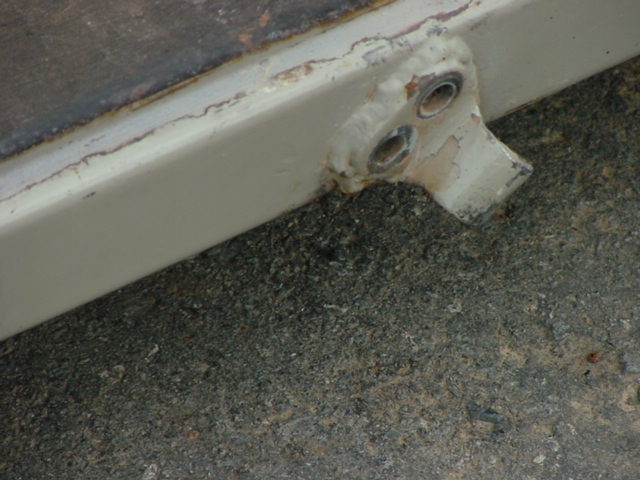
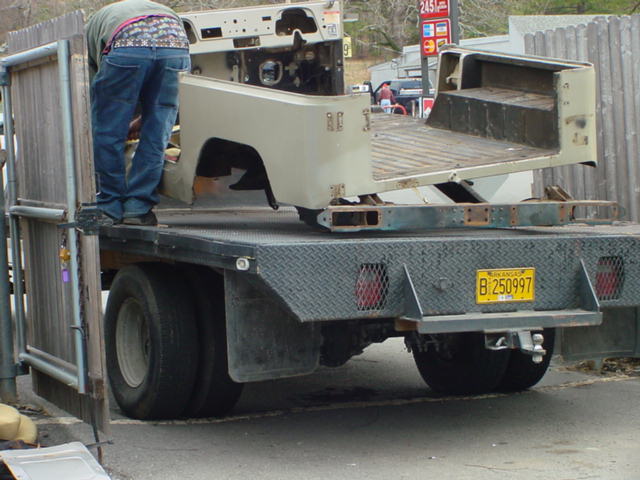
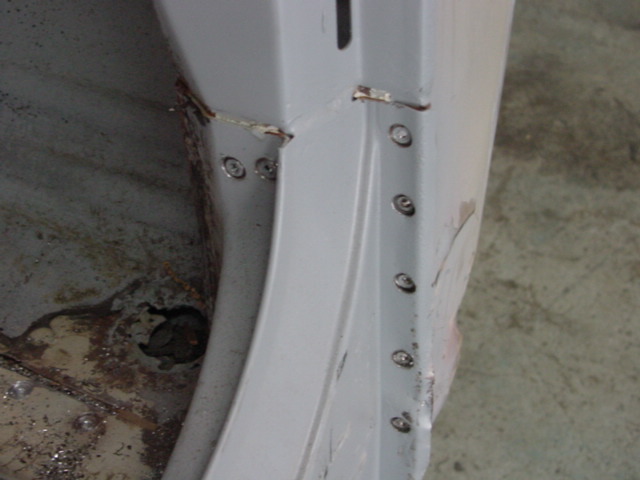
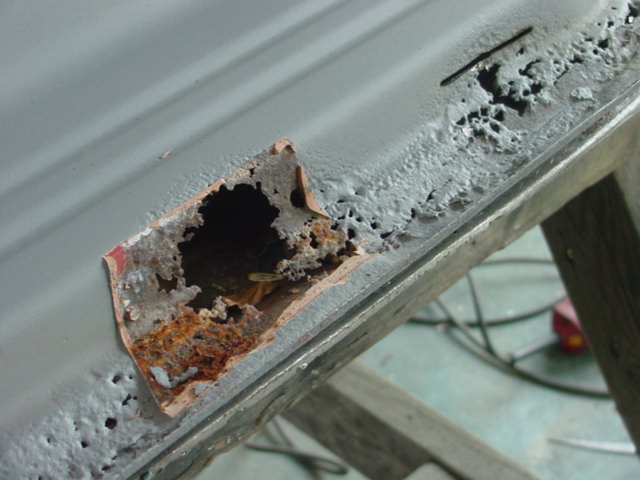
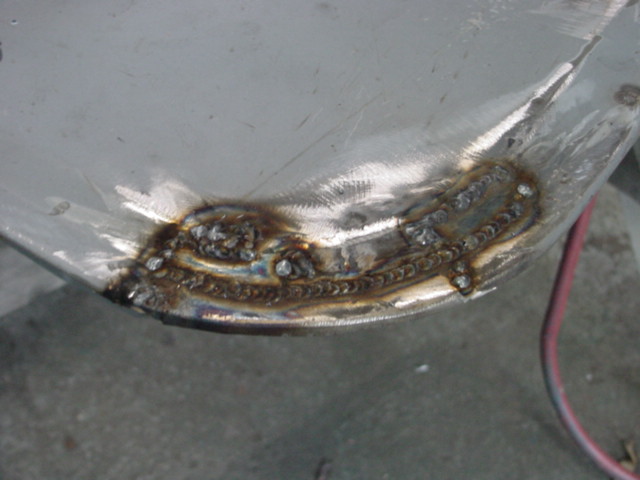
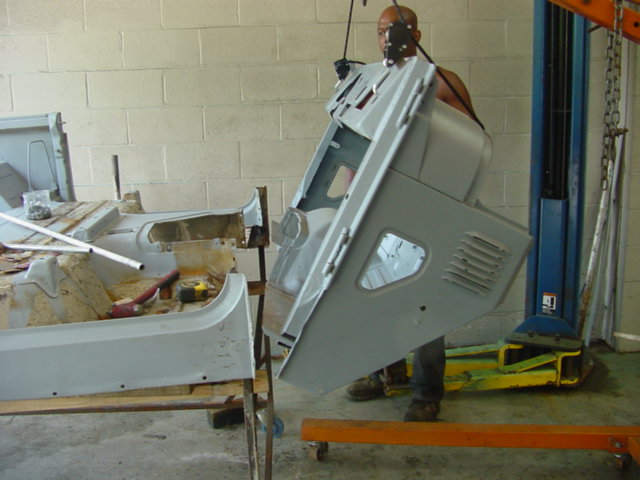
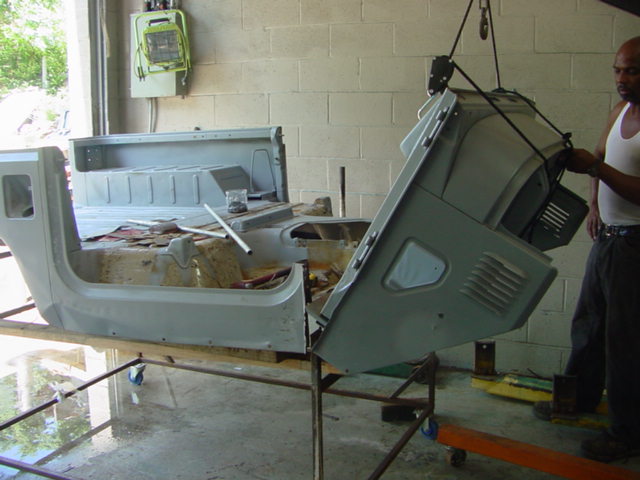
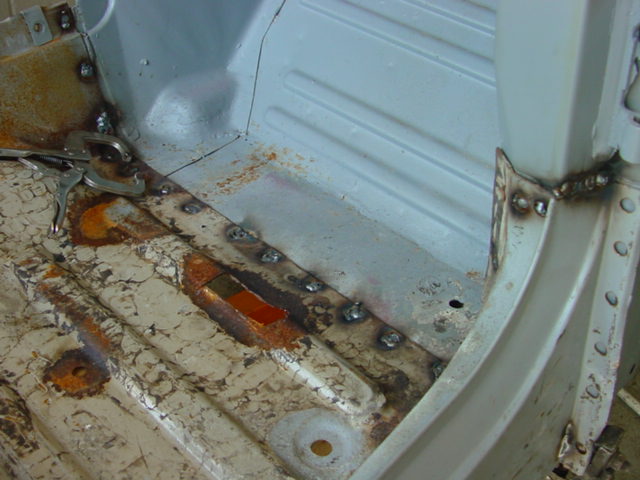
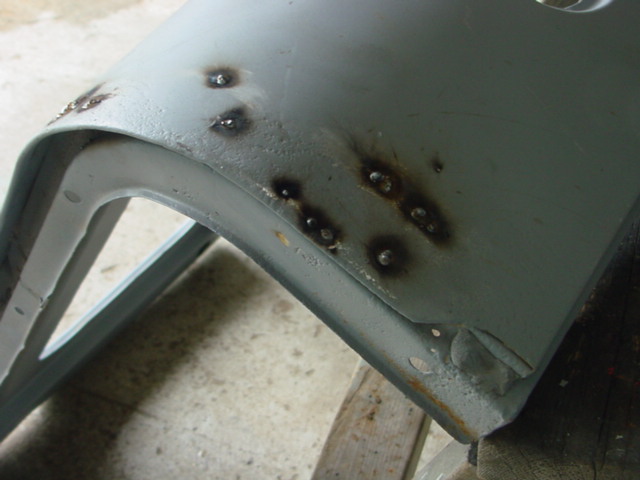
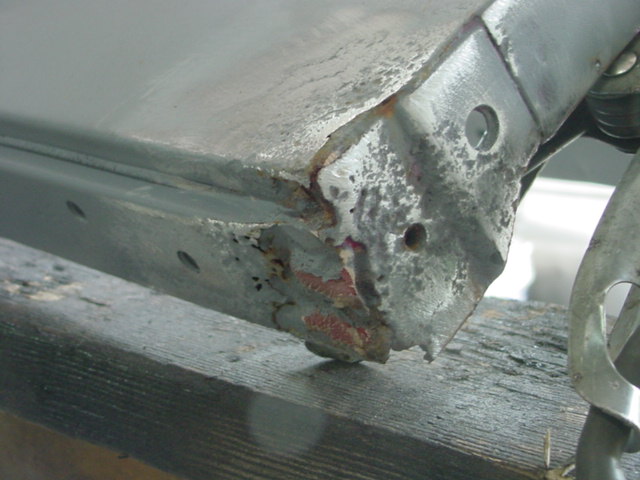
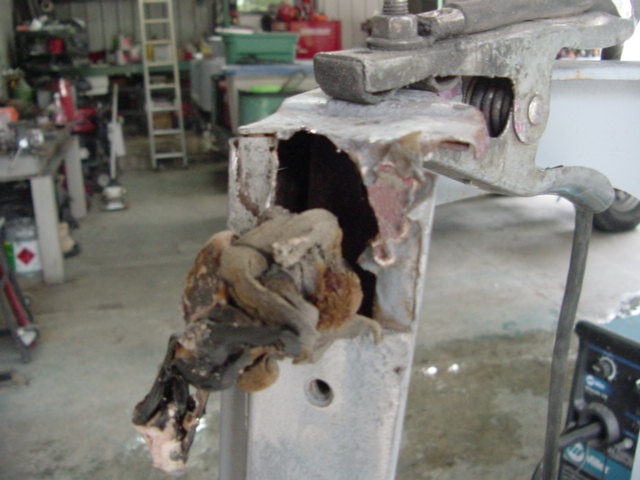
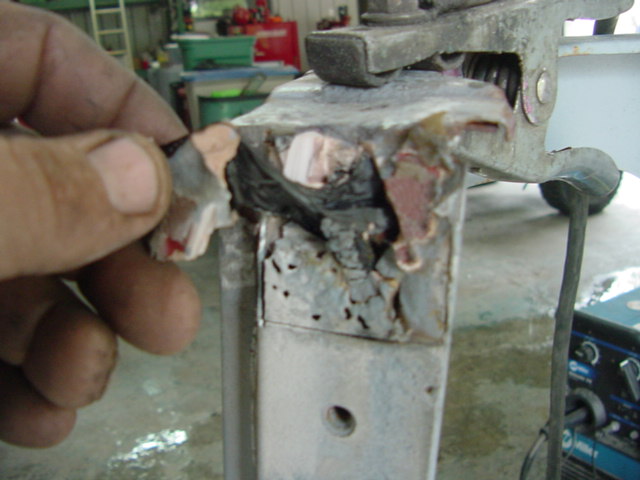
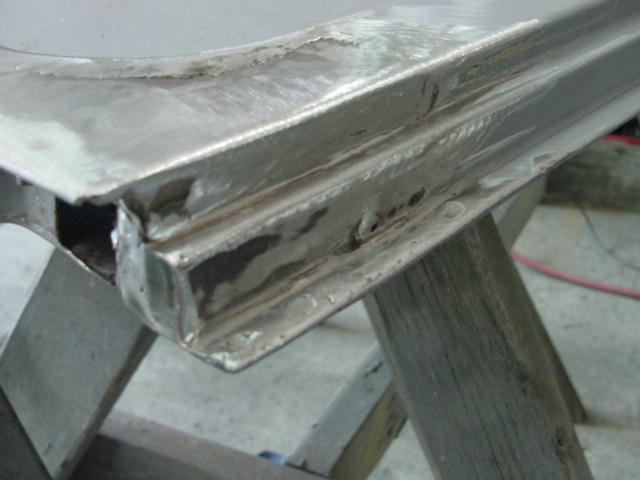
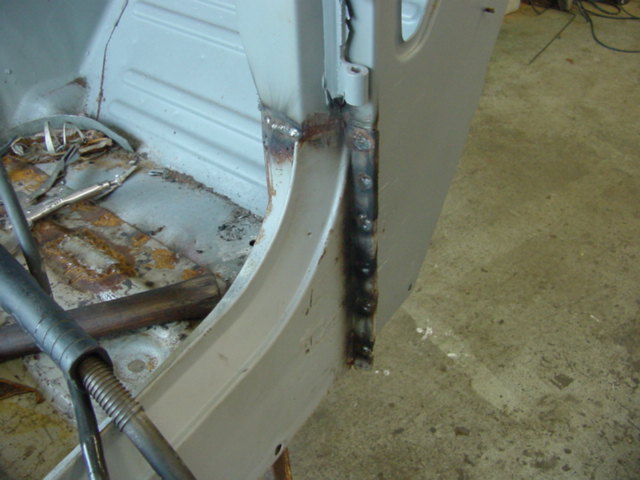
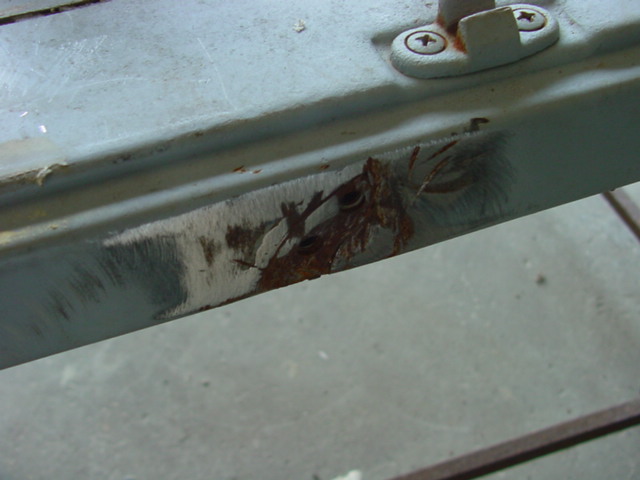
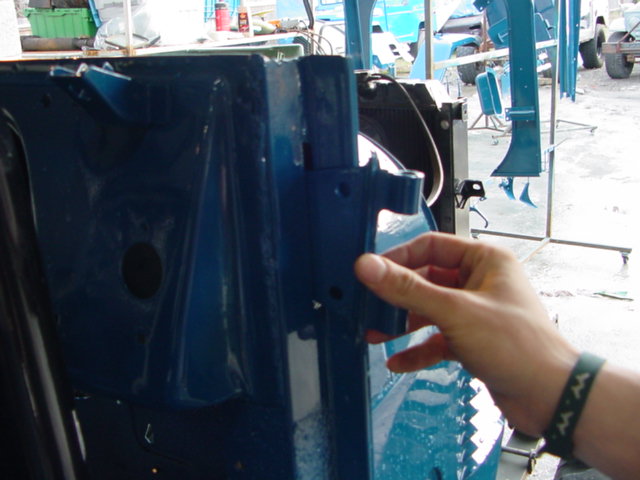
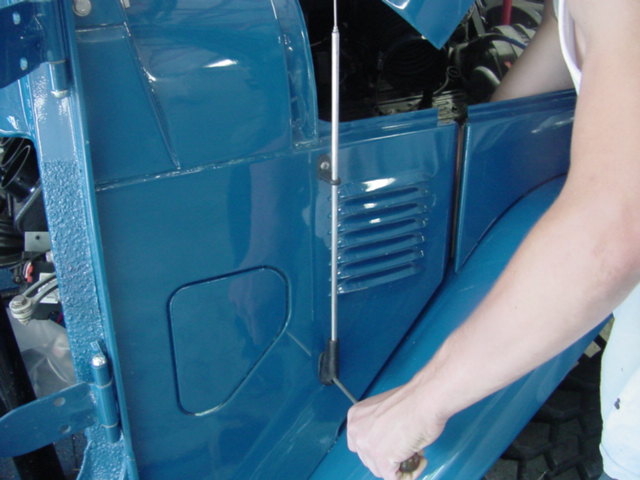
Here's a few pics of some of the rot present in the truck after blasting. You can see the brazing done on the door and the windshield frame has a crushed pillar that was hidden in bondo. The donor tub arrives. Its been crushed in the corners and rockers and see if you notice something strange about it.
 |
 |
 |
 |
 |
 |
 |
 |
 |
 |
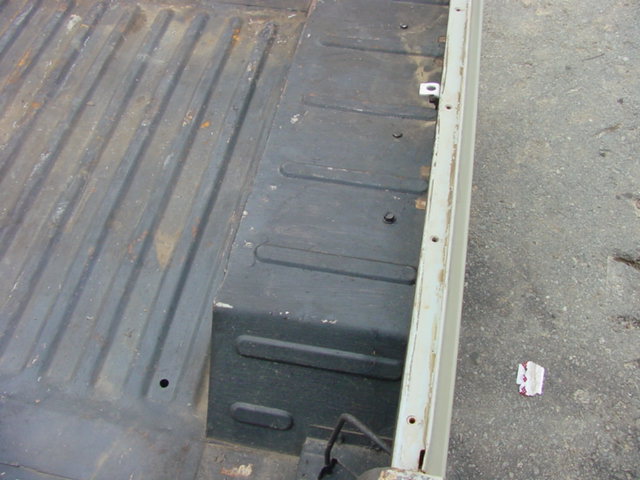
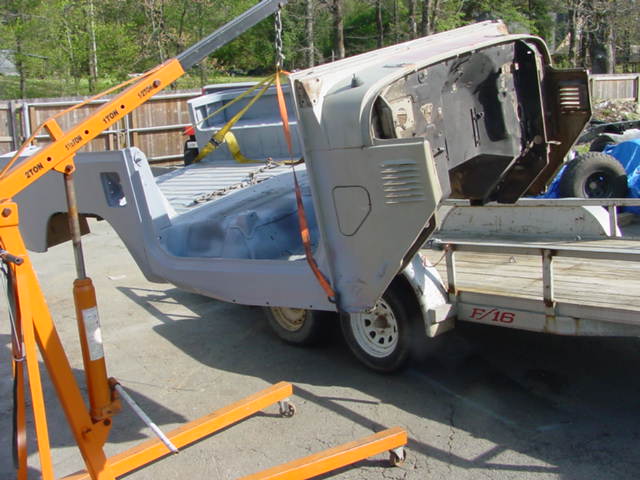
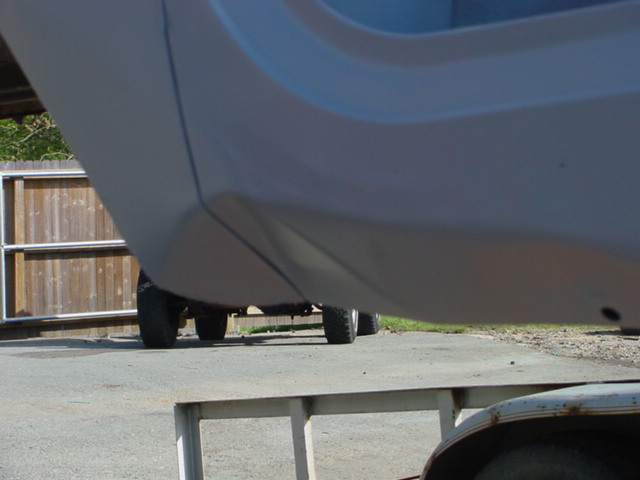
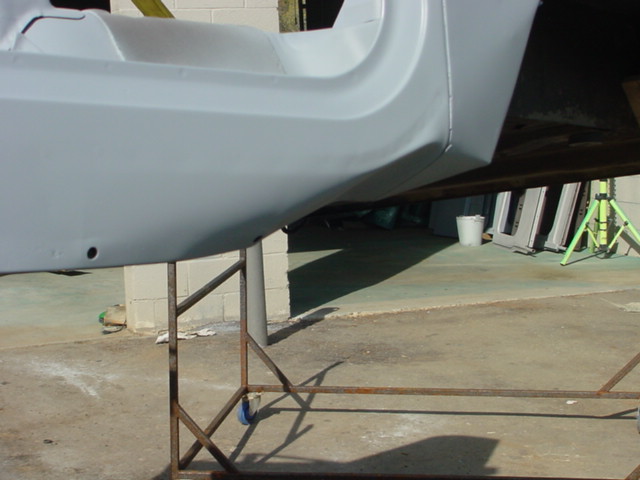
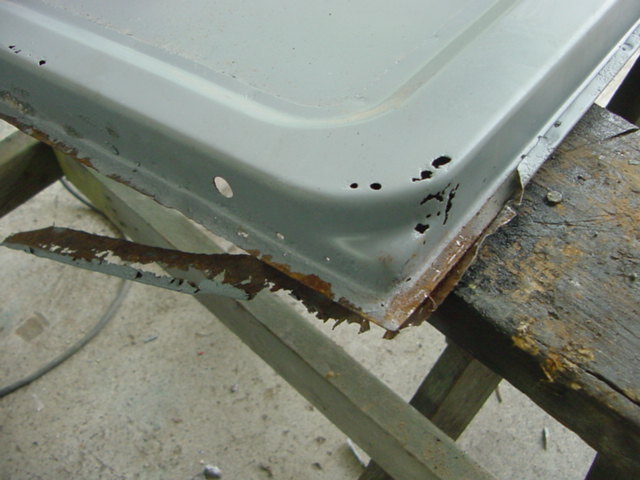
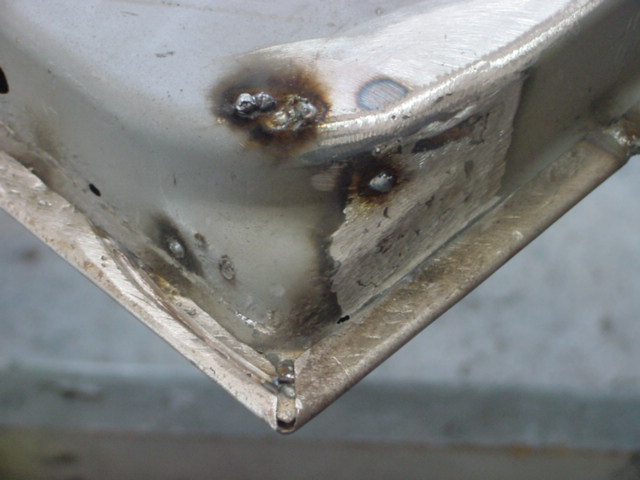
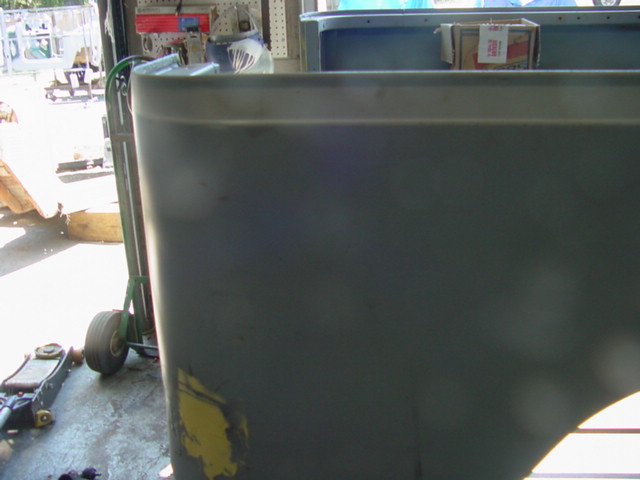
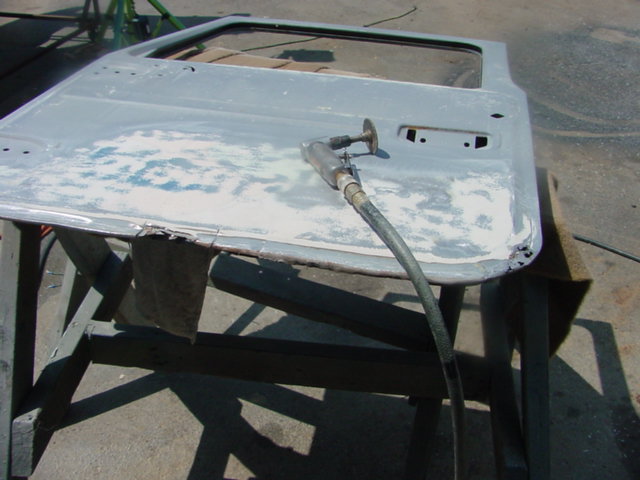
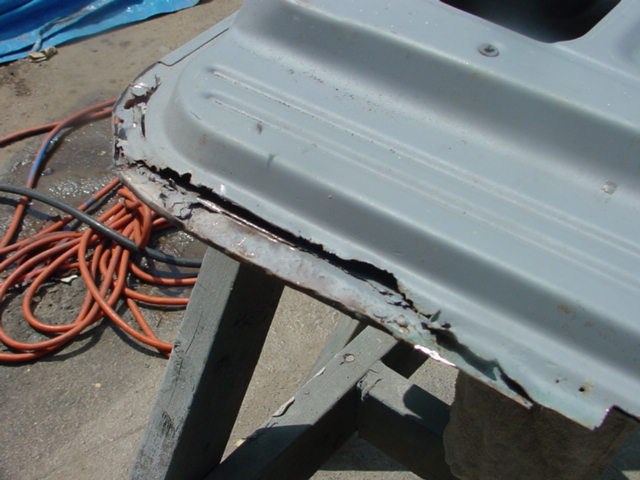
Off to the blaster with the donor tub and then we can see what kind of condition its truly in, notice the corners turned under during shipping and the spot rot in the back quarters.
 |
 |
 |
 |
 |
 |
 |
 |
 |
 |
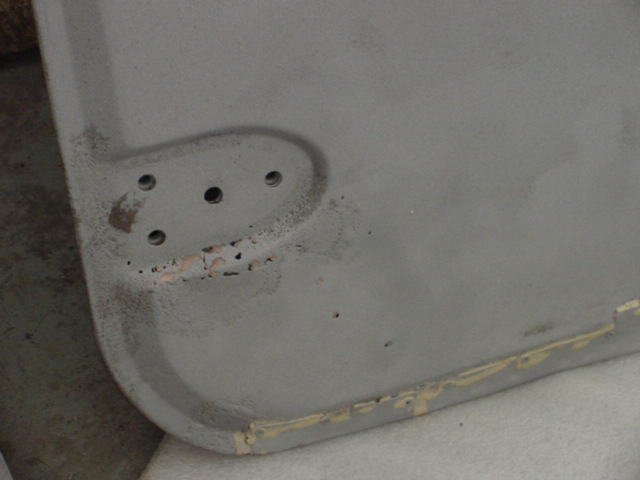
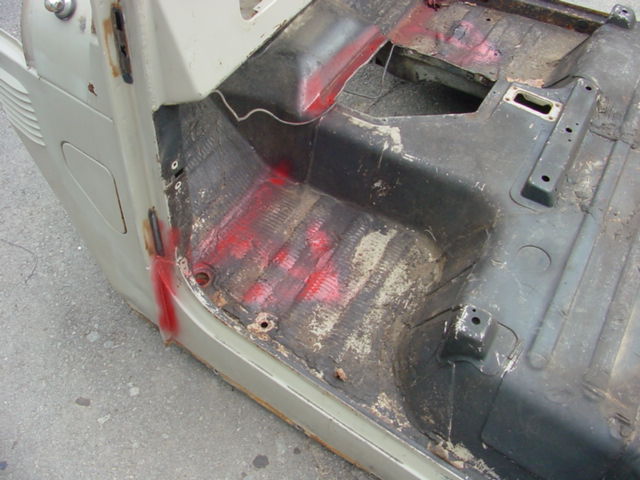
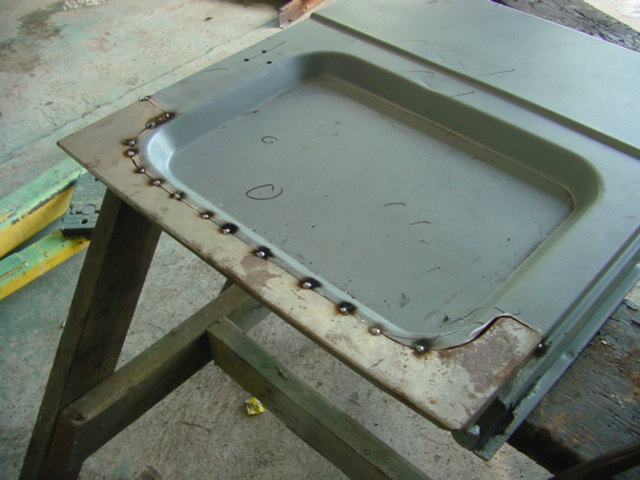
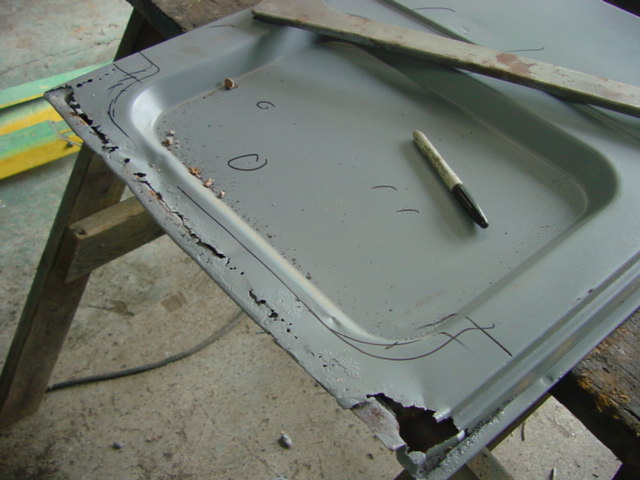
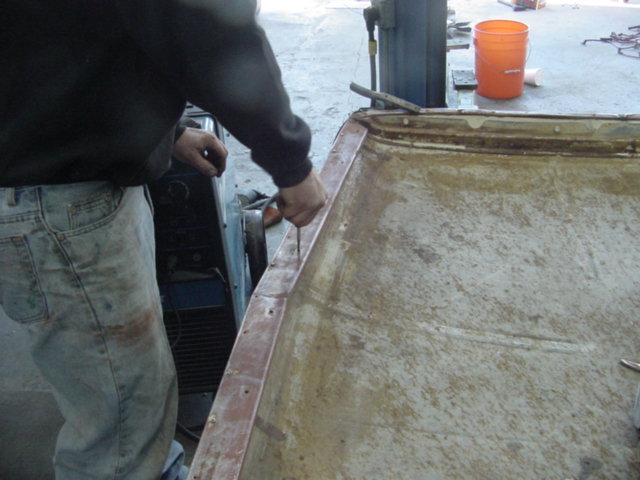
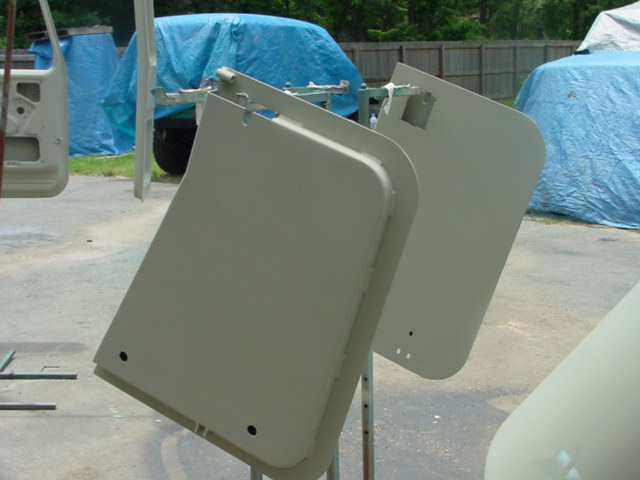
Loosing the front cowl from the donor and prepping the cab for our BedLiner. Heres some light door rot from one side of the door. The next are not pretty.
 |
 |
 |
 |
 |
 |
 |
 |
 |
 |
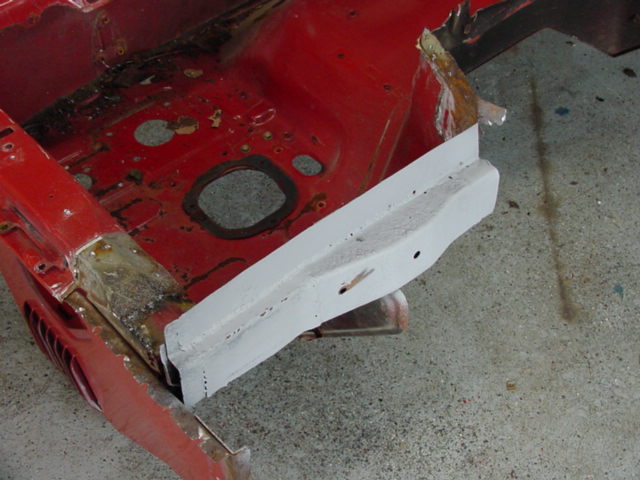
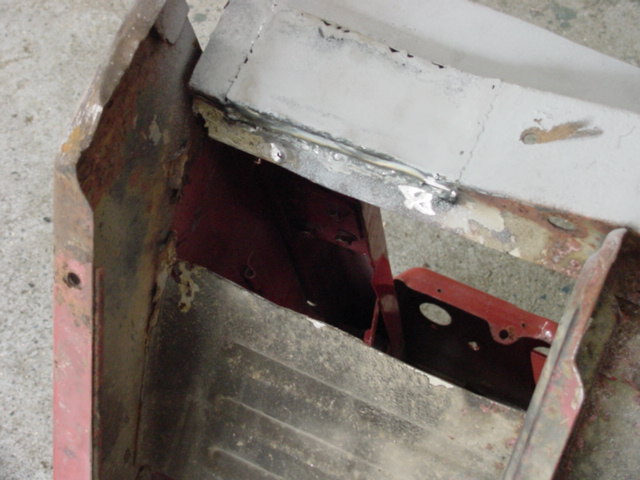
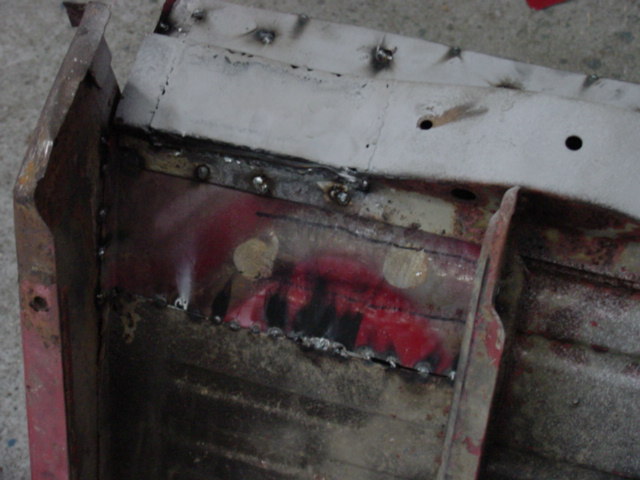
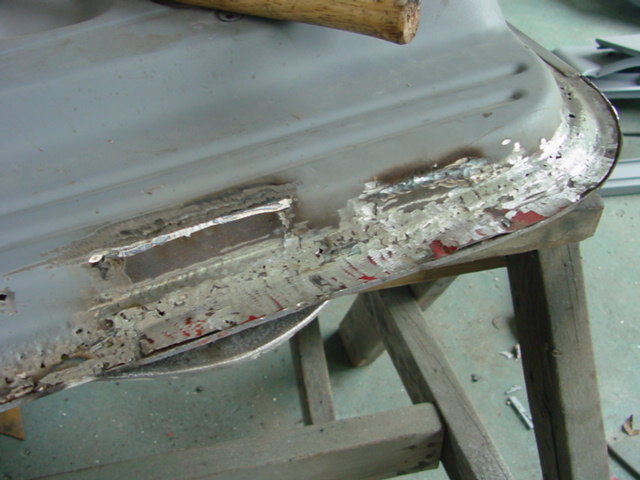
Nasty lower door skin rot. And the cowl is going on. We braced the A to B pillar with the correct measurement to ensure that door fit properly later before we welded the spot weld and seam welds up.
 |
 |
 |
 |
 |
 |
 |
 |
 |
|
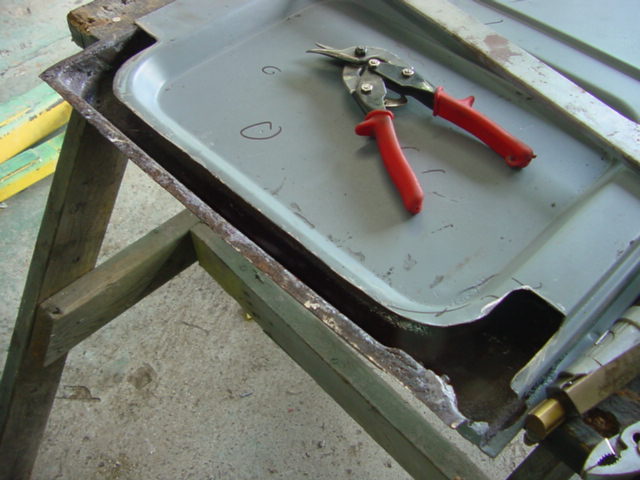
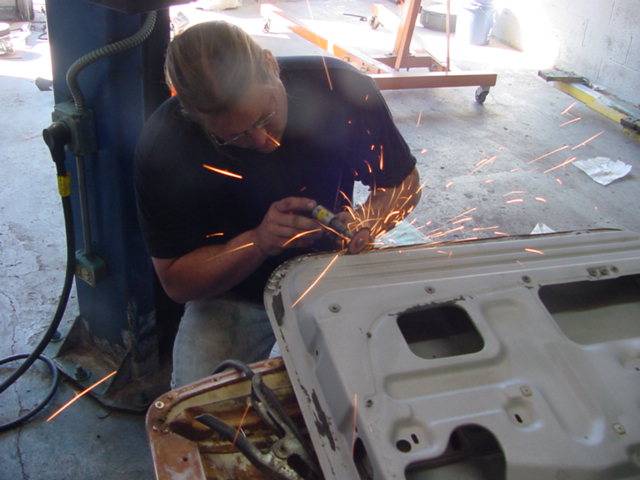
Here are some pics from the rear doors. Unfortunately rust and improper repairing was what we found. We cut out, welded and finish ground the lower corners and upper corners as needed to get as close to factory look as possible.
 |
 |
 |
 |
 |
 |
 |
 |
 |
 |
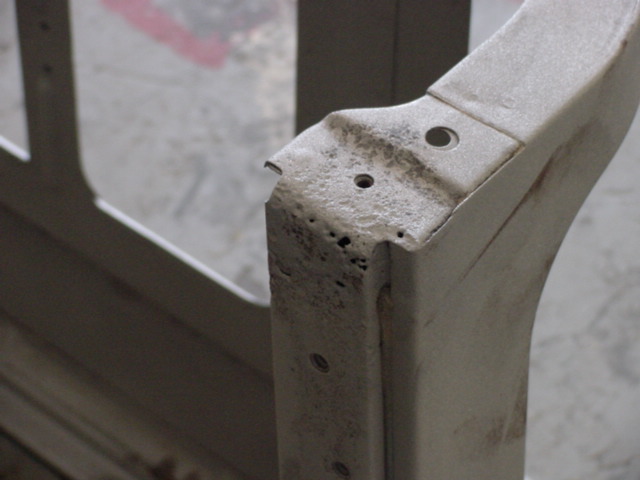
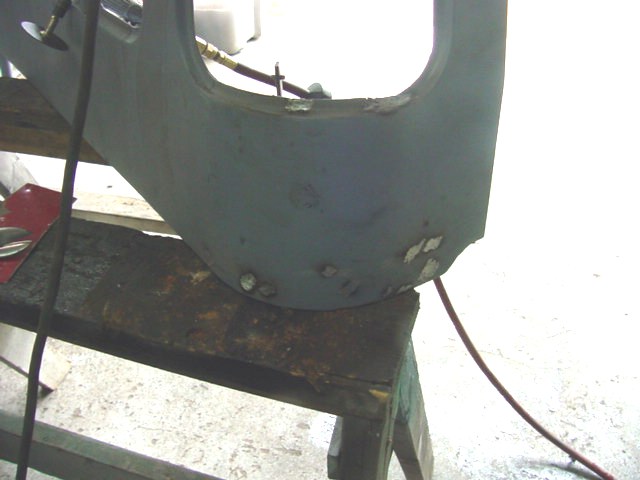
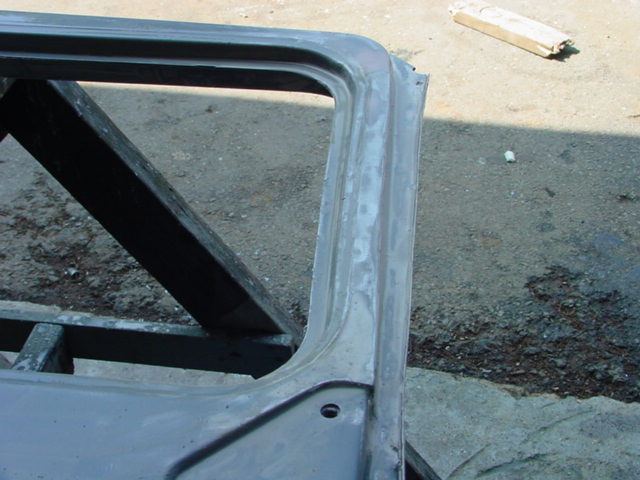
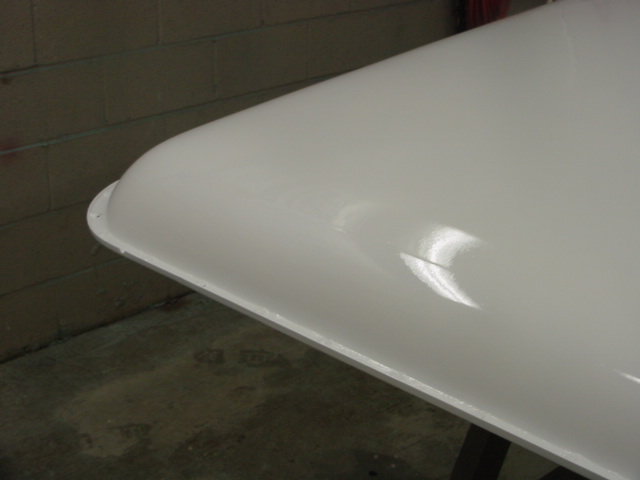
Check out the A pillar on W/S frame. I cut it out and separated it into two parts and then hammer and dolly'd it back into shape. Afterwards it was hard to tell it had been done. The only give away was the seam seal lip, it had little whomps I couldn't get out.
 |
 |
 |
 |
 |
 |
 |
 |
 |
 |
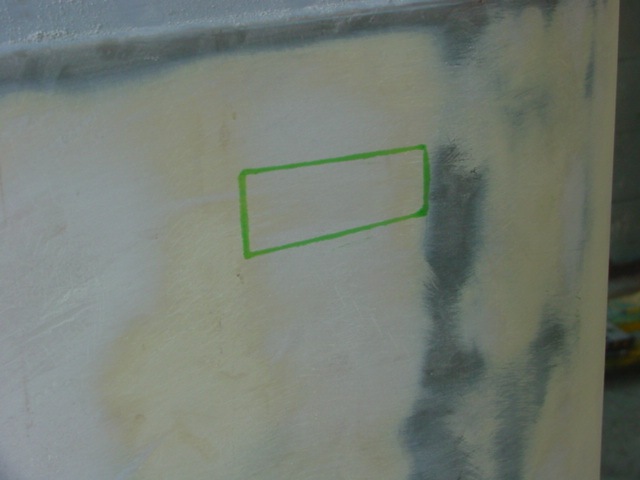
W/s repair, glazing going on on the bib, welding up the A pillars, tub damage and prepping the rear quarters for marker lights.
 |
 |
 |
 |
 |
 |
 |
 |
 |
 |
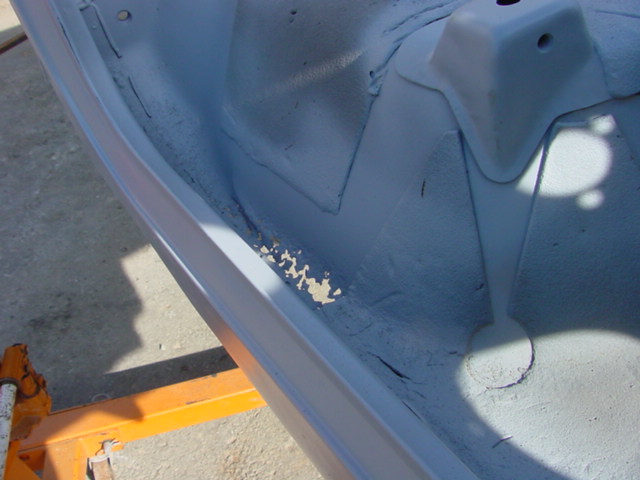
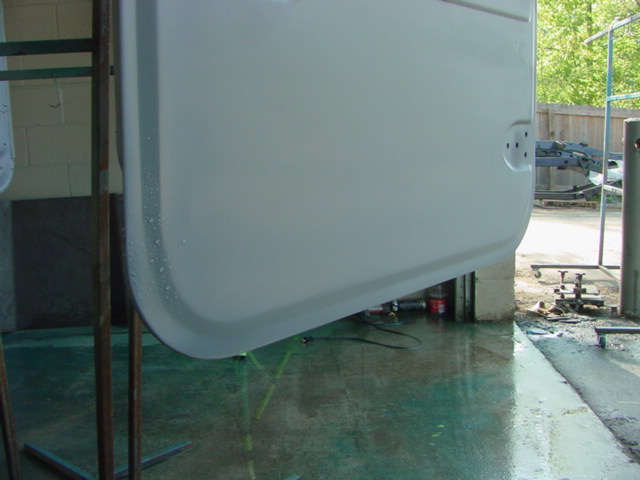
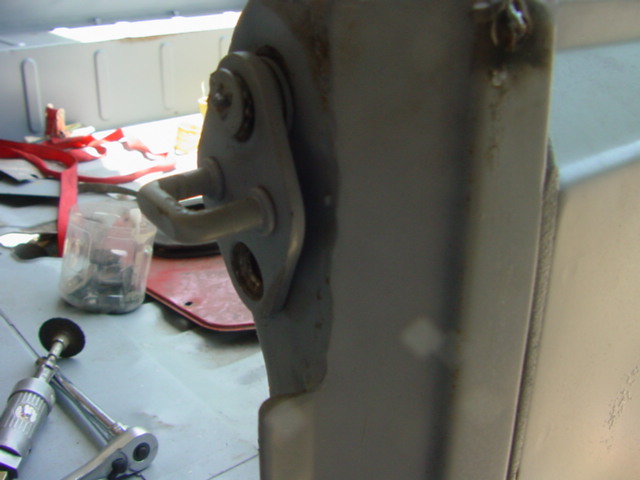
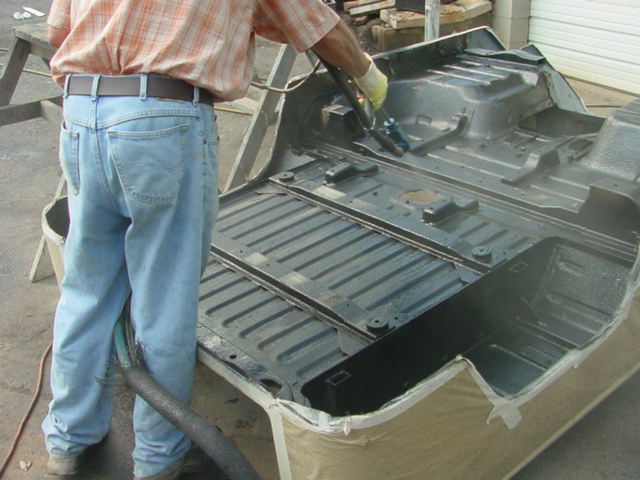
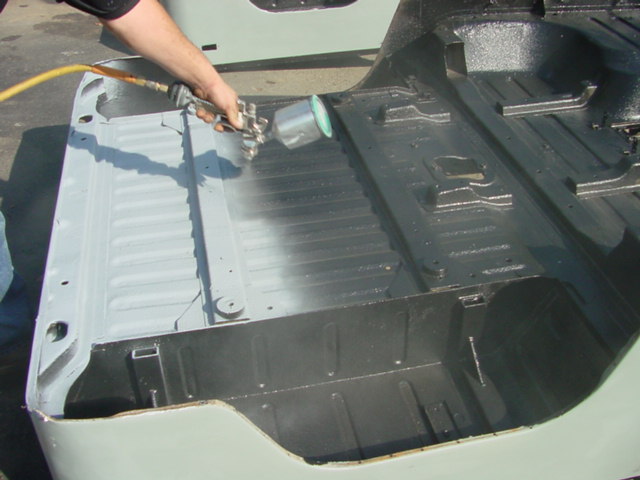
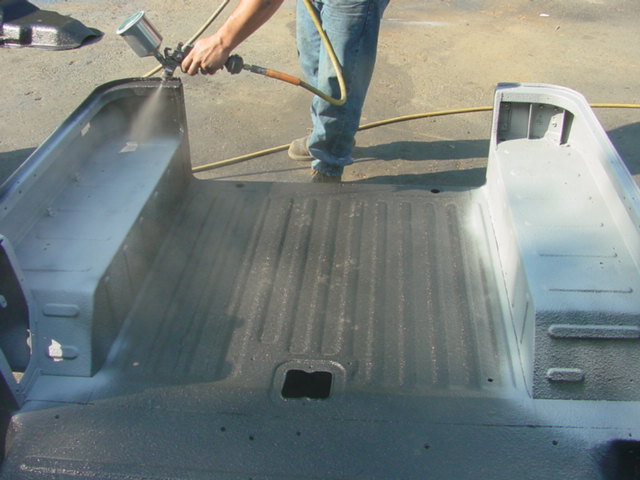
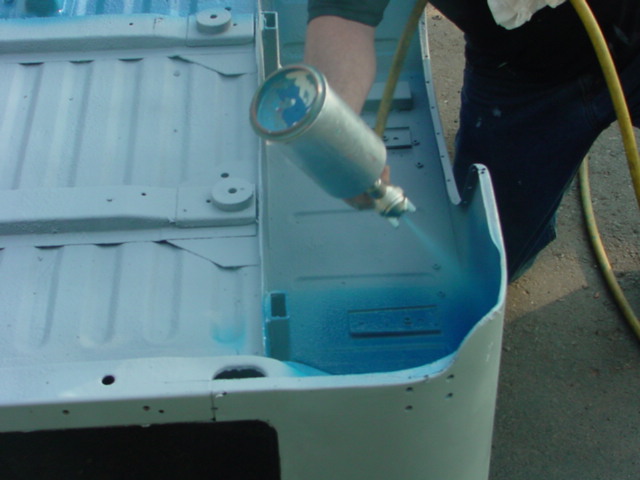
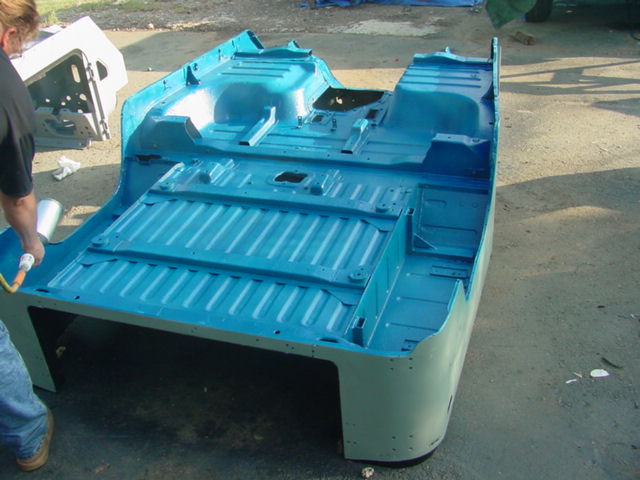
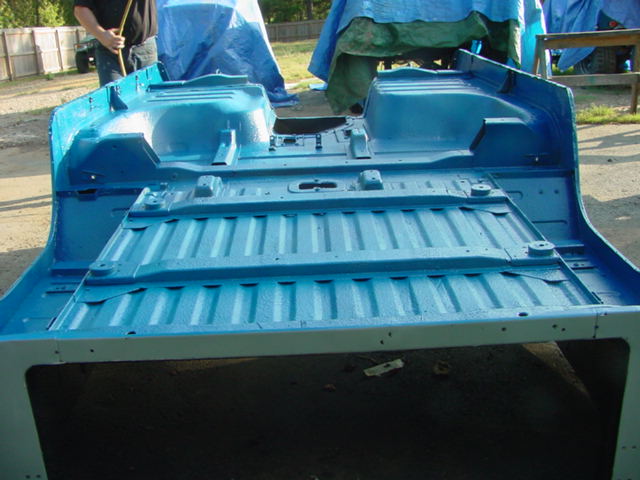
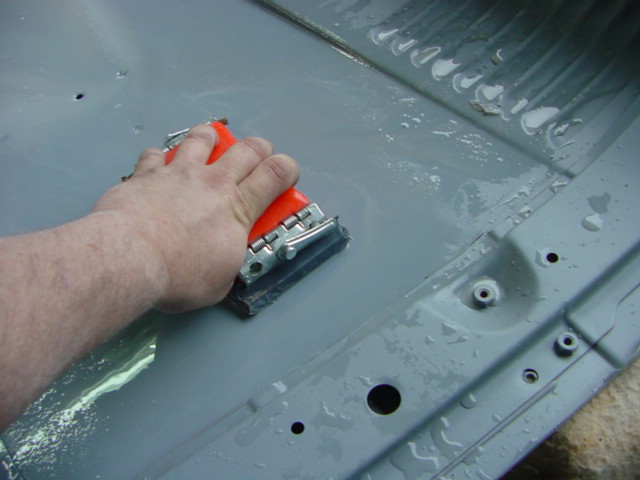
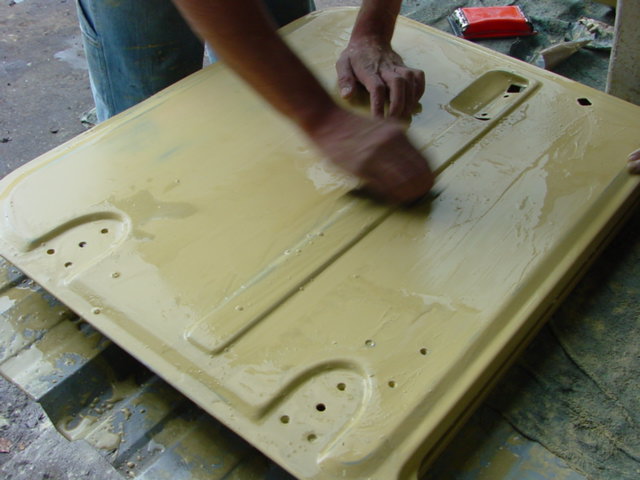
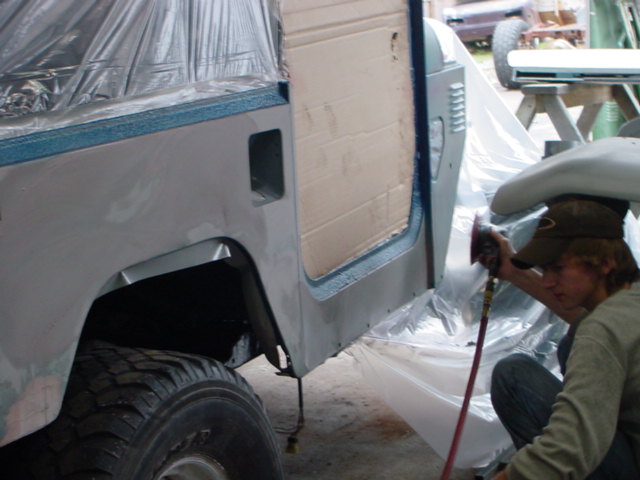
Some of the tub repairs, and the Ebrake retrofit we had to do. Pics of the liner going on and priming/painting it.
 |
 |
 |
 |
 |
 |
 |
 |
 |
 |
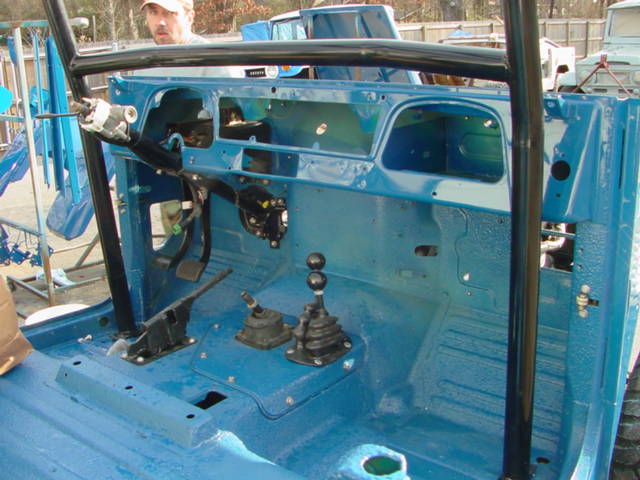
Inside and underneath getting painted. A few people have inquired as to why I do this. Its only because the factory trucks have the body color in the tub, and even though we haved lined it I want the factory feel back in the cab of the truck...not goth black everywhere. Parts that I have had shelved for years are finally finding homes.
 |
 |
 |
 |
 |
 |
 |
 |
 |
 |
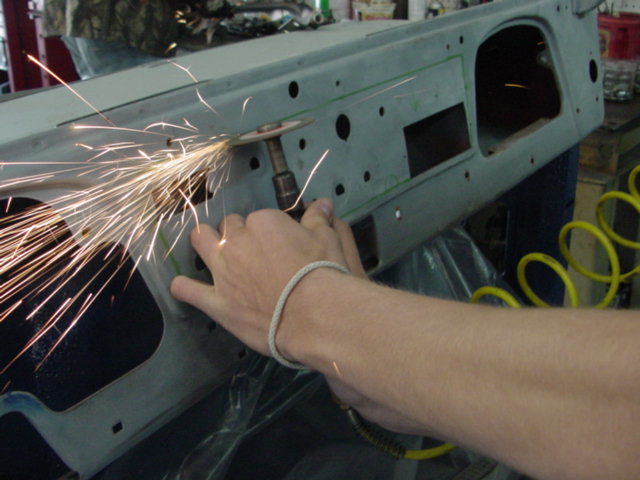
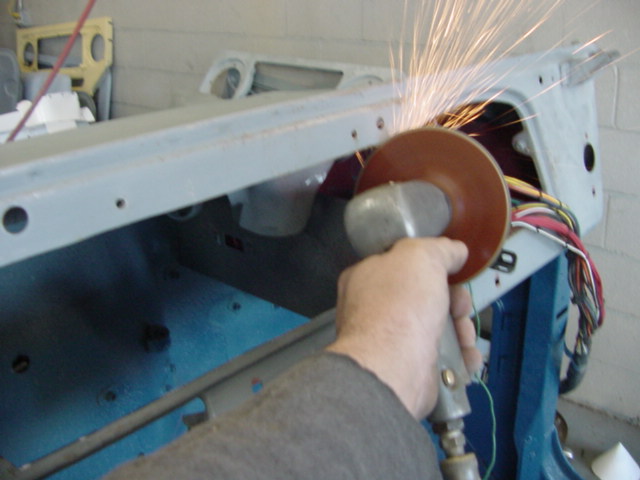
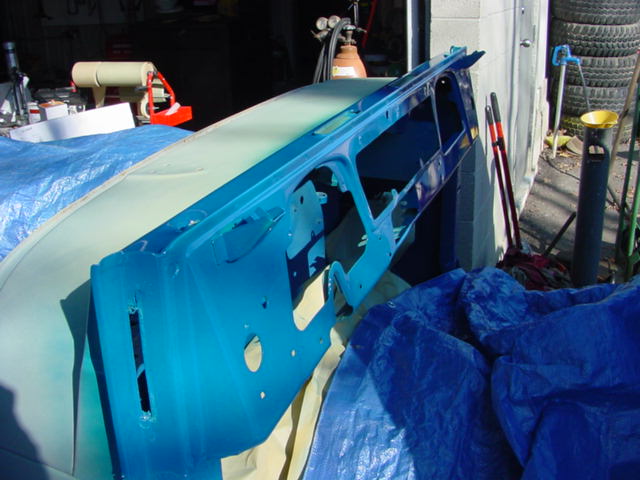
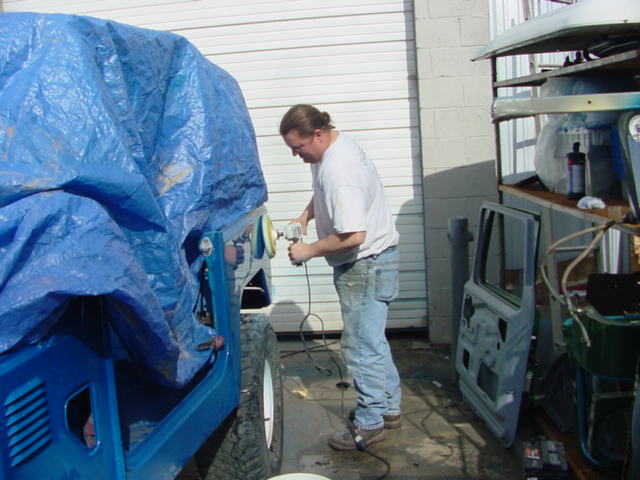
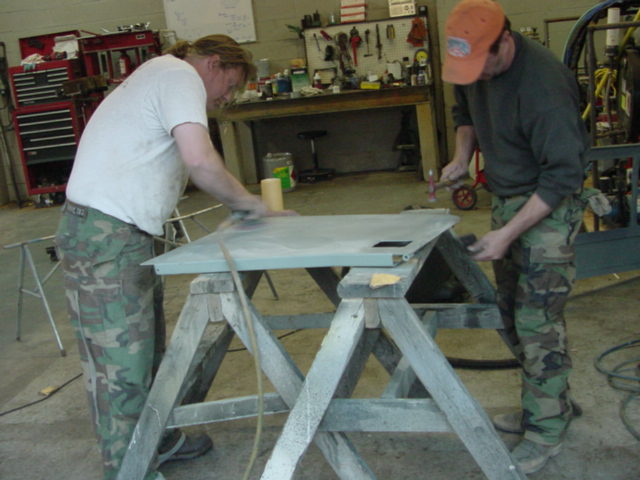
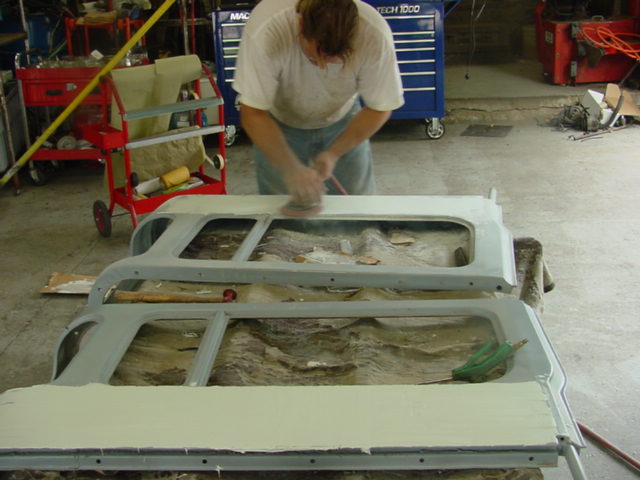
Here are some random pics of the various stages of sanding, bodywork, priming and grinding on all areas of the truck.
 |
 |
 |
 |
 |
 |
 |
 |
 |
 |
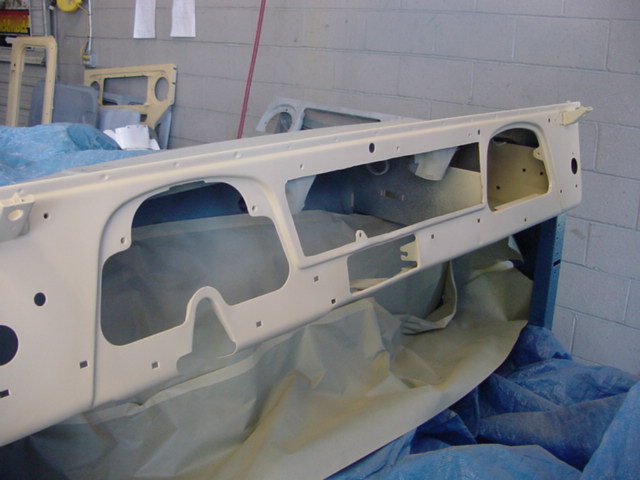
Prepping the dash for the sweet upgrade I have planned and paint work being done. Check out the W/s A pillar.... good as new.
 |
 |
 |
 |
 |
 |
 |
 |
 |
 |
 |
 |
 |
 |
 |
 |
 |
 |
 |
 |
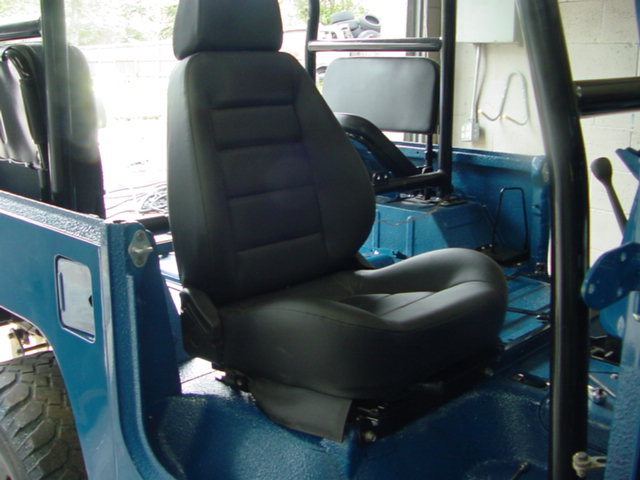
Corbeau botched an order I had for the brackets for this trucks and informed me it was going to 6 weeks for more of them. Screw that...custom fabbed up a bracket system that intergrated both seats, seatbelt mounts, and the console.
 |
 |
 |
 |
 |
 |
 |
 |
 |
 |
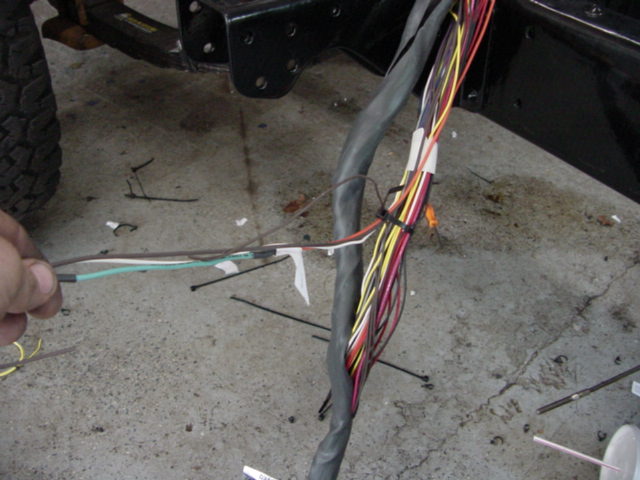
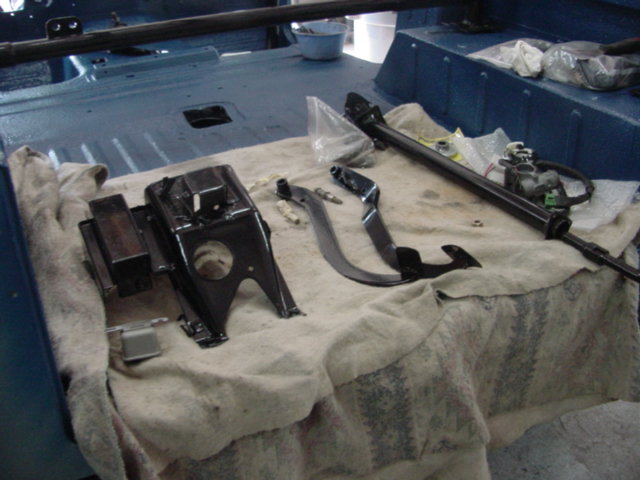
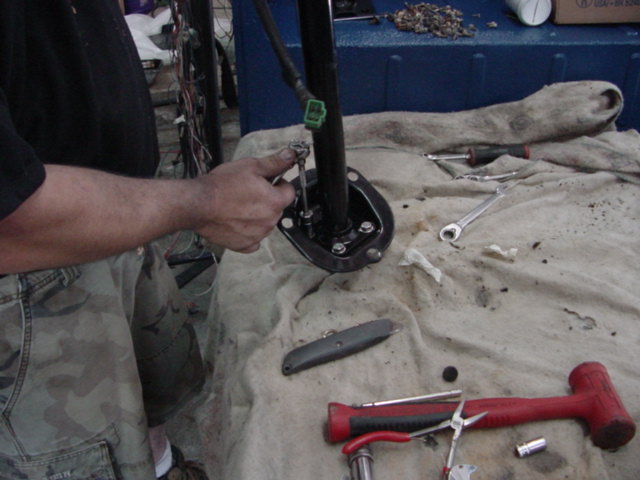
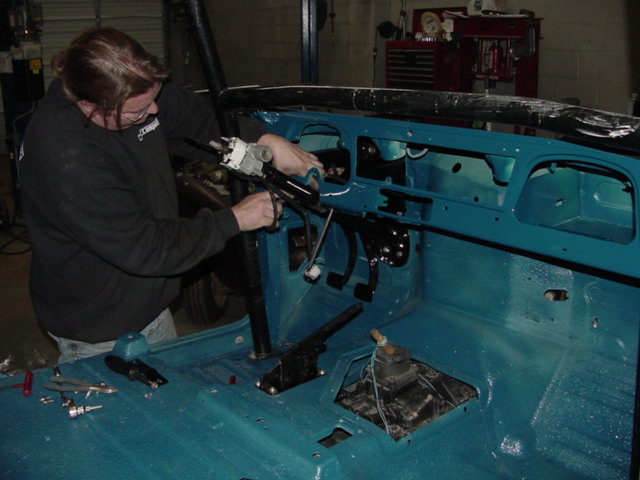
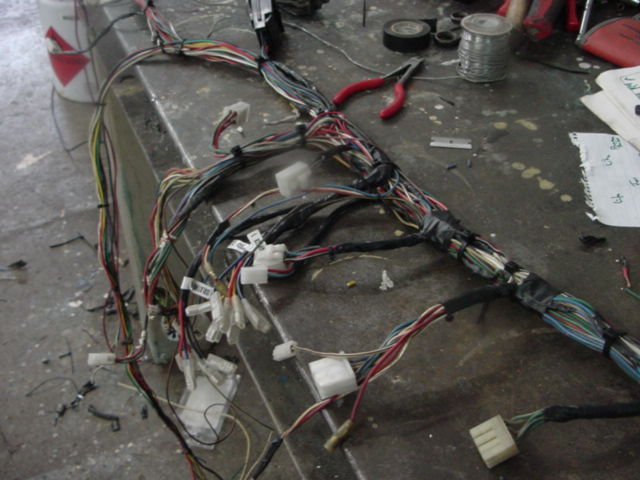
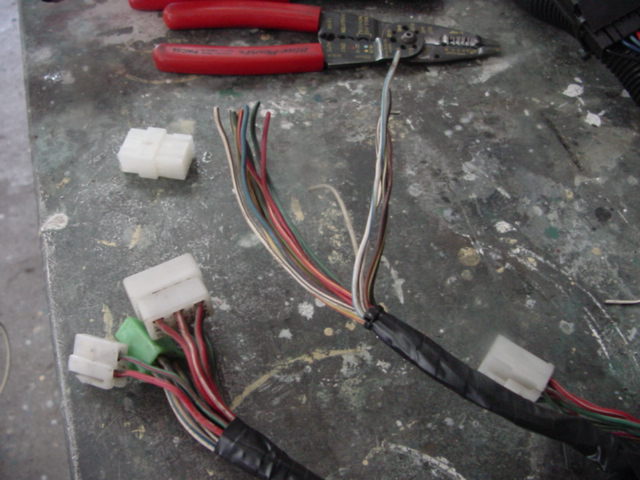
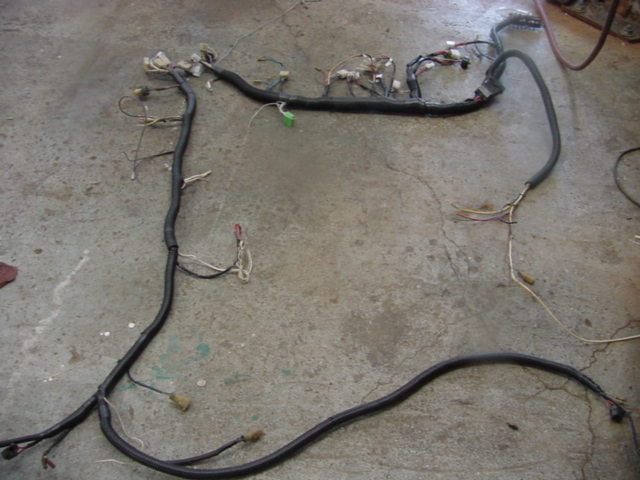
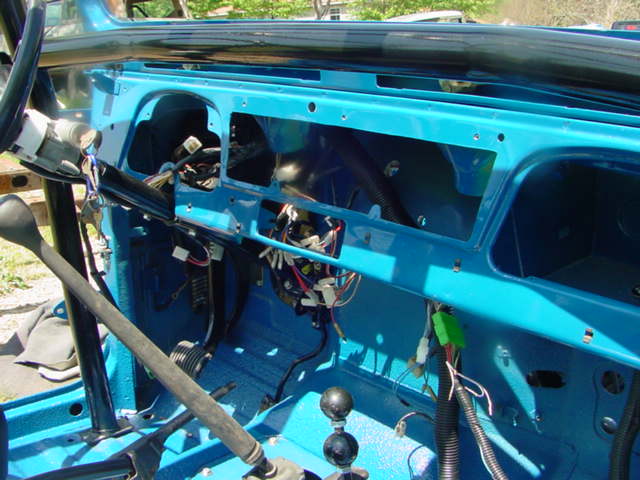
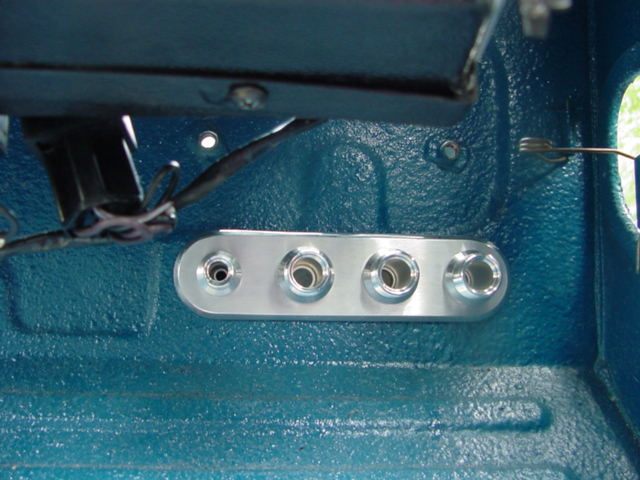
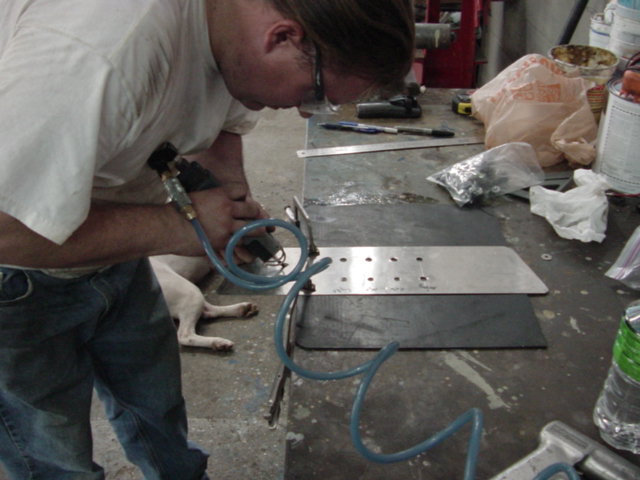
Here you can see our specialty. Wiring. The Scourge of all auto work. Wiring is one of the most important things you can do when overhauling a truck. We take everything off the factory harness, plan out where things are going to be placed in the truck, then route the wires accordingly. One nice touch is making custom connectors to provide easy access and finished look to the harnessi (is that a word) I do. I can't stand to see single wires strewn about an engine bay searching for some power source all the way across the truck.
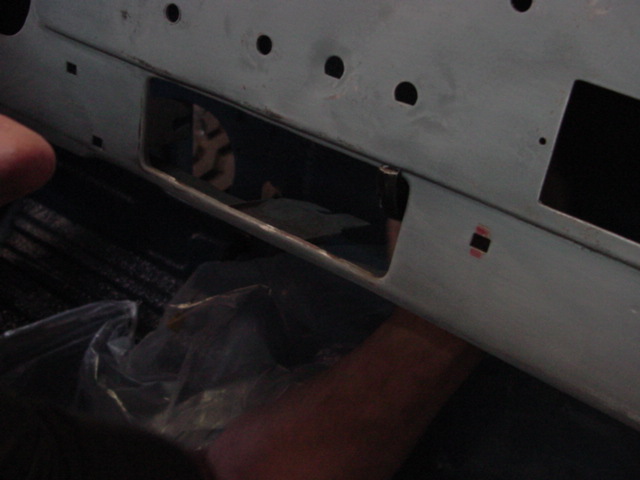
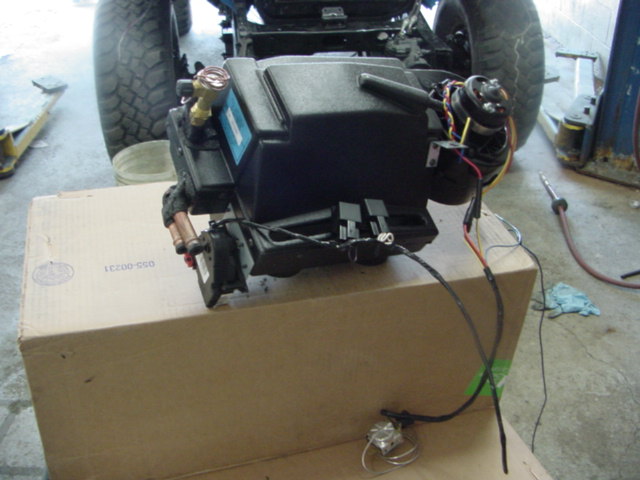
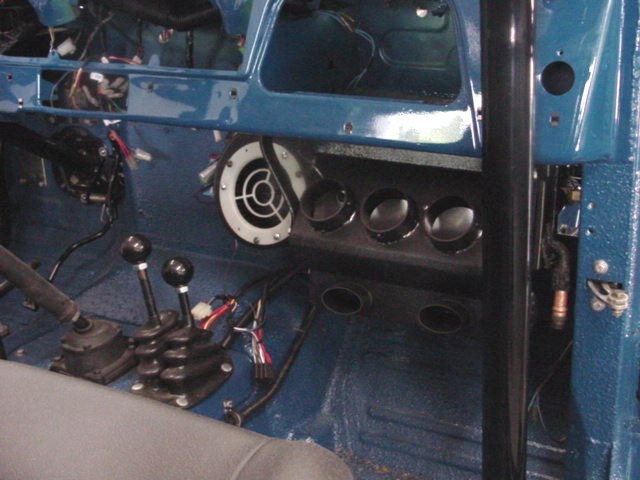
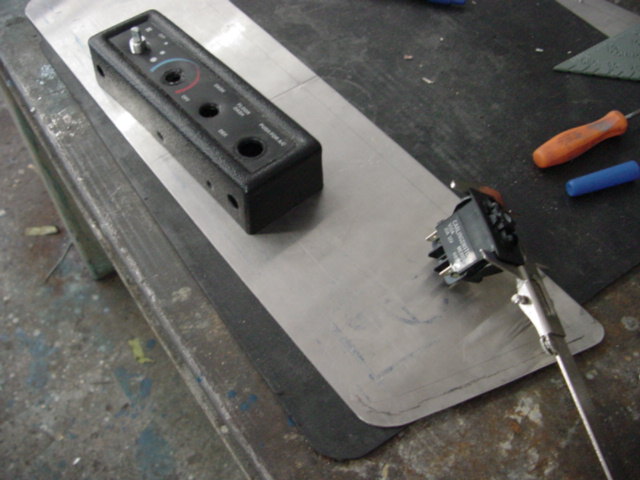
Since we used a self contained blower unit I fabbed up this block off plate/battery box combo where the factory blower went. Also up front you can how we use power centers to lighten the wiring load on the battery.
 |
 |
 |
 |
 |
 |
 |
 |
 |
 |
 |
 |
 |
 |
 |
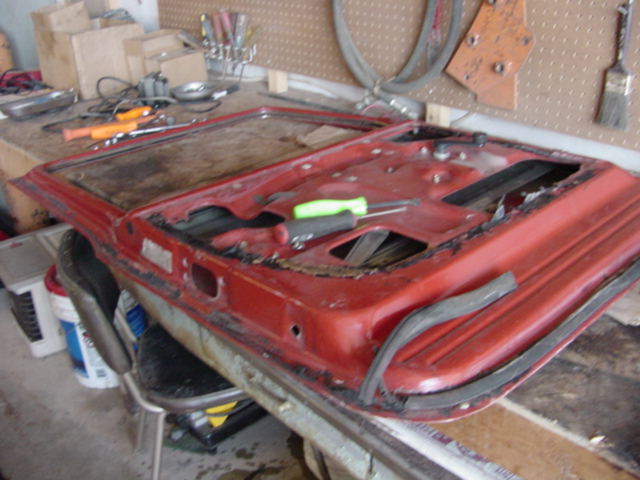
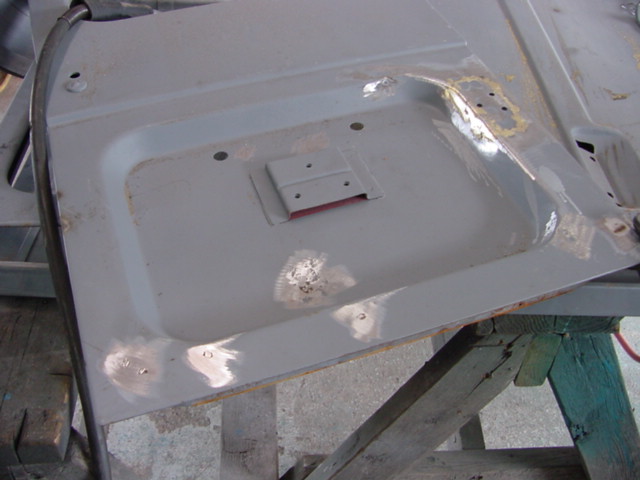
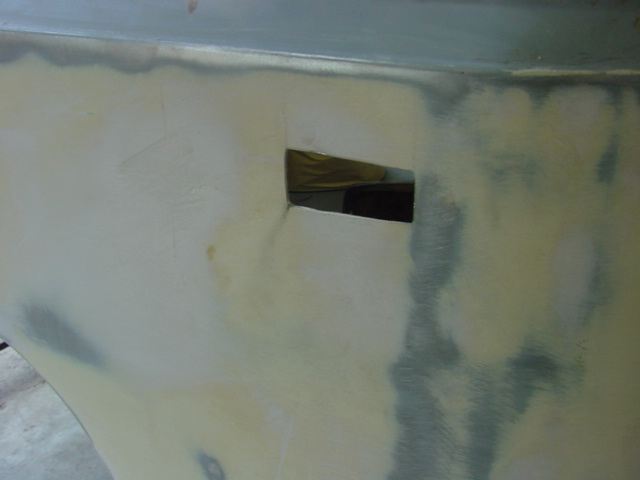
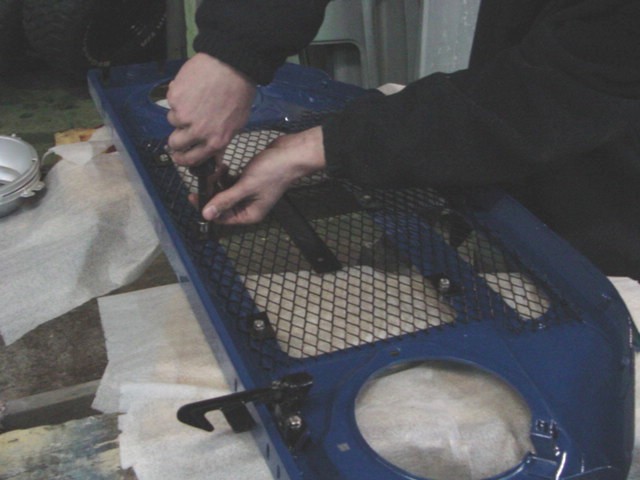
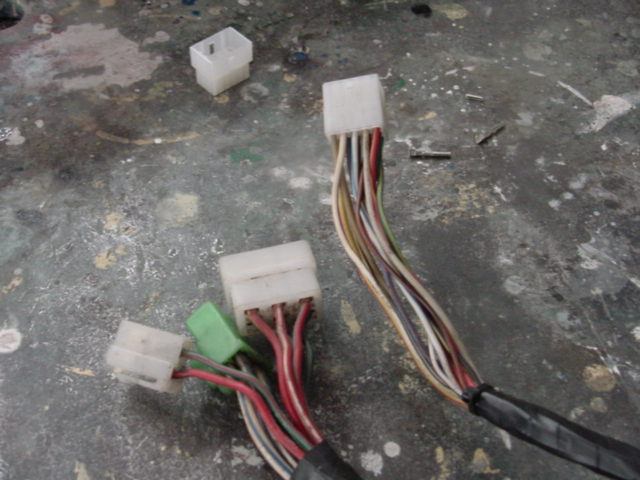
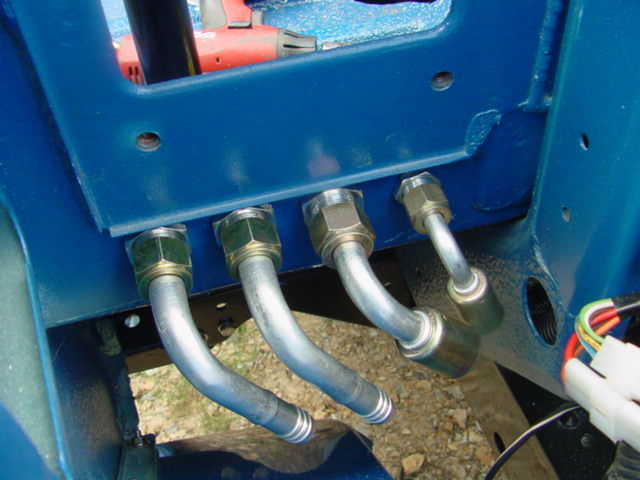
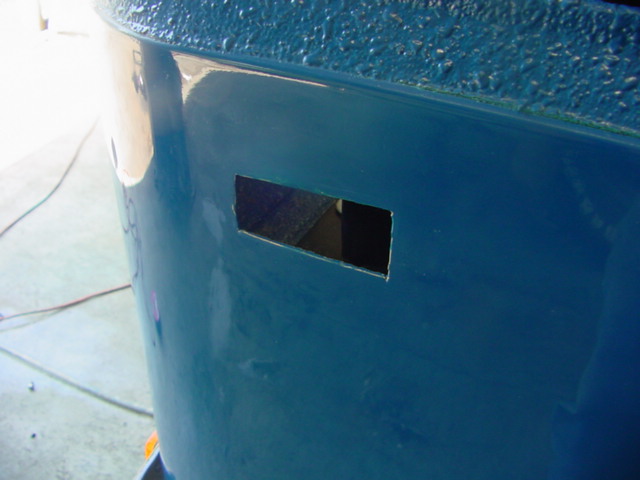
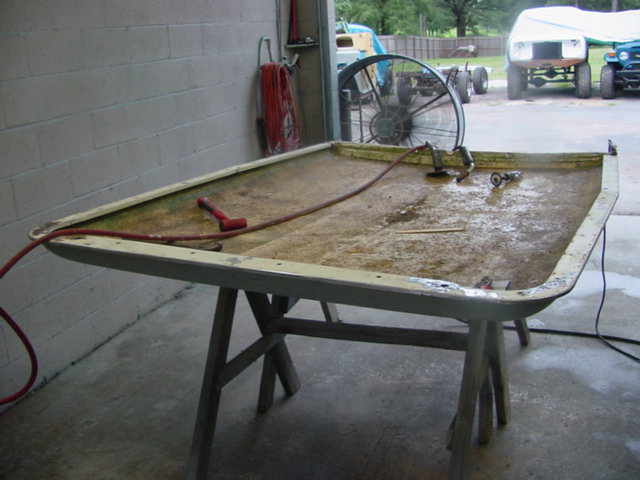
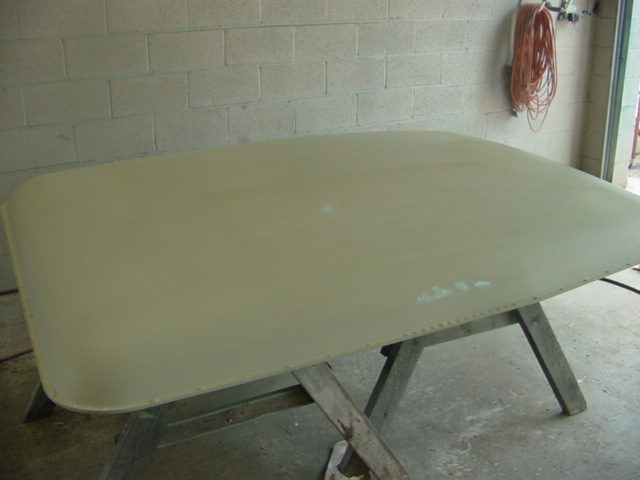
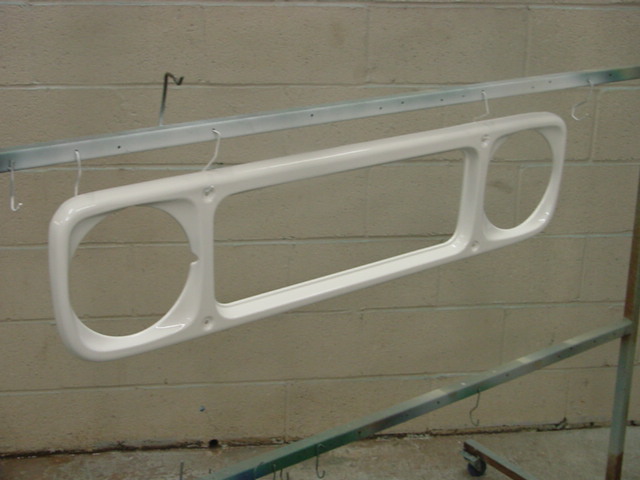
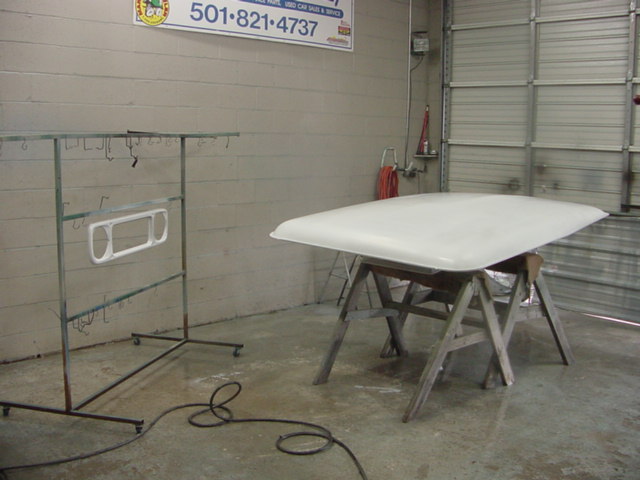
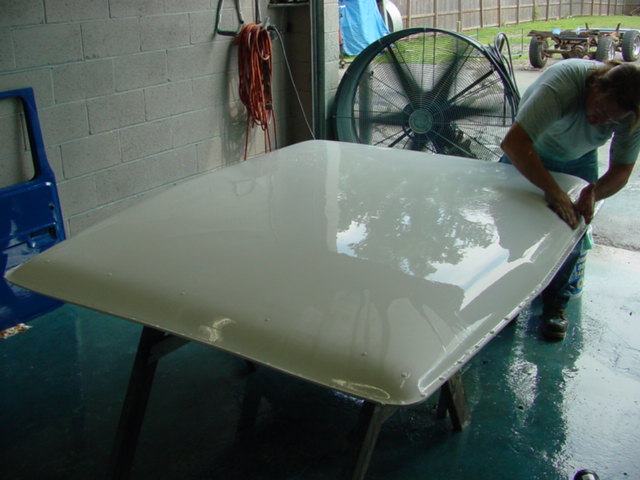
Check out the trick AC/Heater connectors. Did you notice that this Aussie tub didnt have a marker light hole in it earlier, now it does. Putting the tub togehter and then I noticed I had originally worked two of the same side doors for Jim's truck.... I know oops...fixed the metal bottom of this one and refinished it with the rest of the hard top pieces. You cant see it in the pics but the bezel and the top have a pearl clearcoat. Jim's hardtop was a mess. It had so many small rust holes and cracks... I worked for probably 3 days just filling, grinding, refilling regrinding to get it as close to original as possible. The effort was worth it. It turned out great.
 |
 |
 |
 |
 |
 |
 |
 |
 |
 |
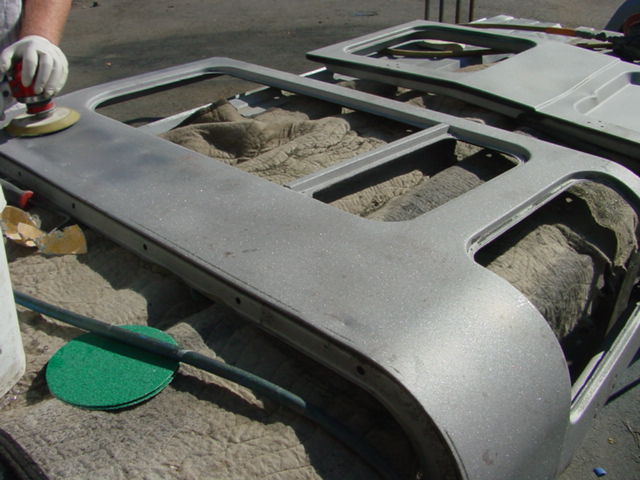
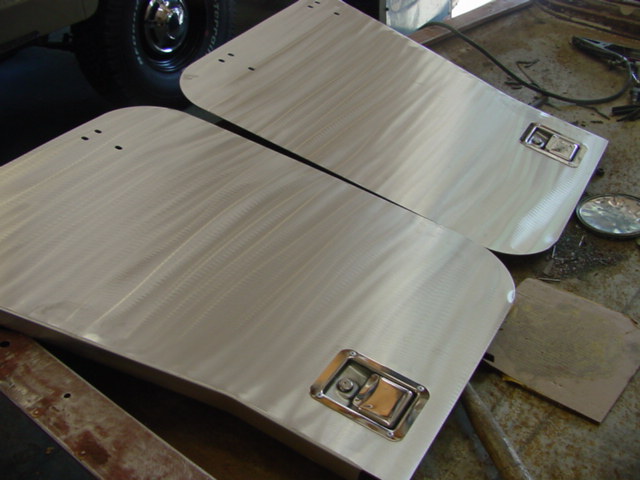
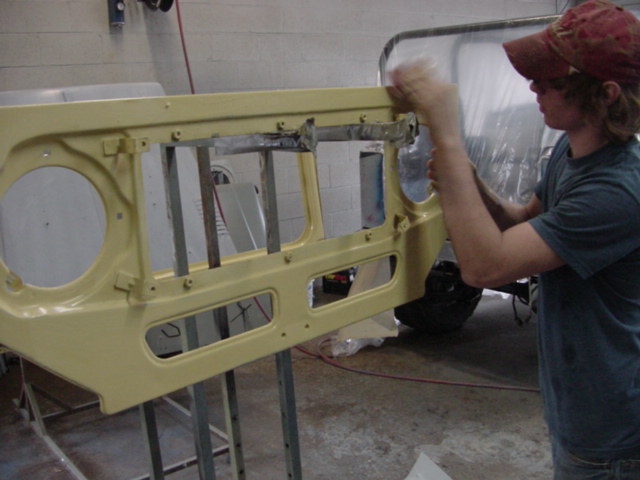
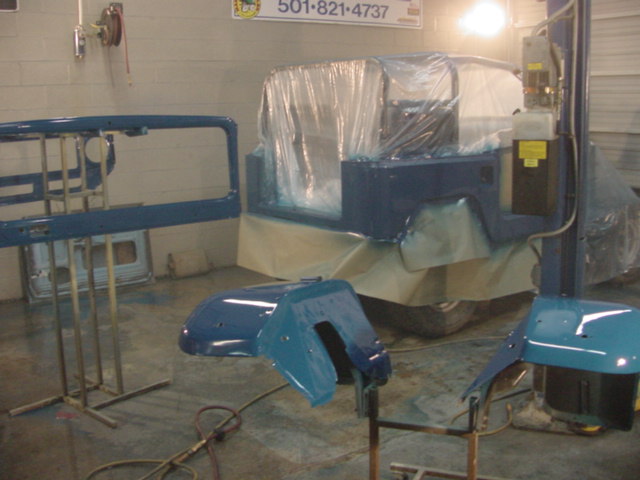
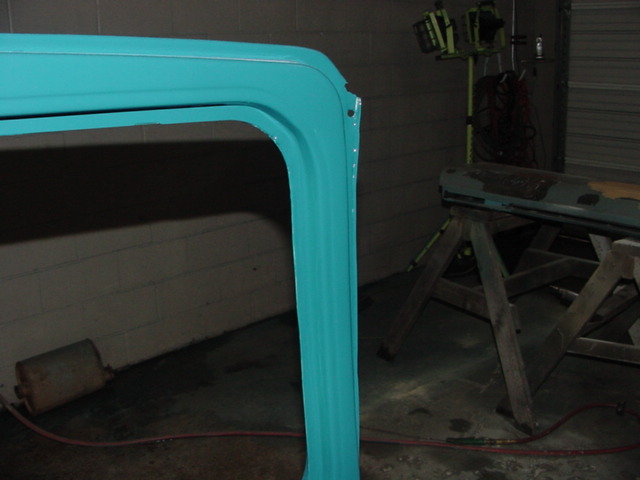
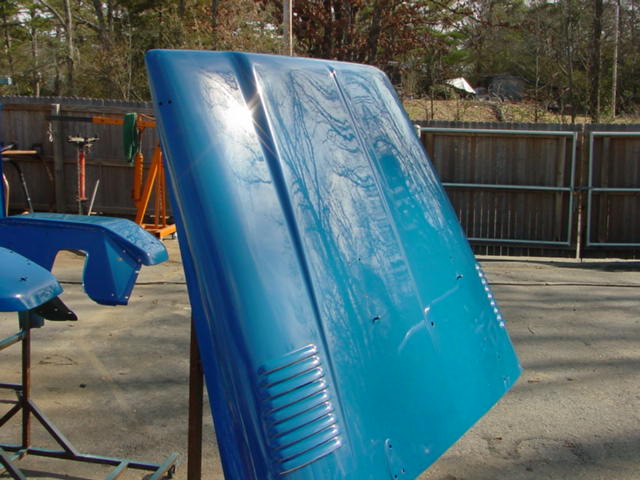
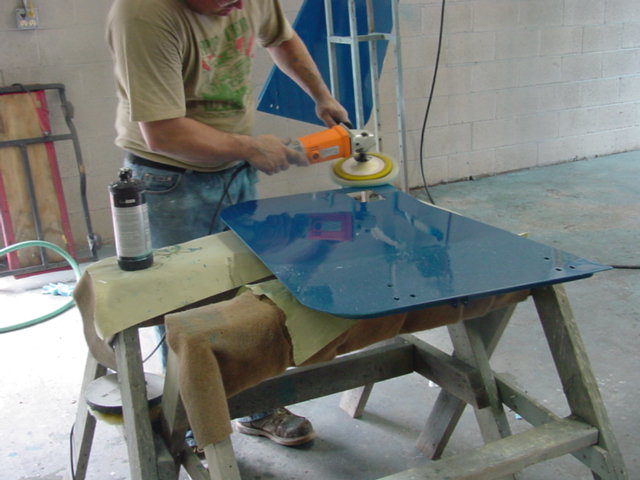
Prepping and painting the hard top components. Wet sanding the top, and assembling the halfdoors and getting the top parts to the tub.
 |
 |
 |
 |
 |
 |
 |
 |
 |
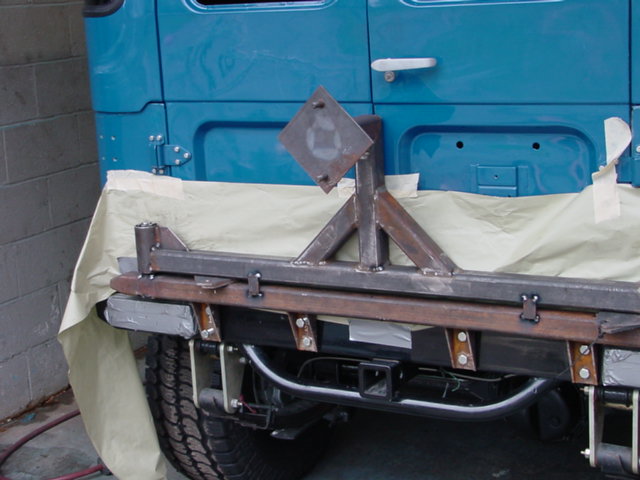 |
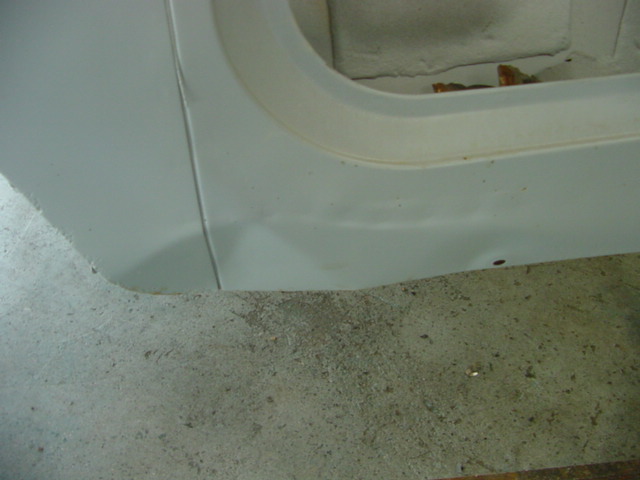
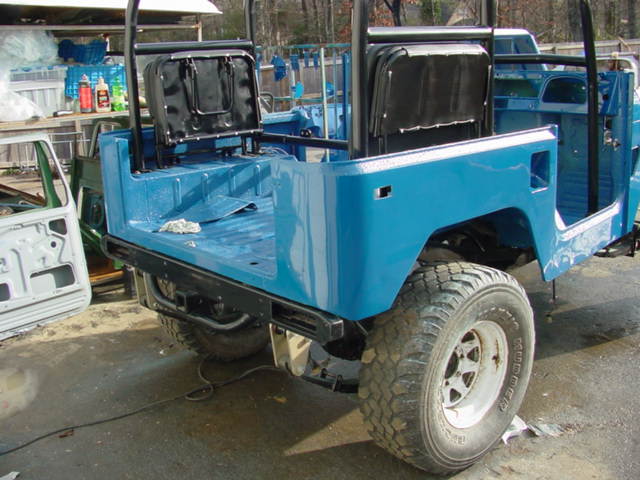
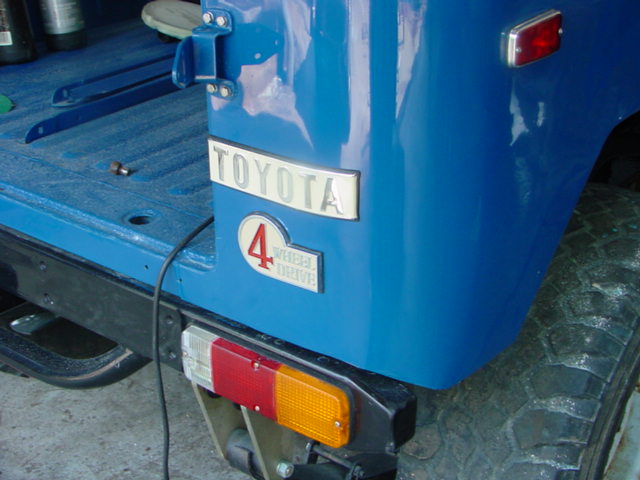
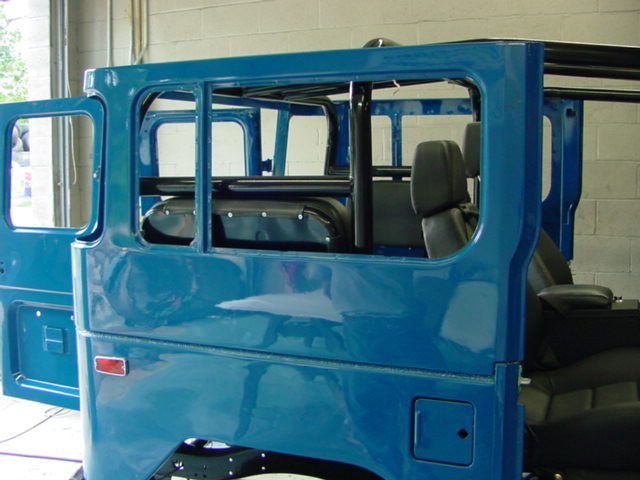
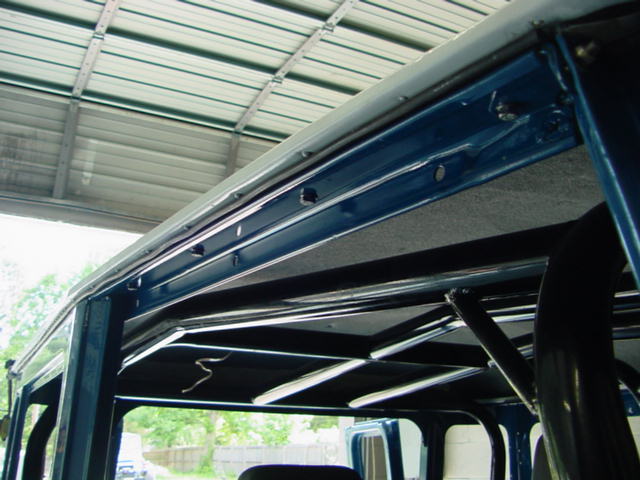
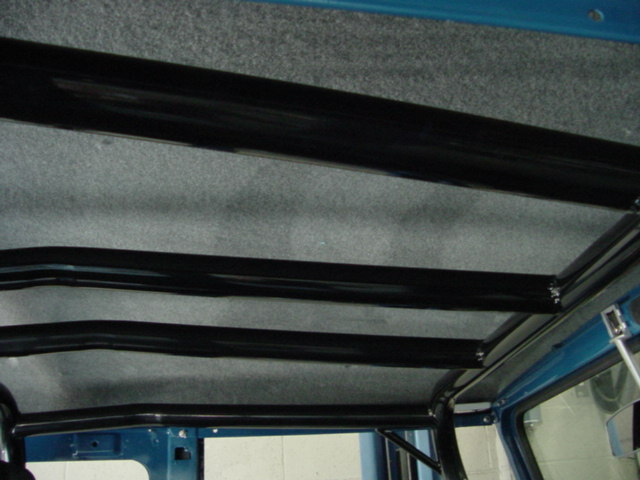
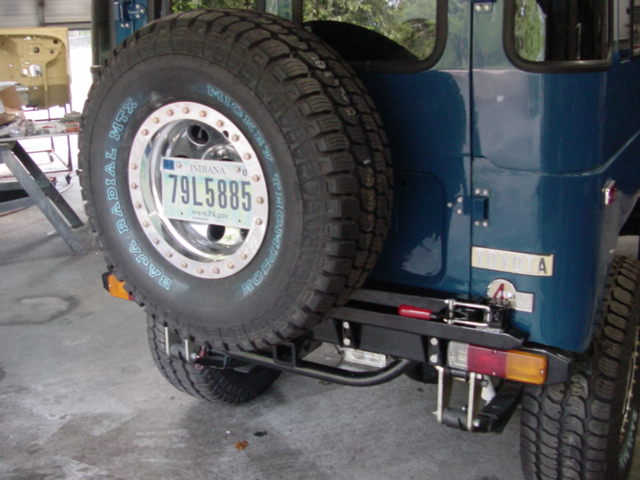
Coming together nicely. Headliner is in and the weatherstripping and trim is going on. Also we started fabbing up the rear tire carrier. Also notice the rearward axle position... I cut and folded the rear quarter to fit the new position of the tire at the angle matched by the front fender to give the cut symmetry
 |
 |
 |
 |
 |
 |
 |
 |
 |
 |
 |
 |
 |
 |
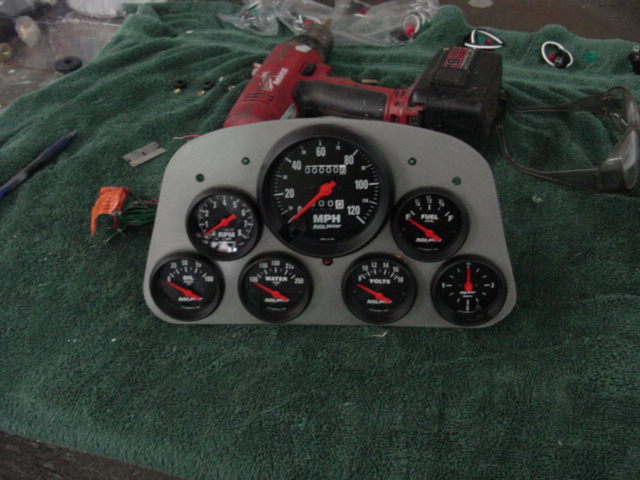 |
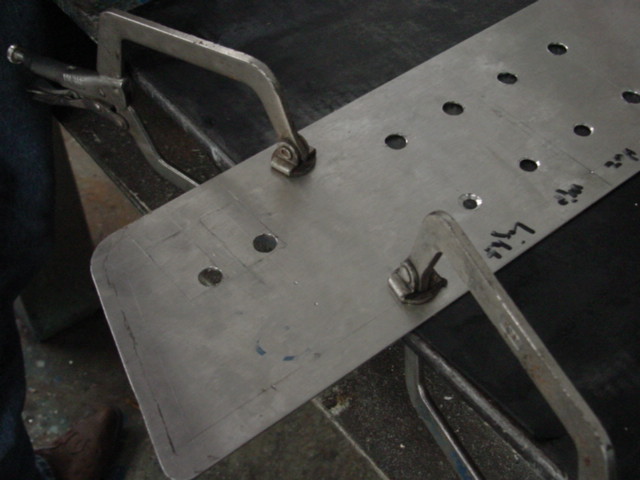
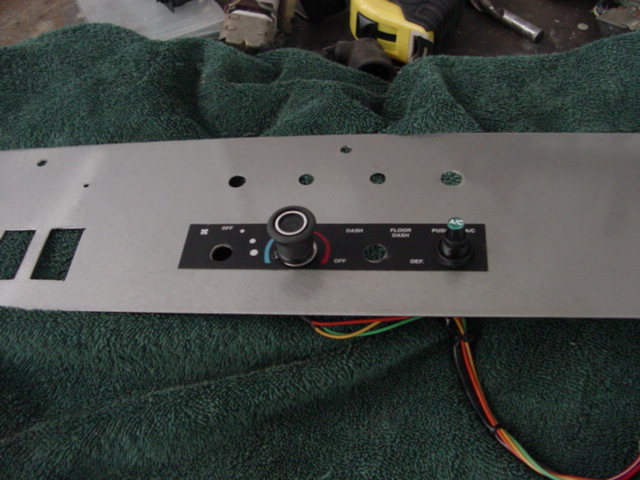
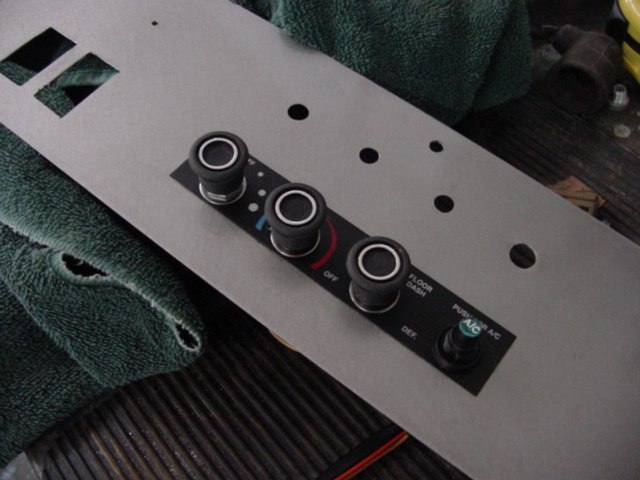
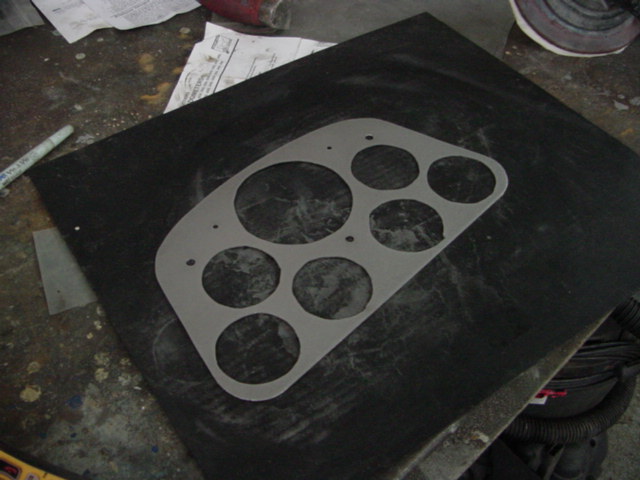
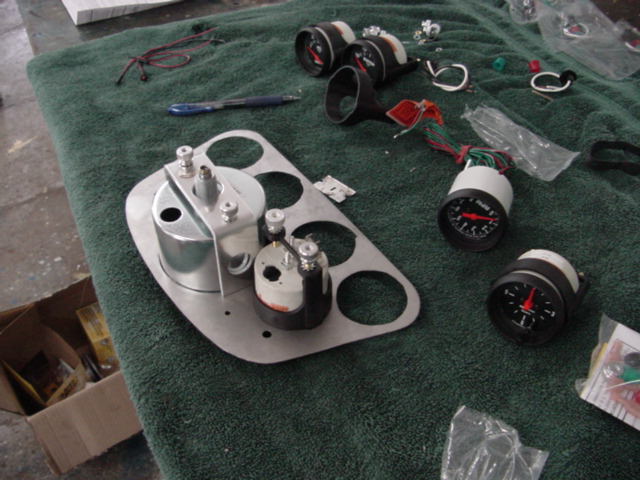
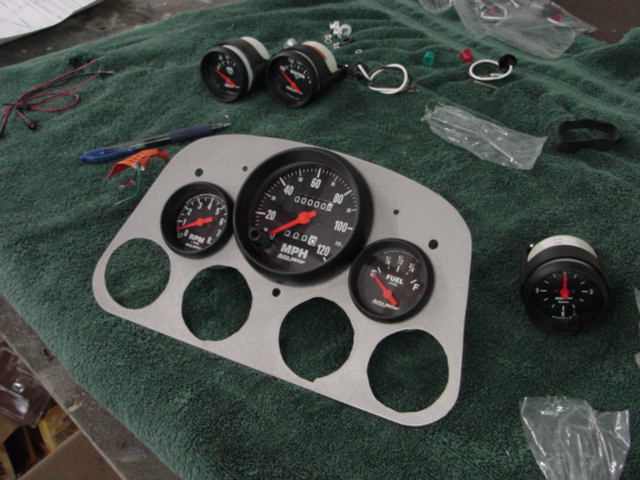
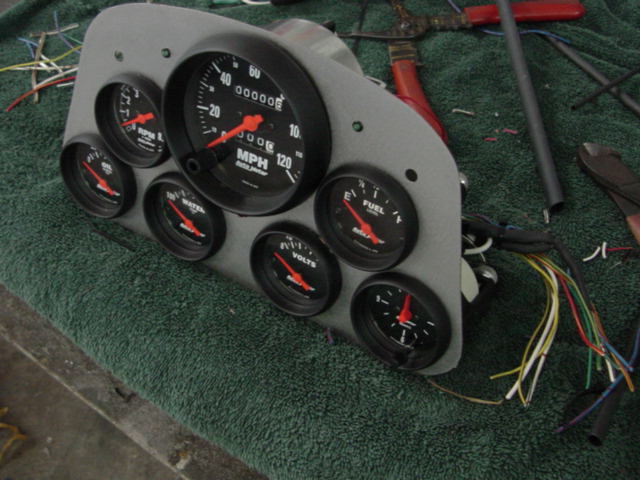
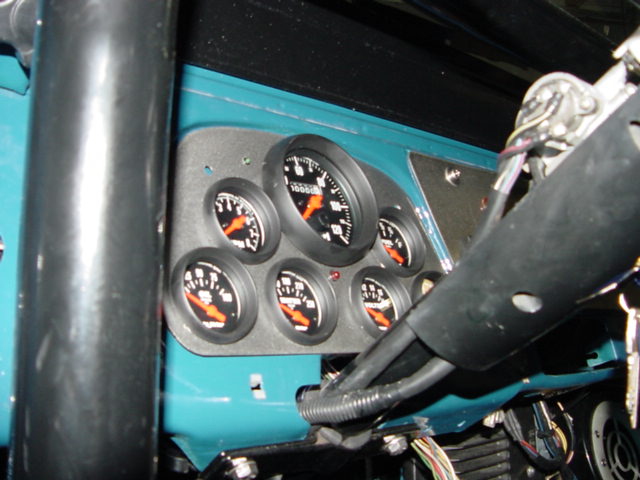
Making the center section and the gauge cluster. This is all done by hand for a precise fit.
 |
 |
 |
 |
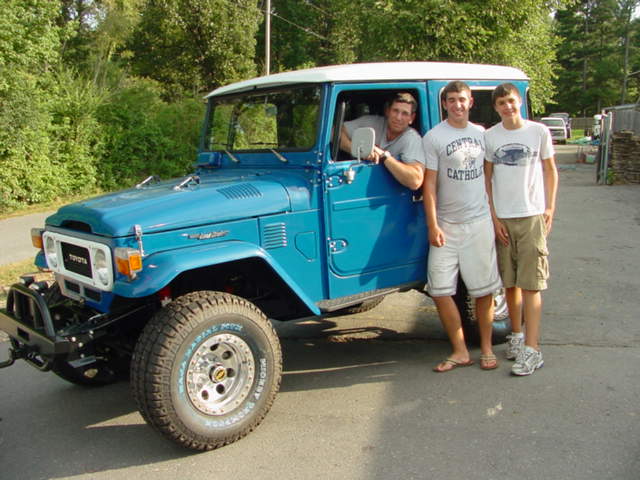 |
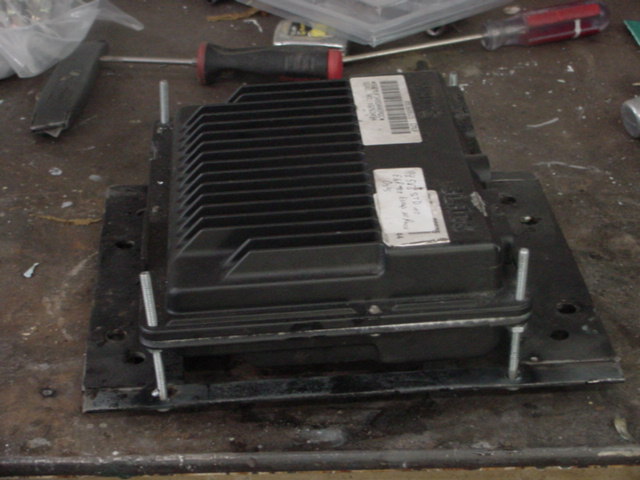
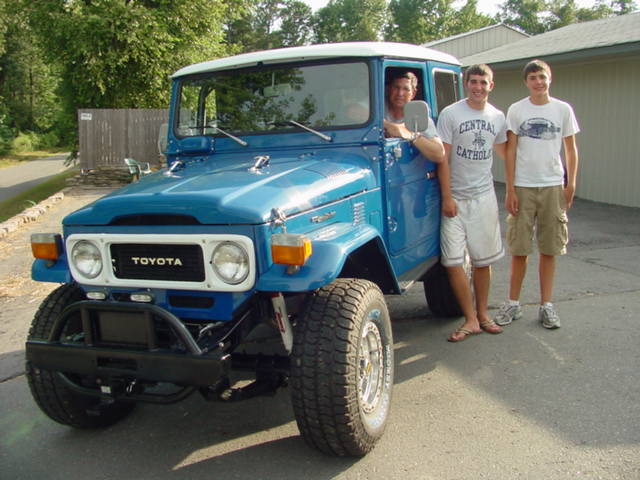
Props to Jim and his sons, they literally waited all day for me to finish what I could on the truck before they took it home. They came down on a Saturday and I still had large list to finish out on the truck. You can see the final look of the tire carrier and the dash/cluster are in. The one thing I couldn't get done before Jim had to get the truck was the panel for the A/C ducts. My intentions were to close in the section centered above the transmission hump and just over the passenger dash area with a stainless panel bent to fit. Then duct into the center area from the A/C blower. This panel and duct holder would also cover up the computer where I installed it.